4. Setting the LAN Setting of Projector
■Setting Wireless LAN
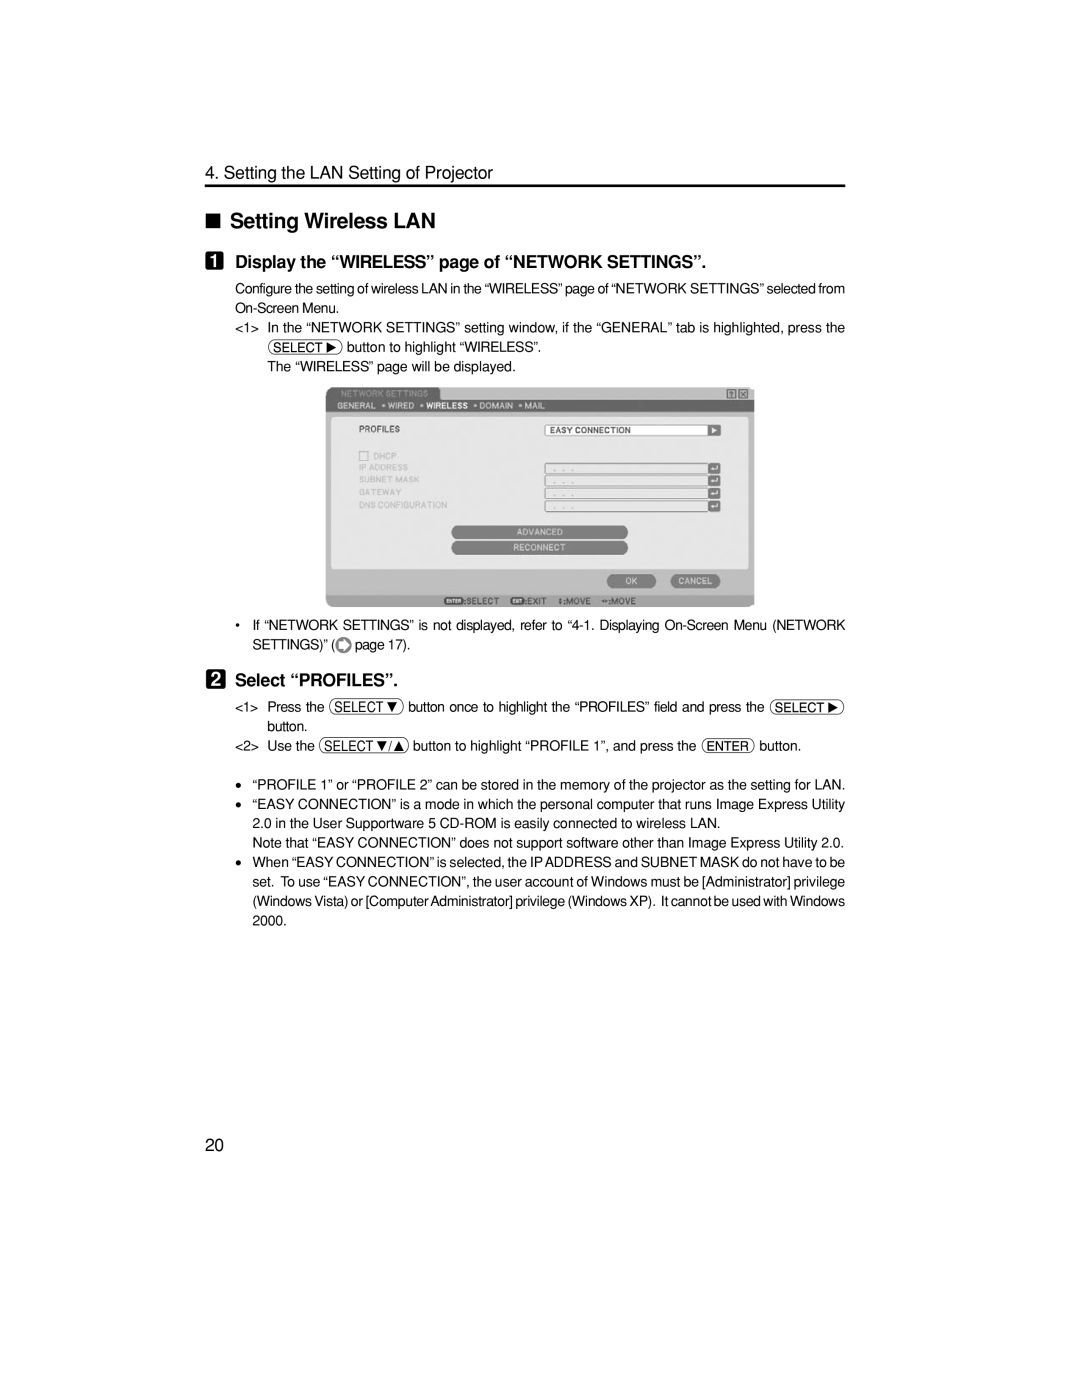
1Display the “WIRELESS” page of “NETWORK SETTINGS”.
Configure the setting of wireless LAN in the “WIRELESS” page of “NETWORK SETTINGS” selected from
<1> In the “NETWORK SETTINGS” setting window, if the “GENERAL” tab is highlighted, press the
![]() button to highlight “WIRELESS”.
button to highlight “WIRELESS”.
The “WIRELESS” page will be displayed.
•If “NETWORK SETTINGS” is not displayed, refer to ![]() page 17).
page 17).
2Select “PROFILES”.
<1> | Press the SELECT | button once to highlight the “PROFILES” field and press the | |
| button. |
|
|
<2> | Use the SELECT / | button to highlight “PROFILE 1”, and press the | button. |
•“PROFILE 1” or “PROFILE 2” can be stored in the memory of the projector as the setting for LAN.
•“EASY CONNECTION” is a mode in which the personal computer that runs Image Express Utility 2.0 in the User Supportware 5
Note that “EASY CONNECTION” does not support software other than Image Express Utility 2.0.
•When “EASY CONNECTION” is selected, the IP ADDRESS and SUBNET MASK do not have to be set. To use “EASY CONNECTION”, the user account of Windows must be [Administrator] privilege (Windows Vista) or [Computer Administrator] privilege (Windows XP). It cannot be used with Windows 2000.
20
