CONFIDENTIAL
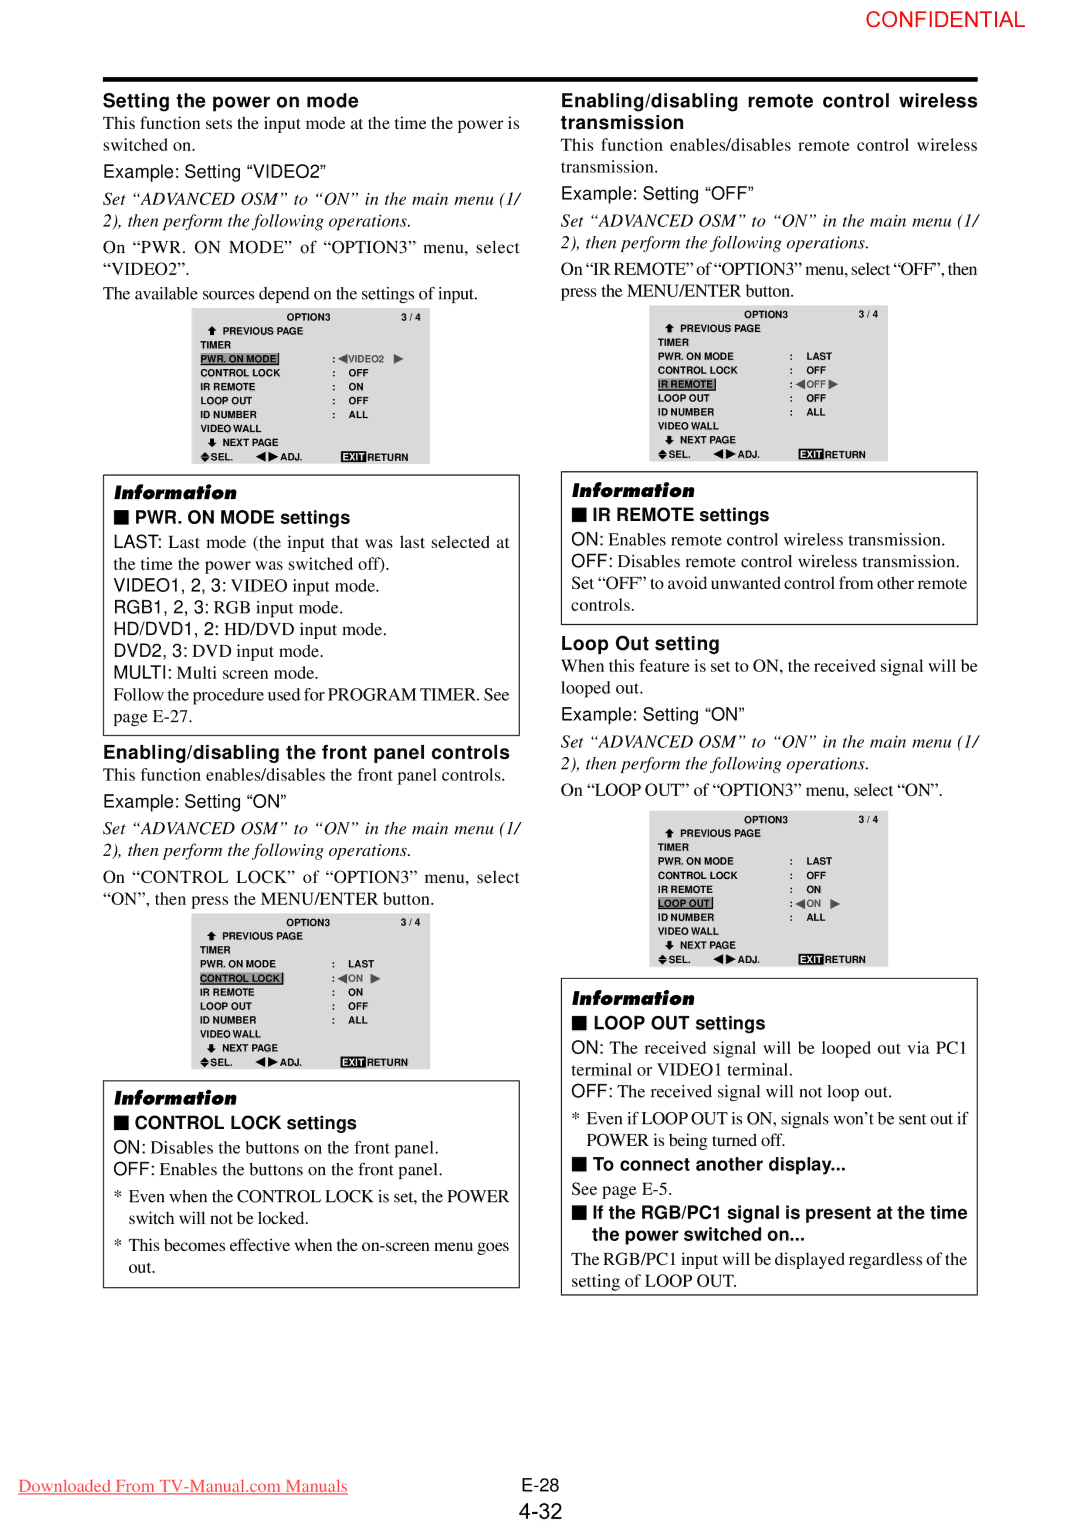
Setting the power on mode
This function sets the input mode at the time the power is switched on.
Example: Setting “VIDEO2”
Set “ADVANCED OSM” to “ON” in the main menu (1/ 2), then perform the following operations.
On “ PWR. ON MODE” of “ OPTION3” menu, select “ VIDEO2” .
The available sources depend on the settings of input.
|
| OPTION3 |
| 3 / 4 |
| PREVIOUS PAGE |
|
| |
TIMER |
|
| ||
|
|
| : | VIDEO2 |
| PWR. ON MODE |
| ||
CONTROL LOCK | : | OFF | ||
IR REMOTE | : | ON | ||
LOOP OUT | : | OFF | ||
ID NUMBER | : | ALL | ||
VIDEO WALL |
|
|
NEXT PAGE |
|
|
SEL. | ADJ. | EXIT RETURN |
Information
⬛PWR. ON MODE settings
LAST: Last mode (the input that was last selected at the time the power was switched off).
VIDEO1, 2, 3: VIDEO input mode.
RGB1, 2, 3: RGB input mode.
HD/DVD1, 2: HD/DVD input mode.
DVD2, 3: DVD input mode.
MULTI: Multi screen mode.
Follow the procedure used for PROGRAM TIMER. See page
Enabling/disabling the front panel controls
This function enables/disables the front panel controls.
Example: Setting “ON”
Set “ADVANCED OSM” to “ON” in the main menu (1/ 2), then perform the following operations.
On “ CONTROL LOCK” of “ OPTION3” menu, select “ ON” , then press the MENU/ENTER button.
|
| OPTION3 |
| 3 / 4 |
| PREVIOUS PAGE |
|
| |
TIMER |
|
| ||
PWR. ON MODE | : | LAST | ||
|
|
| : | ON |
| CONTROL LOCK |
| ||
IR REMOTE | : | ON | ||
LOOP OUT | : | OFF | ||
ID NUMBER | : | ALL | ||
VIDEO WALL |
|
|
NEXT PAGE |
|
|
SEL. | ADJ. | EXIT RETURN |
Information
⬛CONTROL LOCK settings
ON: Disables the buttons on the front panel.
OFF: Enables the buttons on the front panel.
*Even when the CONTROL LOCK is set, the POWER switch will not be locked.
*This becomes effective when the
Enabling/disabling remote control wireless transmission
This function enables/disables remote control wireless transmission.
Example: Setting “OFF”
Set “ADVANCED OSM” to “ON” in the main menu (1/ 2), then perform the following operations.
On “ IR REMOTE” of “ OPTION3” menu, select “ OFF” , then press the MENU/ENTER button.
|
| OPTION3 |
| 3 / 4 |
| PREVIOUS PAGE |
|
| |
TIMER |
|
| ||
PWR. ON MODE | : | LAST | ||
CONTROL LOCK | : | OFF | ||
|
|
| : | OFF |
| IR REMOTE |
| ||
LOOP OUT | : | OFF | ||
ID NUMBER | : | ALL | ||
VIDEO WALL |
|
|
NEXT PAGE |
|
|
SEL. | ADJ. | EXIT RETURN |
Information
⬛IR REMOTE settings
ON: Enables remote control wireless transmission.
OFF: Disables remote control wireless transmission. Set “ OFF” to avoid unwanted control from other remote controls.
Loop Out setting
When this feature is set to ON, the received signal will be looped out.
Example: Setting “ON”
Set “ADVANCED OSM” to “ON” in the main menu (1/ 2), then perform the following operations.
On “ LOOP OUT” of “ OPTION3” menu, select “ ON” .
| OPTION3 |
| 3 / 4 |
PREVIOUS PAGE |
|
| |
TIMER |
|
| |
PWR. ON MODE | : | LAST | |
CONTROL LOCK | : | OFF | |
IR REMOTE | : | ON | |
LOOP OUT |
| : | ON |
ID NUMBER | : | ALL | |
VIDEO WALL |
|
|
NEXT PAGE |
|
|
SEL. | ADJ. | EXIT RETURN |
Information
⬛LOOP OUT settings
ON: The received signal will be looped out via PC1 terminal or VIDEO1 terminal.
OFF: The received signal will not loop out.
*Even if LOOP OUT is ON, signals won’t be sent out if POWER is being turned off.
⬛To connect another display...
See page
⬛If the RGB/PC1 signal is present at the time the power switched on...
The RGB/PC1 input will be displayed regardless of the setting of LOOP OUT.
Downloaded From |