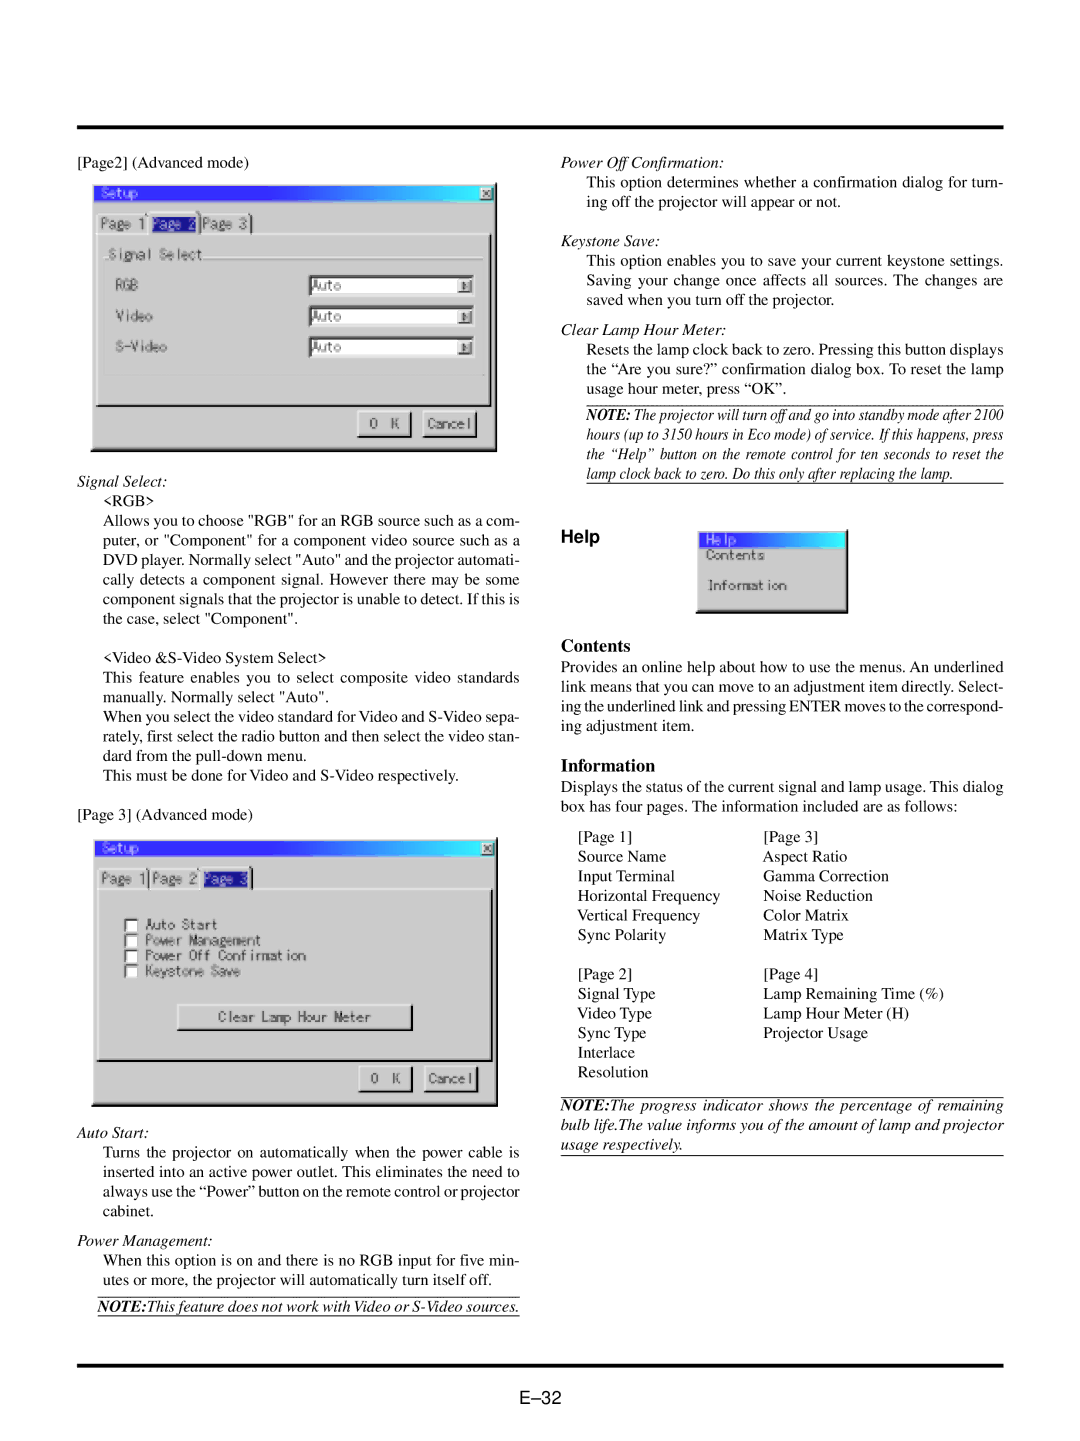
[Page2] (Advanced mode)
Signal Select:
<RGB>
Allows you to choose "RGB" for an RGB source such as a com- puter, or "Component" for a component video source such as a DVD player. Normally select "Auto" and the projector automati- cally detects a component signal. However there may be some component signals that the projector is unable to detect. If this is the case, select "Component".
<Video
This feature enables you to select composite video standards manually. Normally select "Auto".
When you select the video standard for Video and
This must be done for Video and
[Page 3] (Advanced mode)
Auto Start:
Turns the projector on automatically when the power cable is inserted into an active power outlet. This eliminates the need to always use the “Power” button on the remote control or projector cabinet.
Power Management:
When this option is on and there is no RGB input for five min- utes or more, the projector will automatically turn itself off.
NOTE:This feature does not work with Video or
Power Off Confirmation:
This option determines whether a confirmation dialog for turn- ing off the projector will appear or not.
Keystone Save:
This option enables you to save your current keystone settings. Saving your change once affects all sources. The changes are saved when you turn off the projector.
Clear Lamp Hour Meter:
Resets the lamp clock back to zero. Pressing this button displays the “Are you sure?” confirmation dialog box. To reset the lamp usage hour meter, press “OK”.
NOTE: The projector will turn off and go into standby mode after 2100 hours (up to 3150 hours in Eco mode) of service. If this happens, press the “Help” button on the remote control for ten seconds to reset the lamp clock back to zero. Do this only after replacing the lamp.
Help
Contents
Provides an online help about how to use the menus. An underlined link means that you can move to an adjustment item directly. Select- ing the underlined link and pressing ENTER moves to the correspond- ing adjustment item.
Information
Displays the status of the current signal and lamp usage. This dialog box has four pages. The information included are as follows:
[Page 1] | [Page 3] |
Source Name | Aspect Ratio |
Input Terminal | Gamma Correction |
Horizontal Frequency | Noise Reduction |
Vertical Frequency | Color Matrix |
Sync Polarity | Matrix Type |
[Page 2] | [Page 4] |
Signal Type | Lamp Remaining Time (%) |
Video Type | Lamp Hour Meter (H) |
Sync Type | Projector Usage |
Interlace |
|
Resolution |
|
NOTE:The progress indicator shows the percentage of remaining bulb life.The value informs you of the amount of lamp and projector usage respectively.
