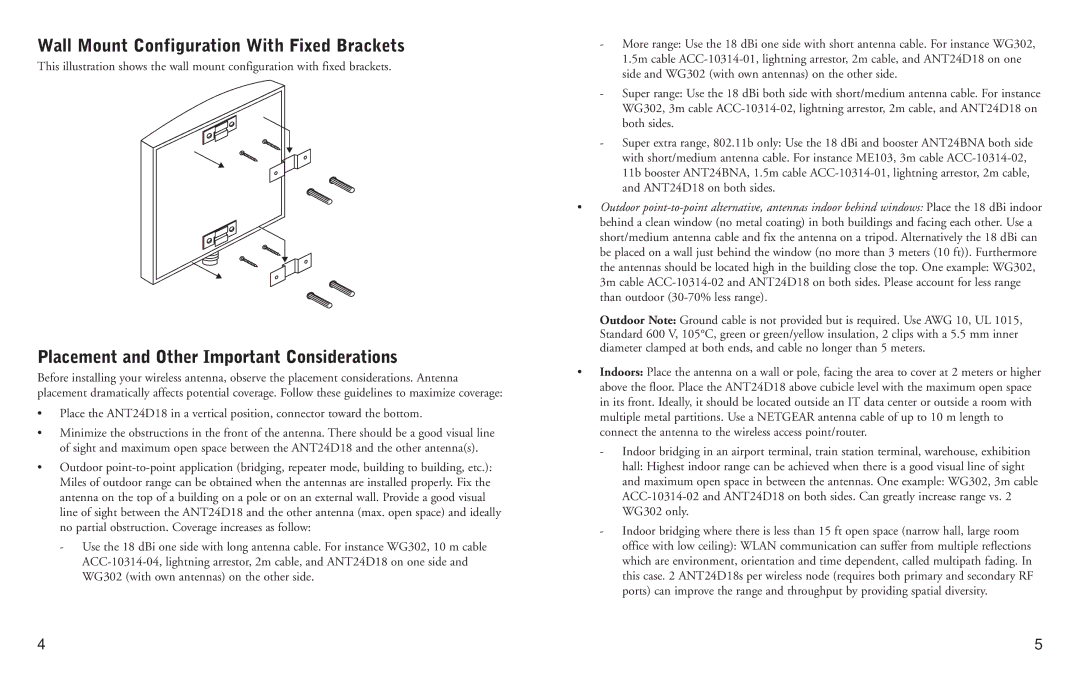
Wall Mount Configuration With Fixed Brackets
This illustration shows the wall mount configuration with fixed brackets.
Placement and Other Important Considerations
Before installing your wireless antenna, observe the placement considerations. Antenna placement dramatically affects potential coverage. Follow these guidelines to maximize coverage:
•Place the ANT24D18 in a vertical position, connector toward the bottom.
•Minimize the obstructions in the front of the antenna. There should be a good visual line of sight and maximum open space between the ANT24D18 and the other antenna(s).
•Outdoor
-Use the 18 dBi one side with long antenna cable. For instance WG302, 10 m cable
-More range: Use the 18 dBi one side with short antenna cable. For instance WG302, 1.5m cable
-Super range: Use the 18 dBi both side with short/medium antenna cable. For instance WG302, 3m cable
-Super extra range, 802.11b only: Use the 18 dBi and booster ANT24BNA both side with short/medium antenna cable. For instance ME103, 3m cable
•Outdoor
Outdoor Note: Ground cable is not provided but is required. Use AWG 10, UL 1015, Standard 600 V, 105°C, green or green/yellow insulation, 2 clips with a 5.5 mm inner diameter clamped at both ends, and cable no longer than 5 meters.
•Indoors: Place the antenna on a wall or pole, facing the area to cover at 2 meters or higher above the floor. Place the ANT24D18 above cubicle level with the maximum open space in its front. Ideally, it should be located outside an IT data center or outside a room with multiple metal partitions. Use a NETGEAR antenna cable of up to 10 m length to connect the antenna to the wireless access point/router.
-Indoor bridging in an airport terminal, train station terminal, warehouse, exhibition hall: Highest indoor range can be achieved when there is a good visual line of sight and maximum open space in between the antennas. One example: WG302, 3m cable
-Indoor bridging where there is less than 15 ft open space (narrow hall, large room office with low ceiling): WLAN communication can suffer from multiple reflections which are environment, orientation and time dependent, called multipath fading. In this case. 2 ANT24D18s per wireless node (requires both primary and secondary RF ports) can improve the range and throughput by providing spatial diversity.
4 | 5 |