Prepare the Site

Before you begin installing your switch, prepare the installation site. Make sure your operating environment meets the operating environment requirements of the equipment.

Characteristic

Requirement


Temperature

Ambient temperature between 0Gand 40GC (32Gand 104GF).


No nearby heat sources such as direct sunlight, warm air exhausts, or


heaters.


Operating humidity

Maximum relative humidity of 90%, noncondensing.


Ventilation

Minimum 2 inches (5.08 cm) on all sides for cooling.


Adequate airflow in room or wiring closet.


Operating conditions

At least 6 feet (1.83 m) to nearest source of electromagnetic noise (such


as photocopy machine or arc welder).


Power

Adequate power source within 6 feet (1.83 m).


Install the Switch

To install your switch on a flat surface, you do not need any special tools. Be sure the switch is positioned with at least 2 inches of space on all sides for ventilation.

To install the switch on a wall, measure the distance between the mounting holes on the back of the switch and mark the wall to match the location of the mounting holes on the switch. At the marks, screw into the wall the two screws in the mounting kit included in your package contents. Choose a location that is near the devices to be connected, is close to an electrical outlet, and provides at least 2 inches of space all around the switch for ventilation.

Connect Devices to the Switch

Before connecting the switch, be sure you review “Applications” for to determine the appropriate configuration for your networking needs.

To connect the switch:

1.Connect the devices to the 10/100 Mbps ports on the switch, using Category 5 UTP cable and an RJ-45 plug.

Note: Ethernet specifications limit the cable length between your PC or server and the switch to 328 feet (100 meters).

2.Set the Normal/Uplink push button.

The Normal/Uplink push button eliminates the need to use a crossover twisted pair cable for daisy-chaining or cascading. Use the following guidelines to configure port 1 and port 2 on the Model FS102 switch, port 4 on the Model FS104 switch, or port 8 on the Model FS108 switch for uplink or normal wiring:

Configure the port for normal wiring if the port is to be connected to an uplink-wired device, such as a network station or a PC.

Configure the port for uplink wiring if the port is to be connected to a normal-wired device, such as a 100 Mbps hub or another switch.

The remaining (normal) ports on the switch cannot be configured for uplink wiring. If you are using one of these ports to connect to another normal port, you must use a crossover twisted pair cable to connect the two ports. Refer to “Cable and Connector Information” for information about crossover twisted pair cable and straight-through twisted pair cable.

Model FS102, Model FS104, Model FS108 Fast Ethernt Switch Installation Guide

Page 10
Image 10
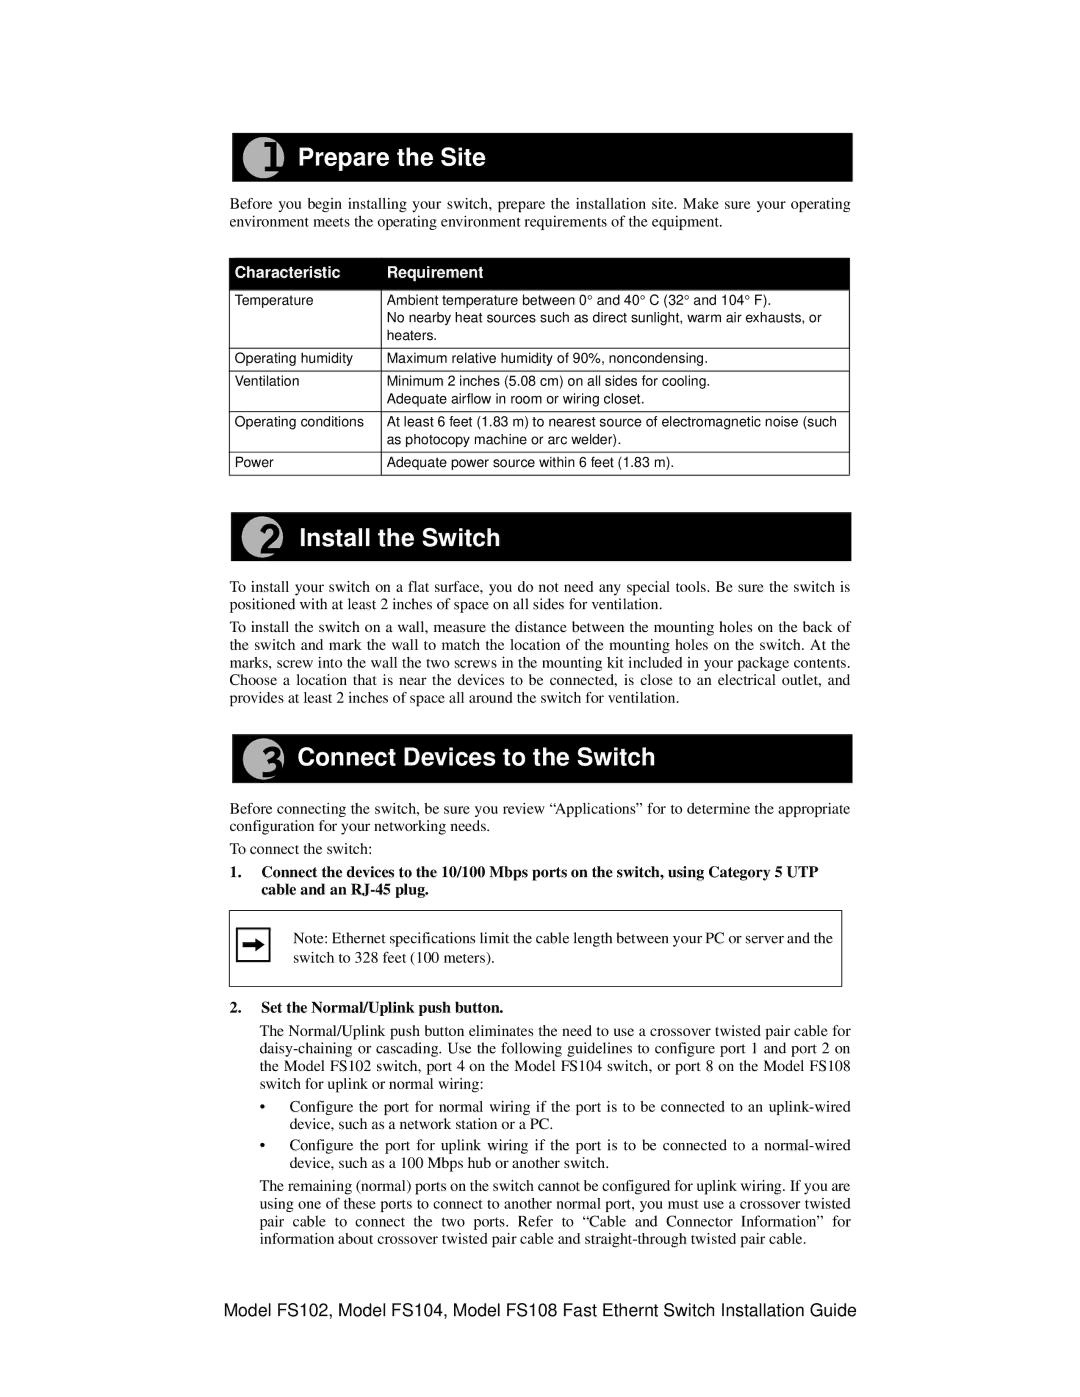
NETGEAR FS102 manual Prepare the Site, Install the Switch, Connect Devices to the Switch

FS102 specifications

The NETGEAR FS102 is a reliable and efficient unmanaged switch designed to enhance network performance for small to medium-sized businesses or home offices. With its simple plug-and-play setup, the FS102 requires no configuration, making it an ideal solution for users seeking immediate connectivity without the hassle of complex setups.

One of the main features of the NETGEAR FS102 is its 10/100 Mbps Ethernet ports, allowing for fast data transfers and seamless communication between connected devices. The switch is equipped with a total of two 10/100 Mbps ports, ensuring that multiple devices can be connected simultaneously without affecting speed or performance. This feature is particularly beneficial for environments that require multiple workstations, printers, or other network devices.

The FS102 is built with a compact design, making it easy to place on a desktop or mount in a rack. Its fanless operation provides silent performance, ensuring that it doesn’t disrupt the working environment, which is especially important in quiet office spaces or home offices.

Additionally, the NETGEAR FS102 incorporates Auto-MDI/MDI-X technology, allowing it to automatically detect and adjust to the type of cable connected, whether it's a straight-through or crossover cable. This eliminates the need for users to worry about the type of cable to use, further simplifying the installation process.

The switch also features a durable metal casing that provides robustness and enhances its longevity, making it suitable for various environments. It meets energy-efficient standards, consuming less power and generating less heat, which aligns with modern sustainability practices.

In terms of performance, the NETGEAR FS102 ensures low latency and high throughput, which are essential for applications such as VoIP and video streaming. Its ability to maintain network efficiency even under heavy loads makes it a dependable choice for businesses looking to optimize their operations.

In summary, the NETGEAR FS102 unmanaged switch delivers essential networking functionality with ease of use, making it an excellent addition for anyone looking to expand their connectivity options without the need for advanced networking knowledge. With its fast Ethernet ports, compact design, and robust features, it stands out as a strong contender in the unmanaged switch category.