6-32 Getting Started Guide
| IP Easy Setup Screen | |
Ethernet IP Address: | _______________________ | (192.168.1.1 |
|
| 255.255.255.0 |
Ethernet Subnet Mask: | _______________________ | are defaults) |
Domain Name: | _______________________ |
|
Primary Domain Name | _______________________ |
|
Server: |
|
|
Secondary Domain Name | _______________________ |
|
Server: |
|
|
Default IP Gateway: | _______________________ |
|
|
| |
| Easy Setup Security Configuration Screen | |
Write Access Name: | _______________________ |
|
Write Access Password: | _______________________ |
|
|
|
|
The following steps will get you up and running quickly:
1.Open a Telnet session to 192.168.1.1 to bring up the Main Menu.
If you don't know how to do this, see “Connecting through a Telnet Session” on page
Alternatively, you can connect the console cable and open a direct serial console connection, using a terminal emulator program. See “Connecting a Console Cable to Your Router” on page
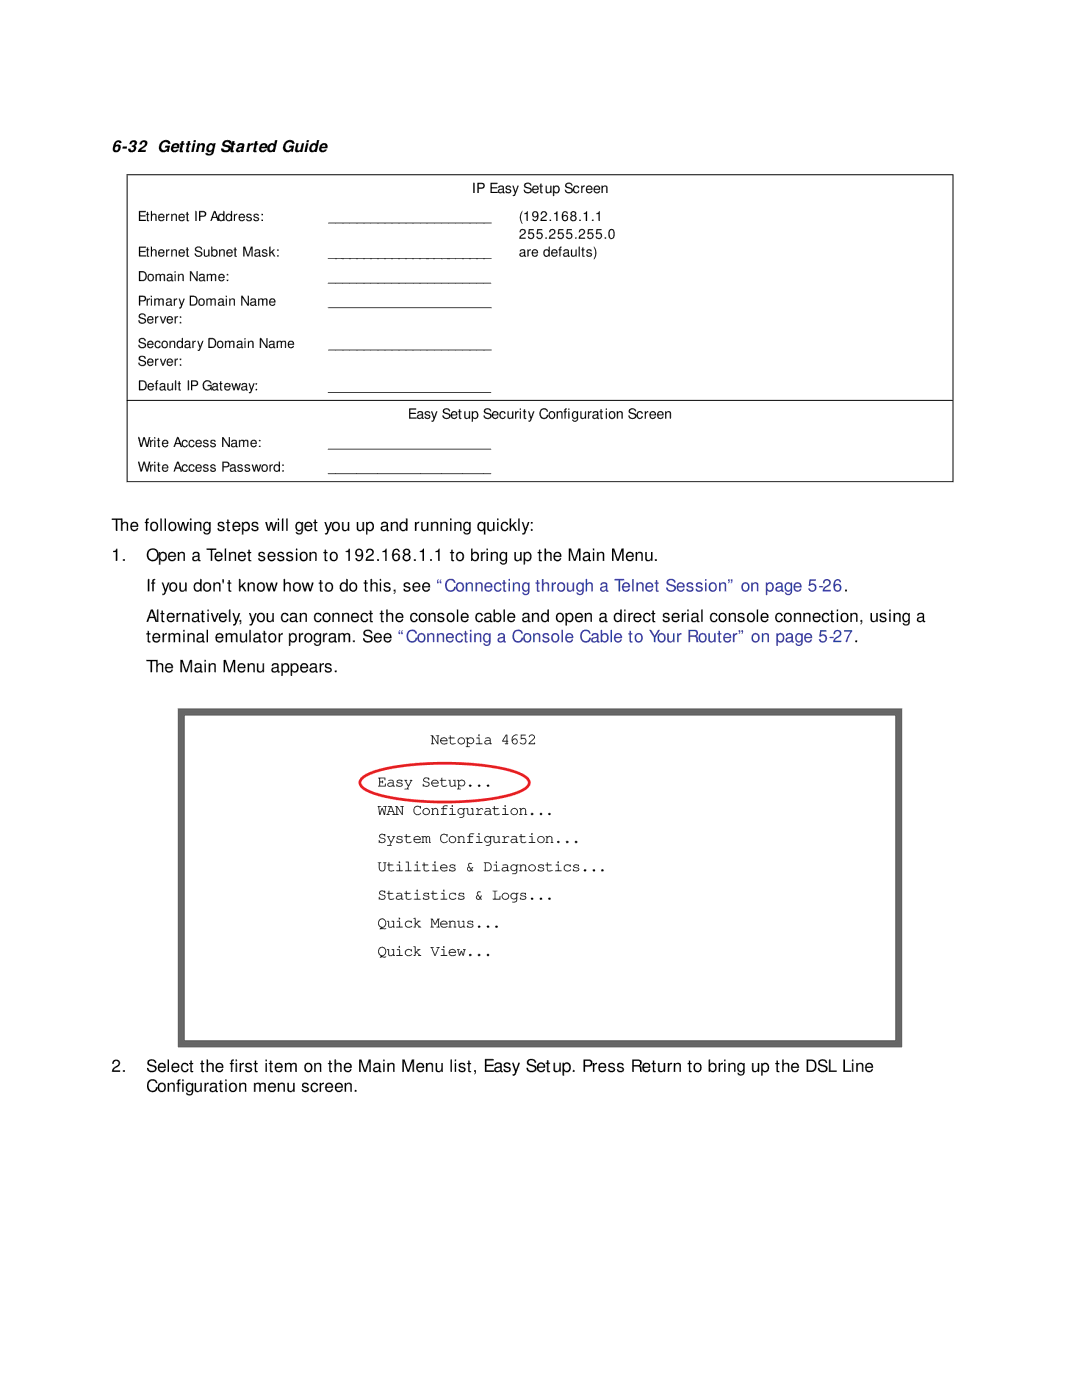
The Main Menu appears.
Netopia 4652
Easy Setup...
WAN Configuration...
System Configuration...
Utilities & Diagnostics...
Statistics & Logs...
Quick Menus...
Quick View...
2.Select the first item on the Main Menu list, Easy Setup. Press Return to bring up the DSL Line Configuration menu screen.
