RFT2 Rack Kit Installation Guide
Step | Detail |
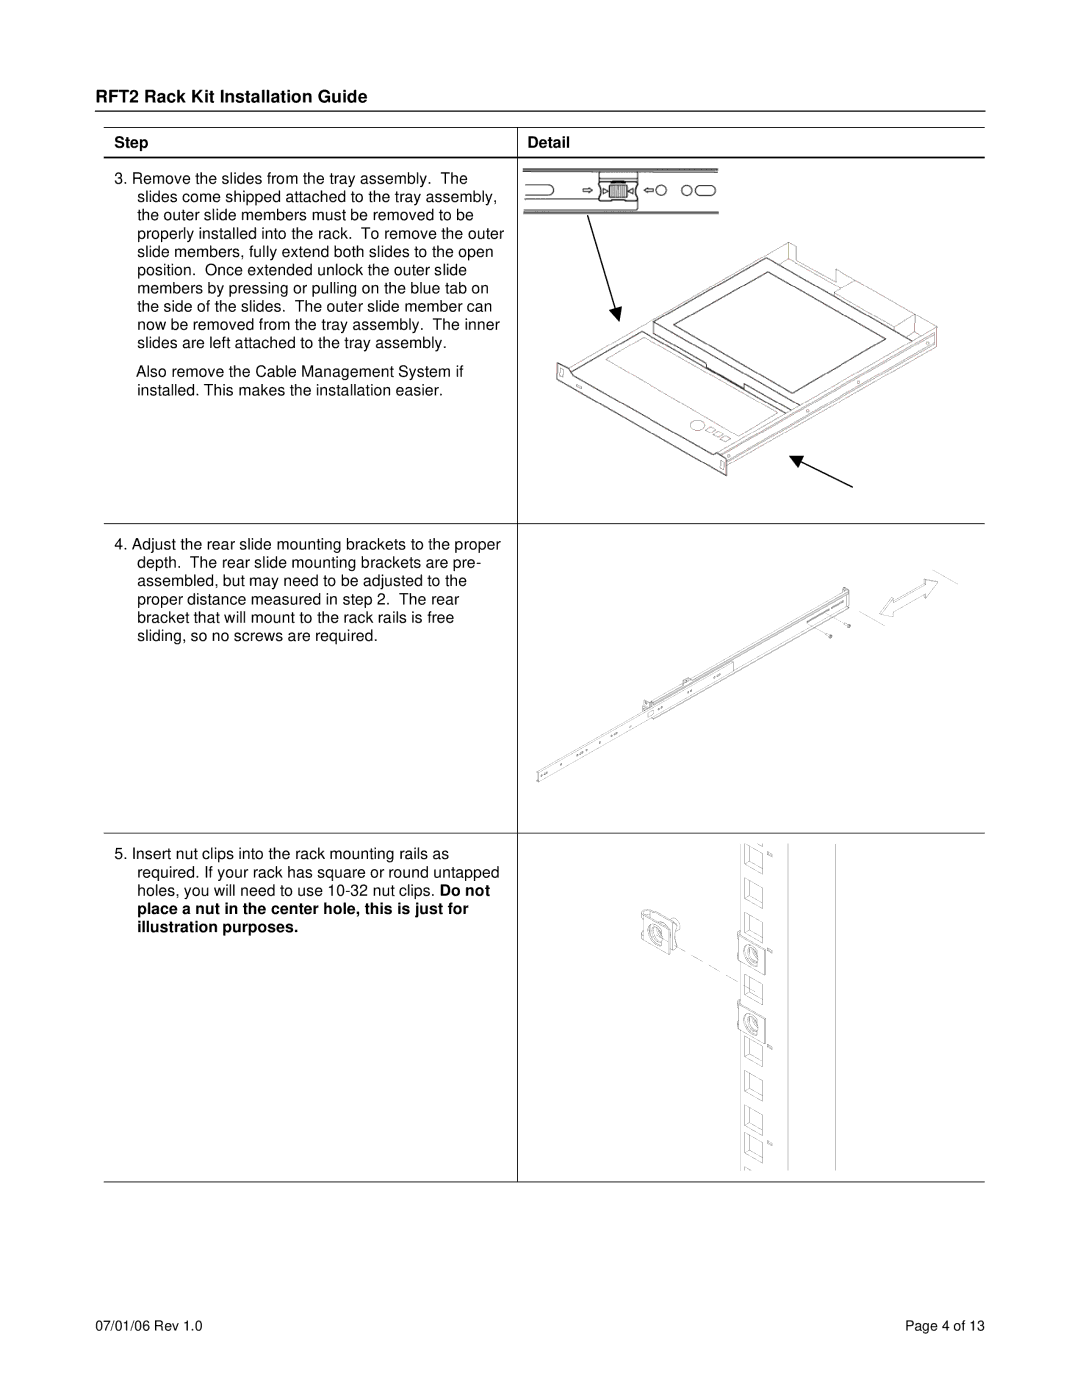
3.Remove the slides from the tray assembly. The slides come shipped attached to the tray assembly, the outer slide members must be removed to be properly installed into the rack. To remove the outer slide members, fully extend both slides to the open position. Once extended unlock the outer slide members by pressing or pulling on the blue tab on the side of the slides. The outer slide member can now be removed from the tray assembly. The inner slides are left attached to the tray assembly.
Also remove the Cable Management System if installed. This makes the installation easier.
4.Adjust the rear slide mounting brackets to the proper depth. The rear slide mounting brackets are pre- assembled, but may need to be adjusted to the proper distance measured in step 2. The rear bracket that will mount to the rack rails is free sliding, so no screws are required.
5.Insert nut clips into the rack mounting rails as required. If your rack has square or round untapped holes, you will need to use
07/01/06 Rev 1.0 | Page 4 of 13 |