INSTALLATION OF MODEL 32 (WS)
WITH OPTIONAL WOODEN SURROUND(KIT#PA-KDM32)
A. Determine the desired location for your heater and wooden surround. See “Freestanding
Installation” for minimum clearances.
BTo install metal filler strips to the surround (after completing step 2 of surround assembly), position the wooden mantel over the unit, centering it up in the cabinet. Place the metal filler strips to the side of the cabinet, allowing 1/4" air space between the strips and side of the cabinet. Make a light pencil mark on strip. Remove the wooden mantel from around cabinet. Align the pencil mark with the inner edge of the cabinet from back side. Using the screws provided with heater, fasten strips to the back of the mantel.(At this point complete steps 3 and 4 of surround assembly)
CMake sure wooden mantel is in correct position. Place the heater into the surround. Connect gas line to the heater, following all the instruction in this manual completely
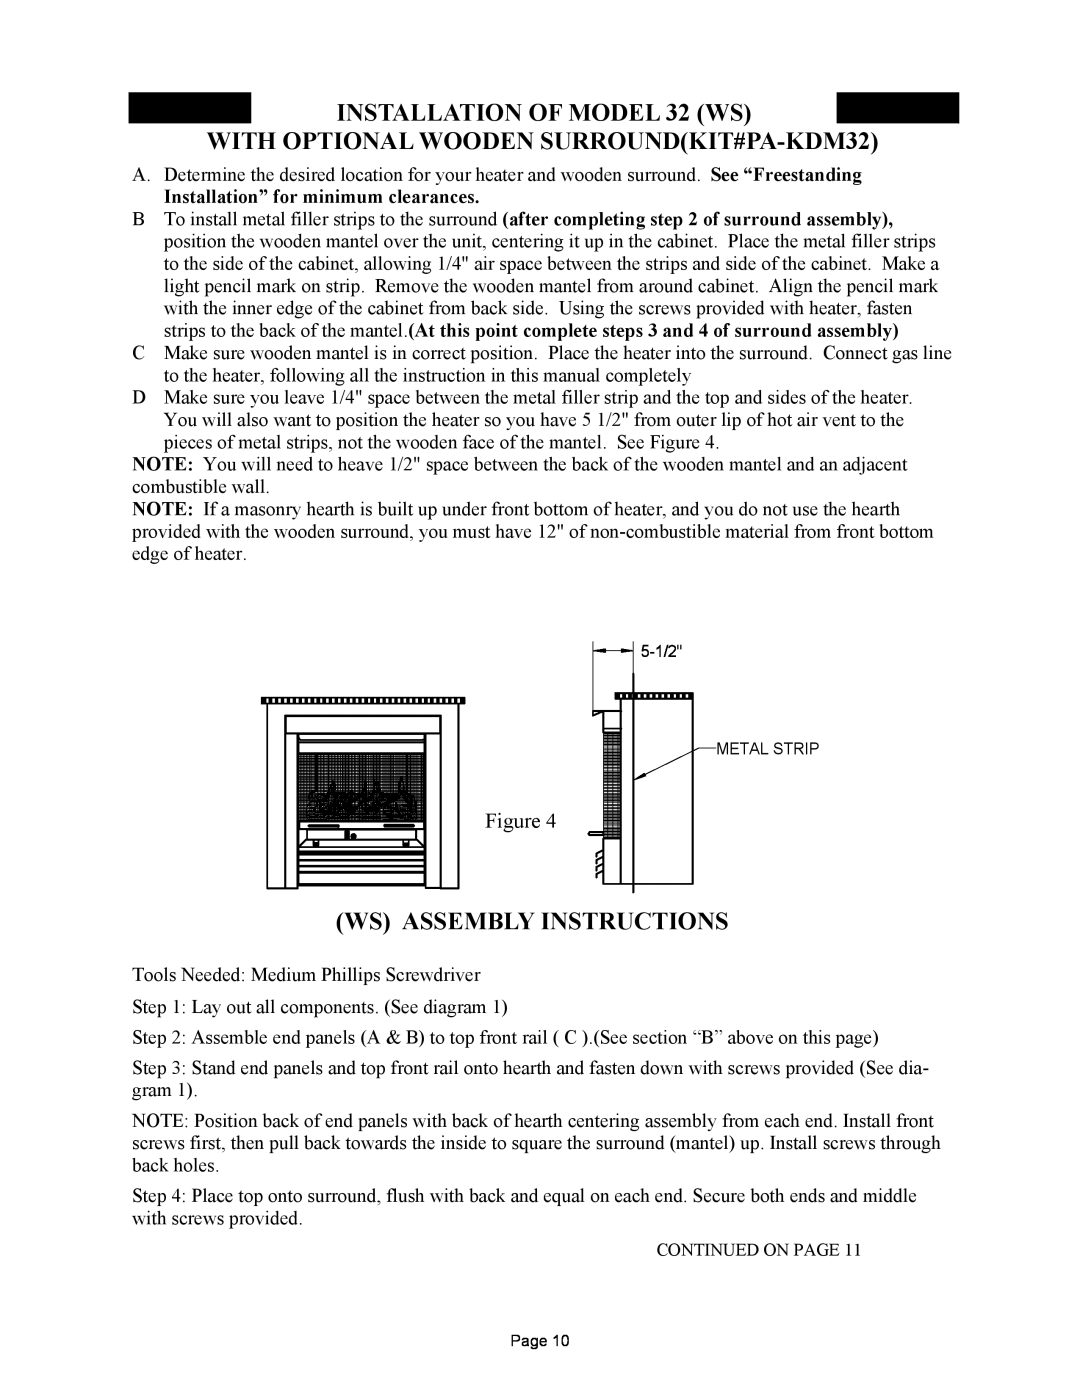
DMake sure you leave 1/4" space between the metal filler strip and the top and sides of the heater.
You will also want to position the heater so you have 5 1/2" from outer lip of hot air vent to the pieces of metal strips, not the wooden face of the mantel. See Figure 4.
NOTE: You will need to heave 1/2" space between the back of the wooden mantel and an adjacent combustible wall.
NOTE: If a masonry hearth is built up under front bottom of heater, and you do not use the hearth provided with the wooden surround, you must have 12" of
![]()
![]()
METAL STRIP
Figure 4
(WS) ASSEMBLY INSTRUCTIONS
Tools Needed: Medium Phillips Screwdriver
Step 1: Lay out all components. (See diagram 1)
Step 2: Assemble end panels (A & B) to top front rail ( C ).(See section “B” above on this page)
Step 3: Stand end panels and top front rail onto hearth and fasten down with screws provided (See dia- gram 1).
NOTE: Position back of end panels with back of hearth centering assembly from each end. Install front screws first, then pull back towards the inside to square the surround (mantel) up. Install screws through back holes.
Step 4: Place top onto surround, flush with back and equal on each end. Secure both ends and middle with screws provided.
CONTINUED ON PAGE 11
Page 10