Use this method for sharp focus on selected points when framing portraits in the viewfinder.
Technical Data
■Lens: AF-S NIKKOR 70-200mm f/2.8G ED VR II ■ Exposure mode: Manual ■ Shutter speed: ½00 s ■ Aperture: f/4.5 ■ White balance: Auto 2 ■ ISO sensitivity: 640 ■ Picture control: Portrait
Note: This photo was shot in 14-bit NEF (RAW) and processed using Capture NX 2.
Photo © Cliff Mautner
Vibration Reduction (VR)
We recommend using VR lenses with the vibration reduction switch in the ON position. Vi- bration reduction takes effect when the shutter-release but- ton is pressed halfway, reducing the effects of camera shake on the image in the viewfinder and making it easier to frame pictures and focus.
If the lens has a vibration mode switch, choose NORMAL for hand-held photography or when using a monopod. Vibration reduction should generally be turned off when the camera is on a tripod (exceptions can be made for the AF-S NIKKOR 200mm f/2G ED VR II and other lenses with a TRIPOD option).
 Lesson 1: Choose the Right Focus Settings
Portrait subjects are mobile and more easily photographed without a tripod, but generally remain in one spot long enough for single-point, single-servo autofocus. This photo shoot shows that a portrait photographer must be able to reliably focus on a selected point; hence the choice of single- point AF, which unlike auto-area and dynamic-area AF, en- sures that the camera always focuses on a point selected by the photographer.
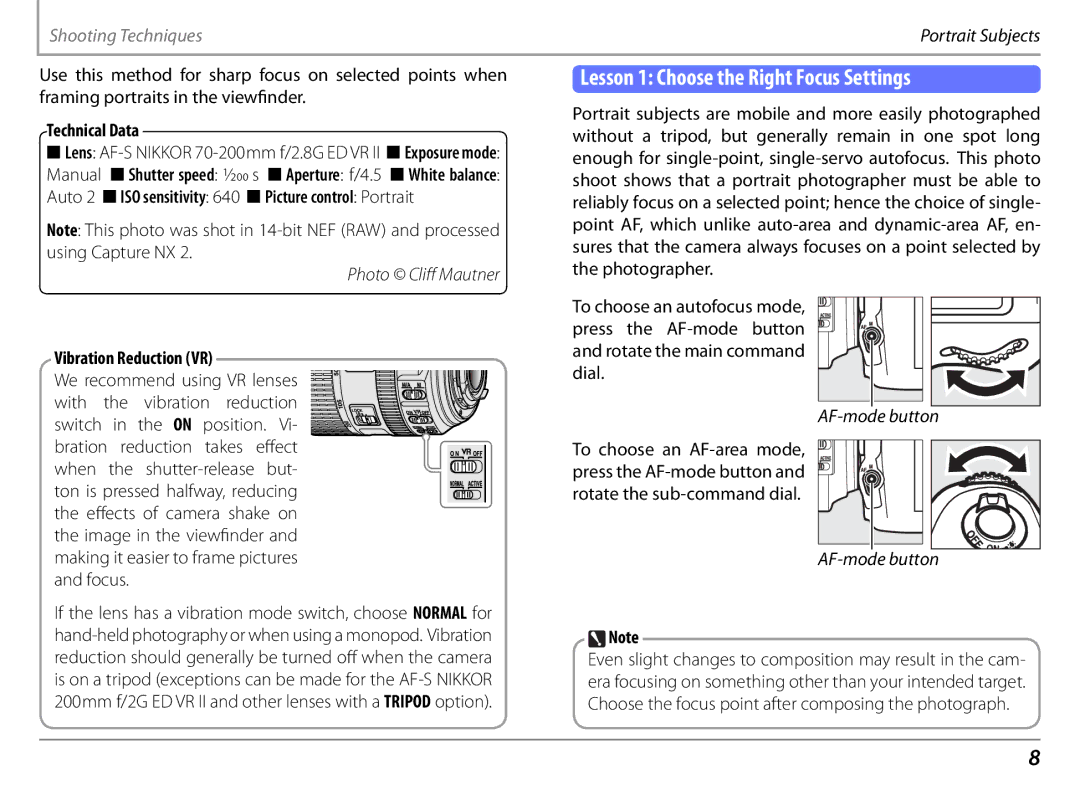
To choose an autofocus mode, press the AF-mode button
  and rotate the main command dial.
AF-mode button
To choose an AF-area mode, press the AF-mode button and rotate the sub-command dial.
AF-mode button
Note
Even slight changes to composition may result in the cam- era focusing on something other than your intended target. Choose the focus point after composing the photograph.

 Lesson 1: Choose the Right Focus Settings
![]() press the
press the ![]() and rotate the main command dial.
and rotate the main command dial.