THE INFORMATION MODE/DEMO MODE
The console features an information mode that keeps track of the total number of miles that the walking belt has moved and the total number of hours that the treadmill has been operated. The information mode also allows you to switch the console from miles to kilometres. In addition, the information mode allows you to turn on and turn off the demo mode.
To select the information mode, hold down the Stop button whilst inserting the key into the console. When the information mode is selected, the following informa- tion will be shown:
The Distance/Laps display will show the total number of miles or kilometres that the walking belt has moved.
The Time/Pace display will show the total number of hours that the treadmill has been used.
An “E” for English miles or an “M” for metric kilometres will appear in the Speed display. Press the Speed + button to change the unit of measure- ment.
IMPORTANT: The Calories/Fat Calories dis- play should be blank. If a “d” appears in the display,
the console is in the “demo” mode. This mode is in-
tended to be used only when a treadmill is displayed in a store. When the console is in the demo mode, the power cord can be plugged in, the key can be removed from the console, and the displays and indicators on the console will automatically light in a preset se- quence; the buttons on the console cannot be operated.
If a “d” appears in the Calories/Pulse display when the information mode is selected, press the Speed
– button so the display is blank.
To exit the information mode, remove the key from the console.
resting on the upper
contacts, and your fin- gers must be touching the lower contacts— avoid moving your hands. When your
pulse is detected, the Heart Rate indicator will flash, two or three dashes (– –
7Turn on the fans if desired.
To turn on the fans at low speed, press the Fans button. To turn on the fans at high speed, press the Fans button a second time. To turn off the fans, press the Fans button a third time. Note: Any time that the walking belt is stopped for a few min- utes, the fans will automatically turn off.
When you are finished exercising, stop the
8walking belt and remove the key.
Step onto the foot rails, press the Stop button, and adjust the incline of the treadmill to the lowest level. The incline must be at the lowest level when the treadmill is raised to the storage po- sition or the treadmill will be damaged. Next, remove the key from the console and put it in a secure place. Note: If the displays and indica- tors on the console remain lit after the key is removed, the console is in the “demo” mode. Refer to page 24 and turn off the demo mode.
When you are finished using the treadmill, move the on/off switch near the power cord to the off position and unplug the power cord.
HOW TO USE PRESET PROGRAMS
1Insert the key fully into the console.
See HOW TO TURN ON THE POWER on page 11.
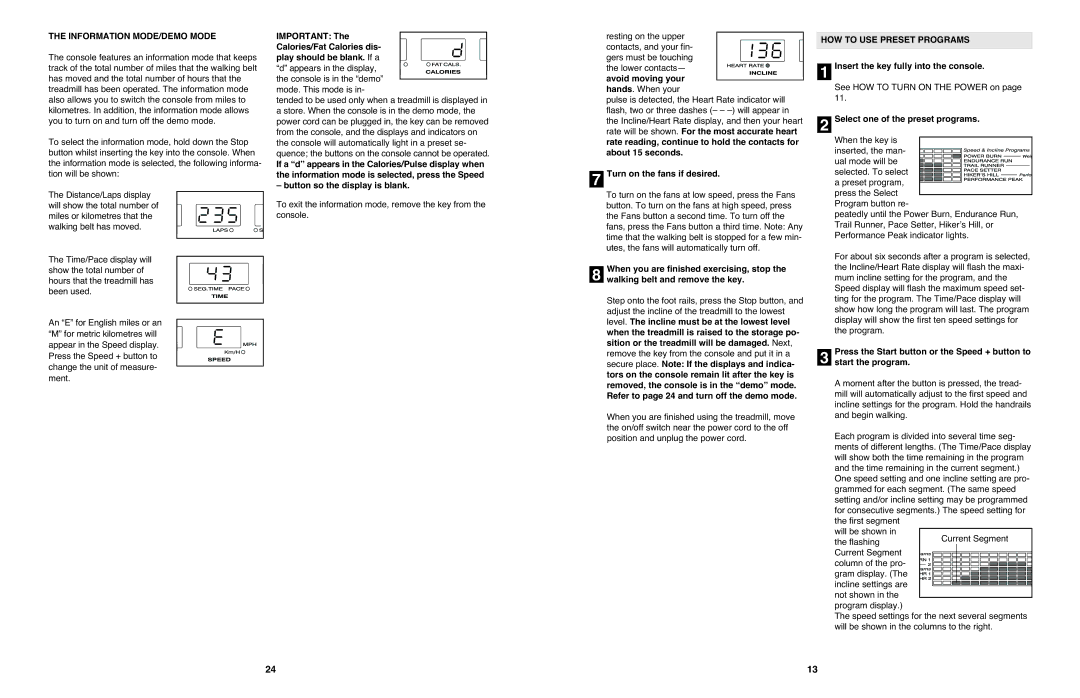
2Select one of the preset programs.
When the key is
inserted, the man- ual mode will be selected. To select
a preset program, press the Select
Program button re-
peatedly until the Power Burn, Endurance Run, Trail Runner, Pace Setter, Hiker’s Hill, or Performance Peak indicator lights.
For about six seconds after a program is selected, the Incline/Heart Rate display will flash the maxi- mum incline setting for the program, and the Speed display will flash the maximum speed set- ting for the program. The Time/Pace display will show how long the program will last. The program display will show the first ten speed settings for the program.
Press the Start button or the Speed + button to
3start the program.
A moment after the button is pressed, the tread- mill will automatically adjust to the first speed and incline settings for the program. Hold the handrails and begin walking.
Each program is divided into several time seg- ments of different lengths. (The Time/Pace display will show both the time remaining in the program and the time remaining in the current segment.) One speed setting and one incline setting are pro- grammed for each segment. (The same speed setting and/or incline setting may be programmed for consecutive segments.) The speed setting for the first segment
will be shown in
the flashing Current Segment column of the pro- gram display. (The incline settings are not shown in the
program display.)
The speed settings for the next several segments will be shown in the columns to the right.
24 | 13 |