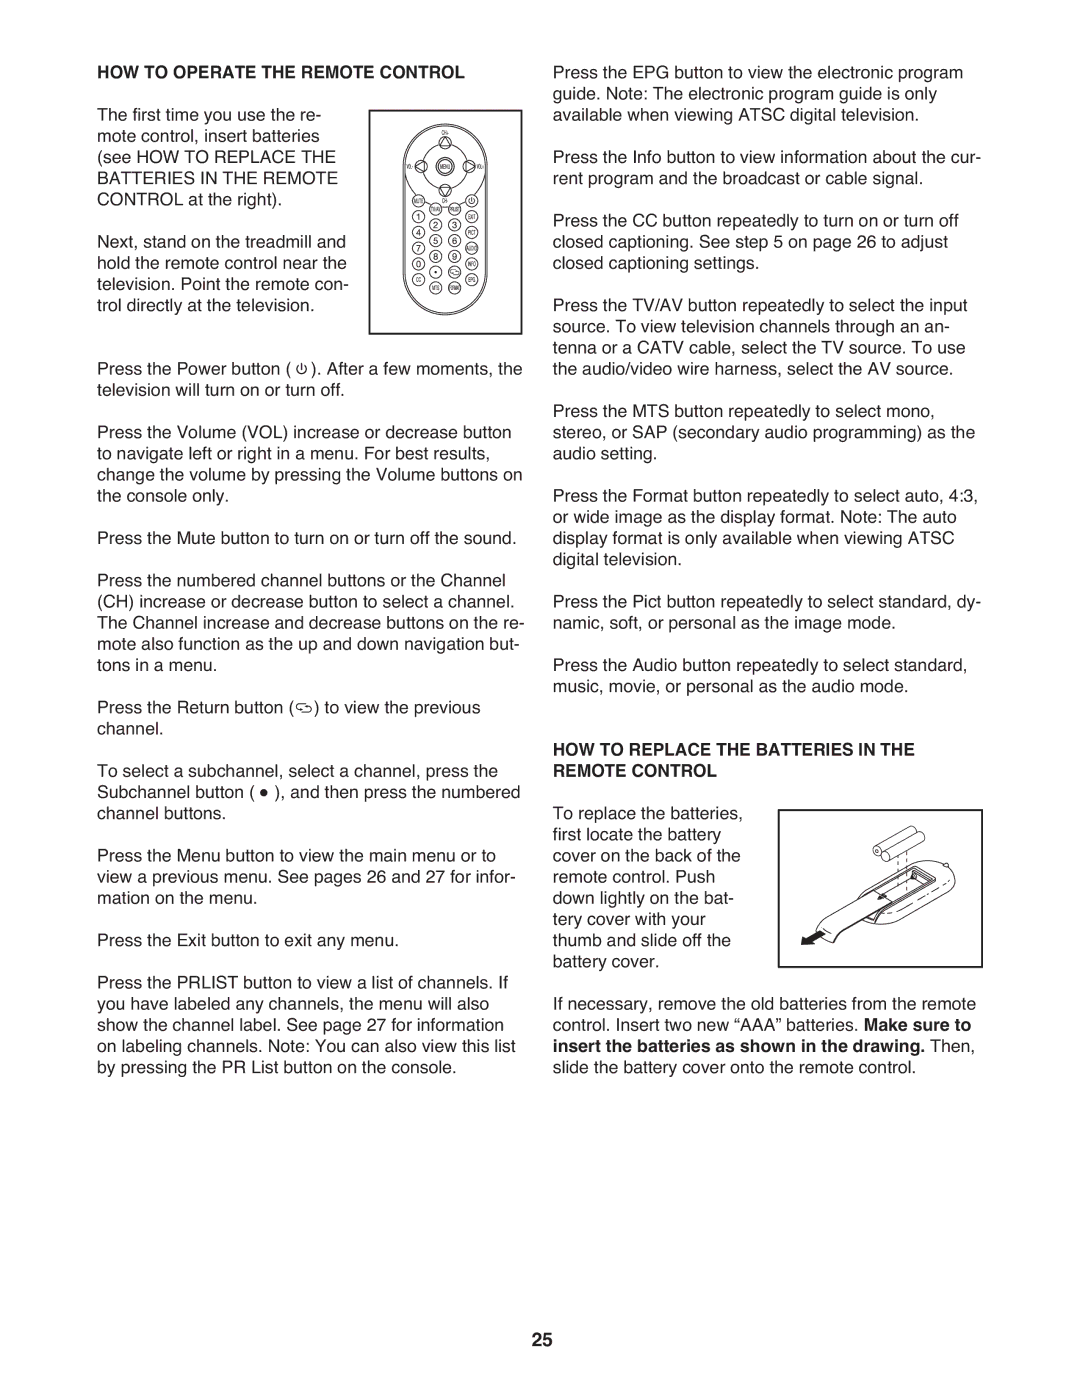
HOW TO OPERATE THE REMOTE CONTROL
The first time you use the re- mote control, insert batteries (see HOW TO REPLACE THE BATTERIES IN THE REMOTE
CONTROL at the right). Next, stand on the treadmill and hold the remote control near the
television. Point the remote con- trol directly at the television.
Press the Power button ( ). After a few moments, the television will turn on or turn off.
Press the Volume (VOL) increase or decrease button to navigate left or right in a menu. For best results, change the volume by pressing the Volume buttons on the console only.
Press the Mute button to turn on or turn off the sound. Press the numbered channel buttons or the Channel (CH) increase or decrease button to select a channel. The Channel increase and decrease buttons on the re- mote also function as the up and down navigation but- tons in a menu.
Press the Return button ( ) to view the previous channel.
To select a subchannel, select a channel, press the Subchannel button ( ), and then press the numbered channel buttons.
Press the Menu button to view the main menu or to view a previous menu. See pages 26 and 27 for infor- mation on the menu.
Press the Exit button to exit any menu.
Press the PRLIST button to view a list of channels. If you have labeled any channels, the menu will also show the channel label. See page 27 for information on labeling channels. Note: You can also view this list by pressing the PR List button on the console.
Press the EPG button to view the electronic program guide. Note: The electronic program guide is only available when viewing ATSC digital television.
Press the Info button to view information about the cur- rent program and the broadcast or cable signal.
Press the CC button repeatedly to turn on or turn off closed captioning. See step 5 on page 26 to adjust closed captioning settings.
Press the TV/AV button repeatedly to select the input source. To view television channels through an an- tenna or a CATV cable, select the TV source. To use the audio/video wire harness, select the AV source. Press the MTS button repeatedly to select mono, stereo, or SAP (secondary audio programming) as the audio setting.
Press the Format button repeatedly to select auto, 4:3, or wide image as the display format. Note: The auto display format is only available when viewing ATSC digital television.
Press the Pict button repeatedly to select standard, dy- namic, soft, or personal as the image mode.
Press the Audio button repeatedly to select standard, music, movie, or personal as the audio mode.
HOW TO REPLACE THE BATTERIES IN THE REMOTE CONTROL
To replace the batteries, first locate the battery cover on the back of the remote control. Push down lightly on the bat- tery cover with your thumb and slide off the battery cover.
If necessary, remove the old batteries from the remote control. Insert two new “AAA” batteries. Make sure to insert the batteries as shown in the drawing. Then, slide the battery cover onto the remote control.
25
