
DS-5000iD, DS-5000 specifications
The Olympus DS-5000 and DS-5000iD are advanced digital voice recorders designed to enhance the efficiency of professionals across various fields, including healthcare, legal, and business environments. These devices stand out due to their superior recording capabilities, robust security features, and user-friendly design.One of the key features of the DS-5000 series is its high-quality recording capabilities. The devices utilize a high-fidelity microphone array that captures audio with remarkable clarity and detail. This ensures that every word is recorded accurately, which is essential for dictation or preserving important meetings. Furthermore, the DS-5000 model offers multiple recording formats, including MP3 and WAV, allowing users to choose the best quality for their needs.
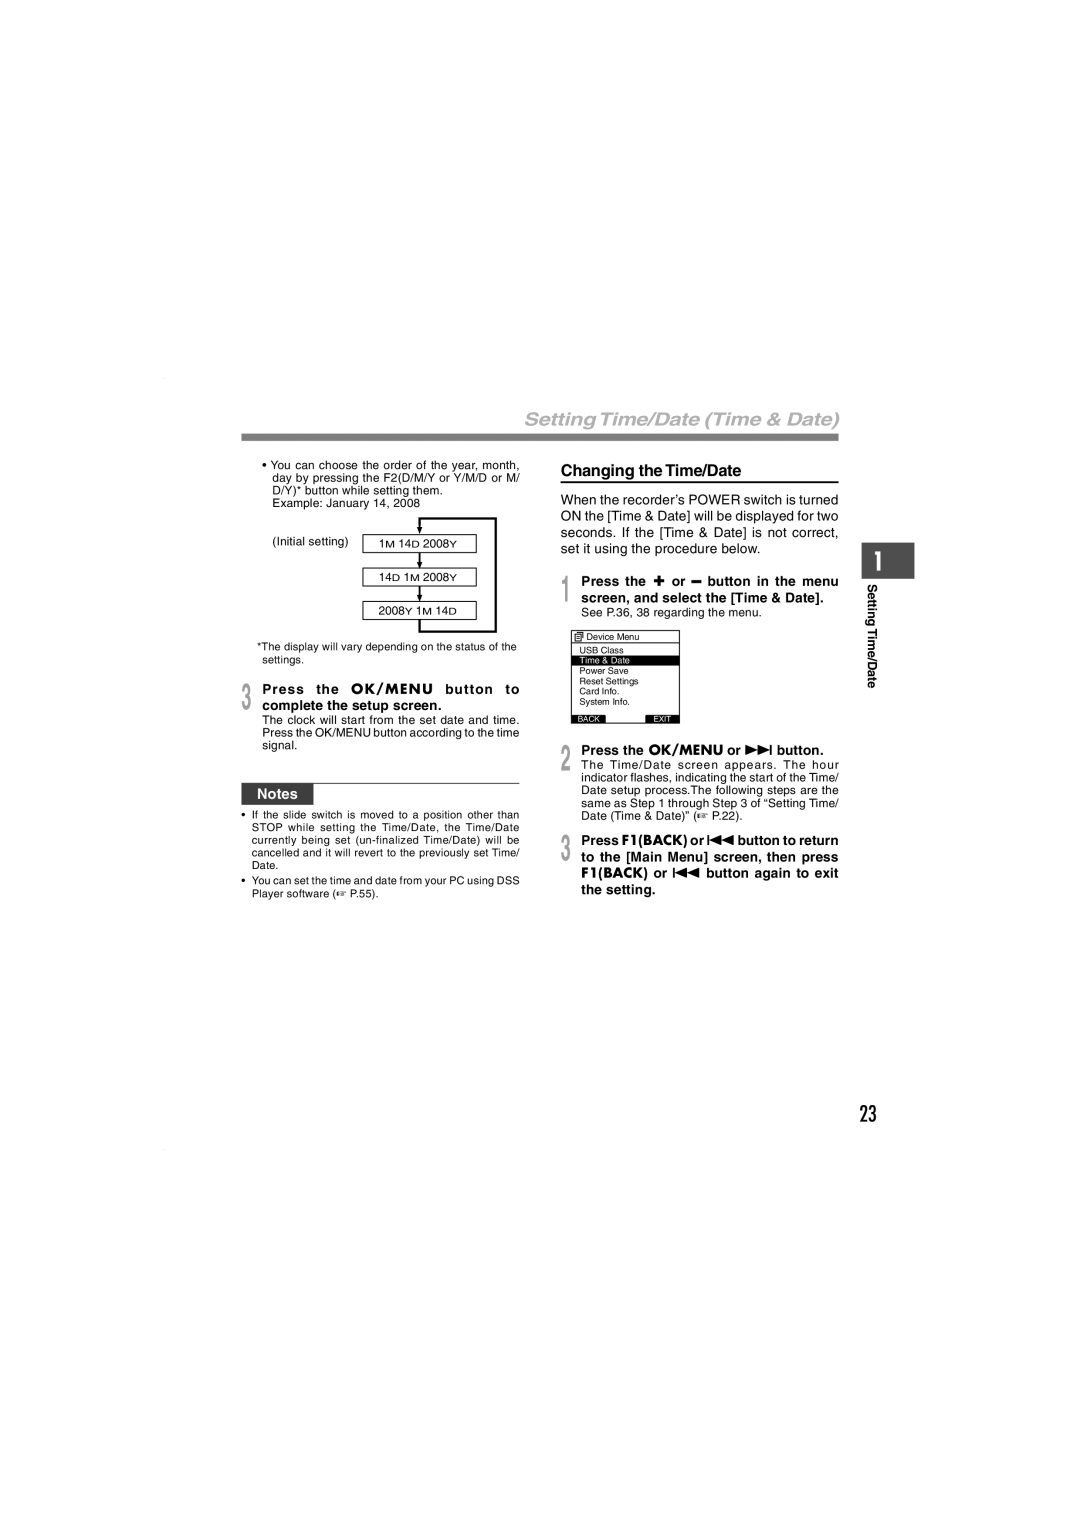
Both models boast a large, easy-to-read LCD display, enabling users to navigate through menus and settings with ease. The intuitive controls ensure that even those unfamiliar with technology can operate the devices effortlessly. Additionally, the customizable function keys allow users to set shortcuts for frequently used commands, enhancing productivity.
A standout feature of the DS-5000iD is its advanced security options, which include a fingerprint sensor. This biometric security measure ensures that sensitive recordings remain confidential and only accessible to authorized personnel. The integration of 256-bit file encryption further protects data integrity, making it an ideal choice for professionals handling confidential information.
Connectivity is another strong point, as both models support USB and SD card options for easy transfer and storage of files. The DS-5000 and DS-5000iD are compatible with Olympus Dictation Management System software, which facilitates seamless file management and transcription, streamlining workflow processes for users.
Battery life is also impressive, with both models designed to endure extended use without frequent recharging. The long-lasting battery ensures that professionals can rely on the recorders throughout the day, whether in meetings, interviews, or dictation sessions.
In summary, the Olympus DS-5000 and DS-5000iD are high-performance digital voice recorders that provide exceptional sound quality, robust security features, and user-friendly operation. Their advanced technologies and characteristics make them an indispensable tool for professionals who demand efficiency and reliability in their audio recording needs.