key and then pushing it again will decrement the value (^v key works as a toggle
Setup For Low Scale
After setting a channel's High Scale, the next parameter to be set is Low Scale. This parameter determines what number will be displayed when the transducer puts out its minimum signal. For example, suppose a pressure transducer produces a 0Vdc to 5Vdc signal which corresponds to 10psi to 75psi. In this case the display should read 10 when 0Vdc is measured. To do this, set the Lo Scale=10.
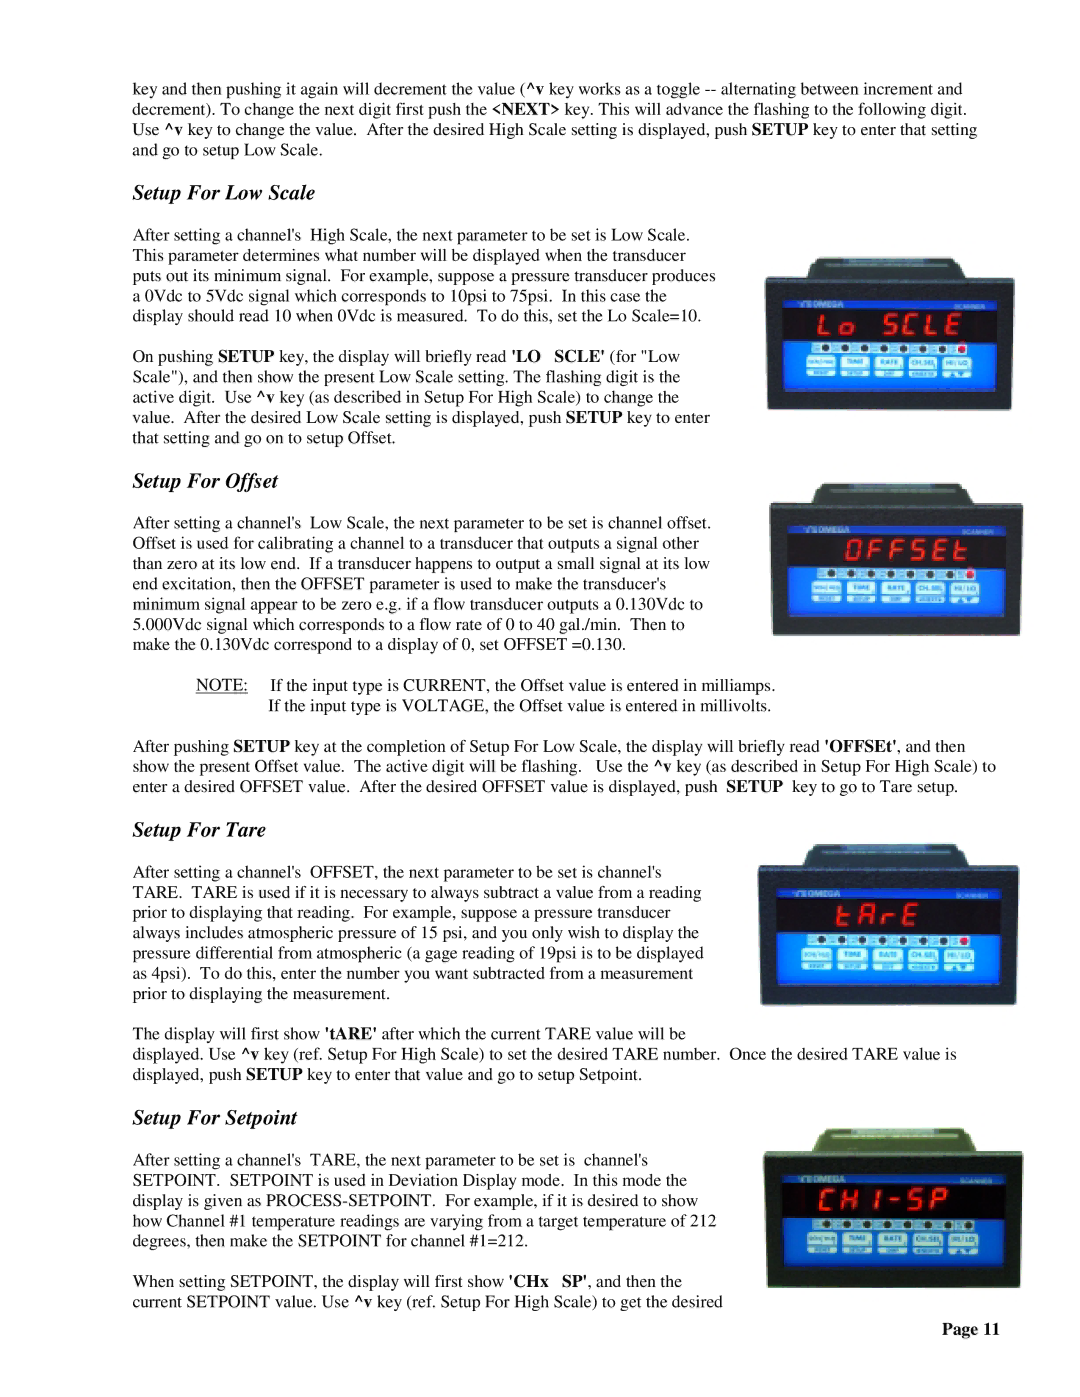
On pushing SETUP key, the display will briefly read 'LO SCLE' (for "Low Scale"), and then show the present Low Scale setting. The flashing digit is the active digit. Use ^v key (as described in Setup For High Scale) to change the value. After the desired Low Scale setting is displayed, push SETUP key to enter that setting and go on to setup Offset.
Setup For Offset
After setting a channel's Low Scale, the next parameter to be set is channel offset. Offset is used for calibrating a channel to a transducer that outputs a signal other than zero at its low end. If a transducer happens to output a small signal at its low end excitation, then the OFFSET parameter is used to make the transducer's minimum signal appear to be zero e.g. if a flow transducer outputs a 0.130Vdc to 5.000Vdc signal which corresponds to a flow rate of 0 to 40 gal./min. Then to make the 0.130Vdc correspond to a display of 0, set OFFSET =0.130.
NOTE: If the input type is CURRENT, the Offset value is entered in milliamps.
If the input type is VOLTAGE, the Offset value is entered in millivolts.
After pushing SETUP key at the completion of Setup For Low Scale, the display will briefly read 'OFFSEt', and then show the present Offset value. The active digit will be flashing. Use the ^v key (as described in Setup For High Scale) to enter a desired OFFSET value. After the desired OFFSET value is displayed, push SETUP key to go to Tare setup.
Setup For Tare
After setting a channel's OFFSET, the next parameter to be set is channel's TARE. TARE is used if it is necessary to always subtract a value from a reading prior to displaying that reading. For example, suppose a pressure transducer always includes atmospheric pressure of 15 psi, and you only wish to display the pressure differential from atmospheric (a gage reading of 19psi is to be displayed as 4psi). To do this, enter the number you want subtracted from a measurement prior to displaying the measurement.
The display will first show 'tARE' after which the current TARE value will be
displayed. Use ^v key (ref. Setup For High Scale) to set the desired TARE number. Once the desired TARE value is displayed, push SETUP key to enter that value and go to setup Setpoint.
Setup For Setpoint
After setting a channel's TARE, the next parameter to be set is channel's SETPOINT. SETPOINT is used in Deviation Display mode. In this mode the display is given as
When setting SETPOINT, the display will first show 'CHx SP', and then the current SETPOINT value. Use ^v key (ref. Setup For High Scale) to get the desired
Page 11
