desired value is displayed, push SETUP key to enter that value and go to the next step.
Voltage Range Setup (for millivolt inputs)
For Millivolt input units, the display first shows 'HV rnGE' (for "High Voltage Range"). After the High Voltage range is set, the display shows 'LV rnGE' (for "Low Voltage Range"). Enter values for respective inputs.
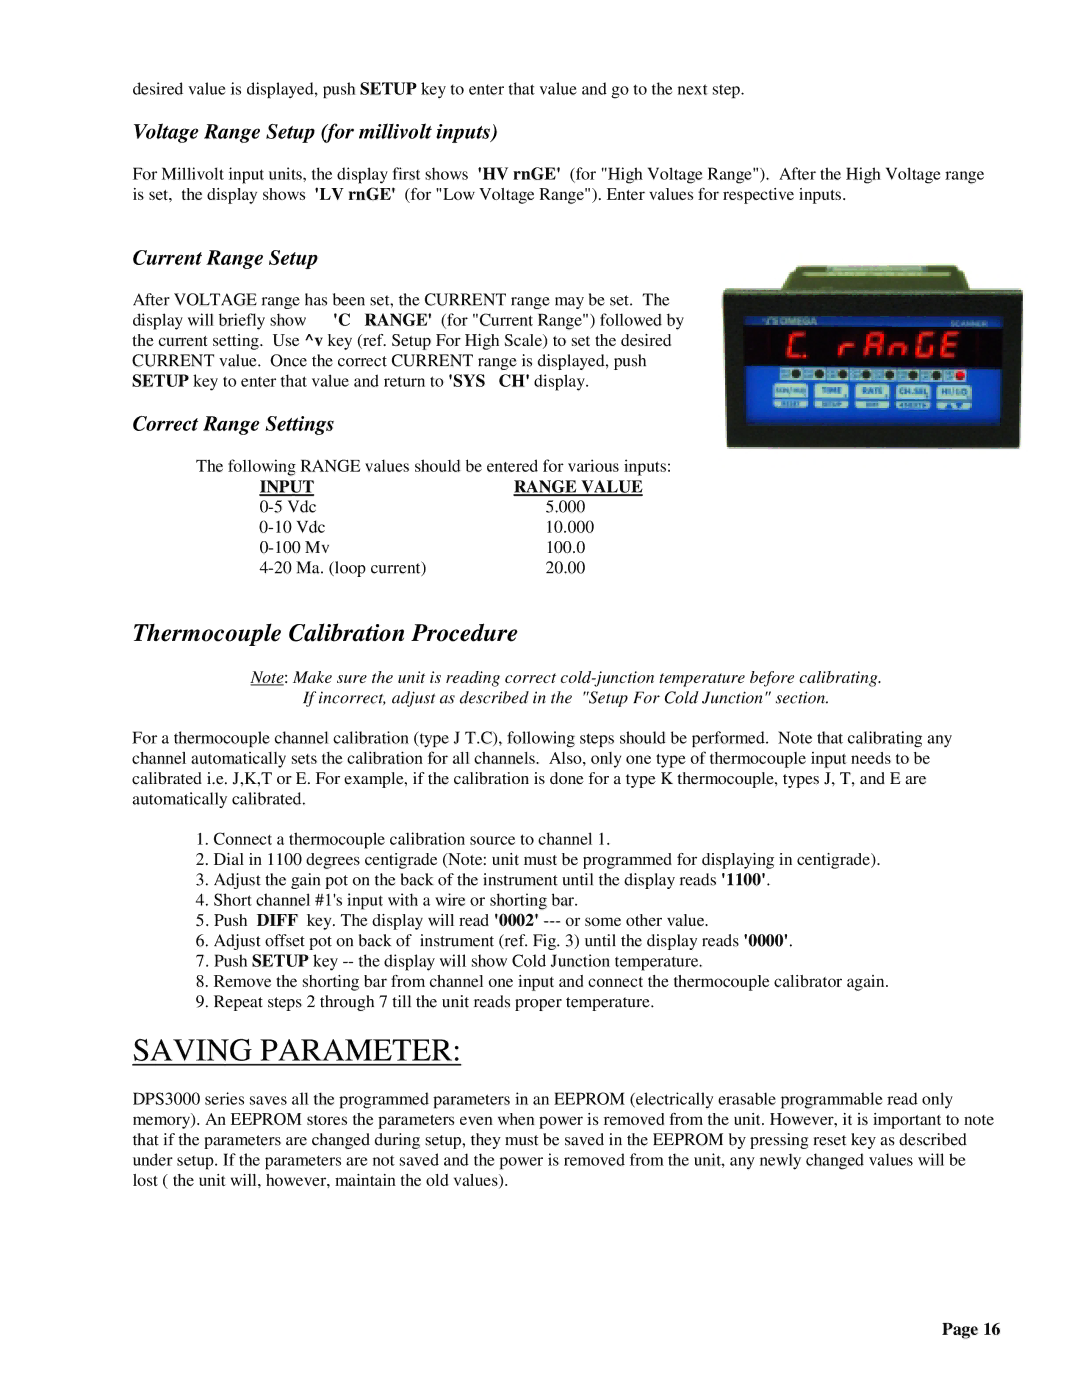
Current Range Setup
After VOLTAGE range has been set, the CURRENT range may be set. The display will briefly show 'C RANGE' (for "Current Range") followed by the current setting. Use ^v key (ref. Setup For High Scale) to set the desired CURRENT value. Once the correct CURRENT range is displayed, push SETUP key to enter that value and return to 'SYS CH' display.
Correct Range Settings
The following RANGE values should be entered for various inputs:
INPUT | RANGE VALUE | |
5.000 | ||
Vdc | 10.000 | |
100.0 | ||
Ma. (loop current) | 20.00 | |
Thermocouple Calibration Procedure
Note: Make sure the unit is reading correct
If incorrect, adjust as described in the "Setup For Cold Junction" section.
For a thermocouple channel calibration (type J T.C), following steps should be performed. Note that calibrating any channel automatically sets the calibration for all channels. Also, only one type of thermocouple input needs to be calibrated i.e. J,K,T or E. For example, if the calibration is done for a type K thermocouple, types J, T, and E are automatically calibrated.
1.Connect a thermocouple calibration source to channel 1.
2.Dial in 1100 degrees centigrade (Note: unit must be programmed for displaying in centigrade).
3.Adjust the gain pot on the back of the instrument until the display reads '1100'.
4.Short channel #1's input with a wire or shorting bar.
5.Push DIFF key. The display will read '0002'
6.Adjust offset pot on back of instrument (ref. Fig. 3) until the display reads '0000'.
7.Push SETUP key
8.Remove the shorting bar from channel one input and connect the thermocouple calibrator again.
9.Repeat steps 2 through 7 till the unit reads proper temperature.
SAVING PARAMETER:
DPS3000 series saves all the programmed parameters in an EEPROM (electrically erasable programmable read only memory). An EEPROM stores the parameters even when power is removed from the unit. However, it is important to note that if the parameters are changed during setup, they must be saved in the EEPROM by pressing reset key as described under setup. If the parameters are not saved and the power is removed from the unit, any newly changed values will be lost ( the unit will, however, maintain the old values).
Page 16