CLEANING THE TAPE- HANDLING PARTS
Clean the tape head after about ev- ery 20 hours of playing time. Insert a special
RESTORING TAPE TENSION AND SOUND QUALITY
After you play a cassette tape a few times, the tape might become tightly wound on the reels. This can cause playback sound quality to deterio- rate.
To restore the sound quality, fast- forward the tape from the beginning to the end of one side, then rewind it. Then loosen the tape reels by gently tapping each side of the cassette’s outer shell on a flat surface.
Caution: Be careful not to damage the cassette when tapping it. Do not touch the exposed tape or allow any sharp objects near the cassette.
22
REPLACING A FUSE
If the stereo does not operate, you might need to replace the POWER LEAD (B+) wire’s
Caution: Do not use a fuse with rat- ings other than those specified here. Doing so might damage your stereo.
Follow these steps to replace either of your stereo’s fuses.
1.Disconnect the cable from your vehicle’s negative (– ) battery ter- minal.
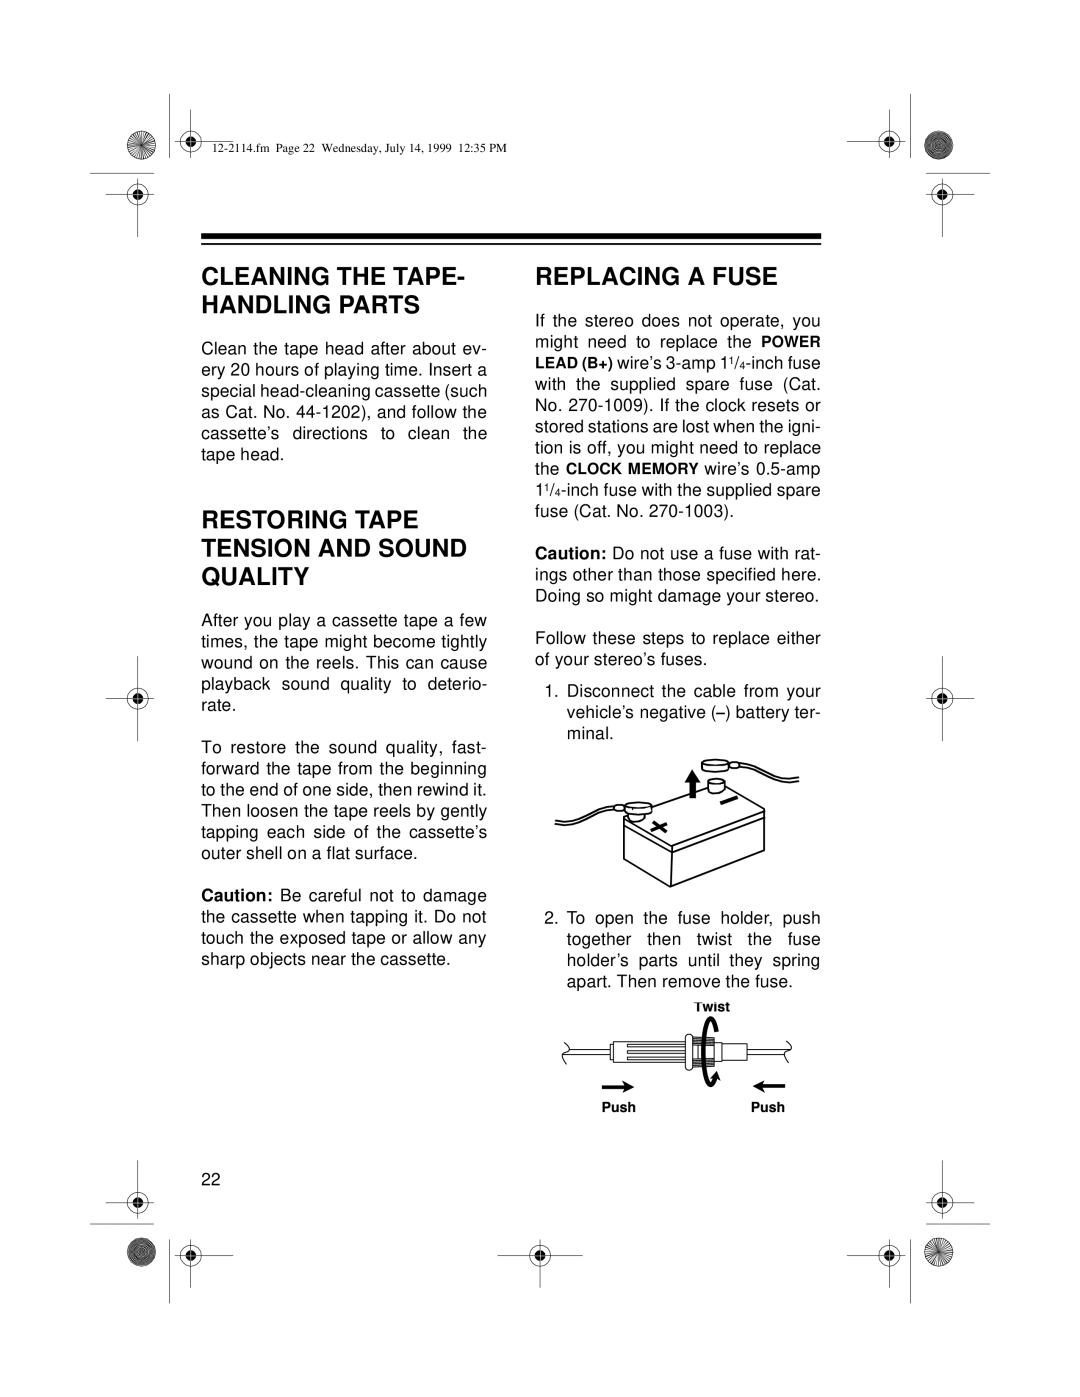
2.To open the fuse holder, push together then twist the fuse holder’s parts until they spring apart. Then remove the fuse.