CAMCORDER CONNECTIONS
Your VCR has jacks on its front panel that let you easily connect a camcorder or other video source. You can also connect a camcorder to the AUDIO IN 1/VIDEO IN 1 (Model 114) or
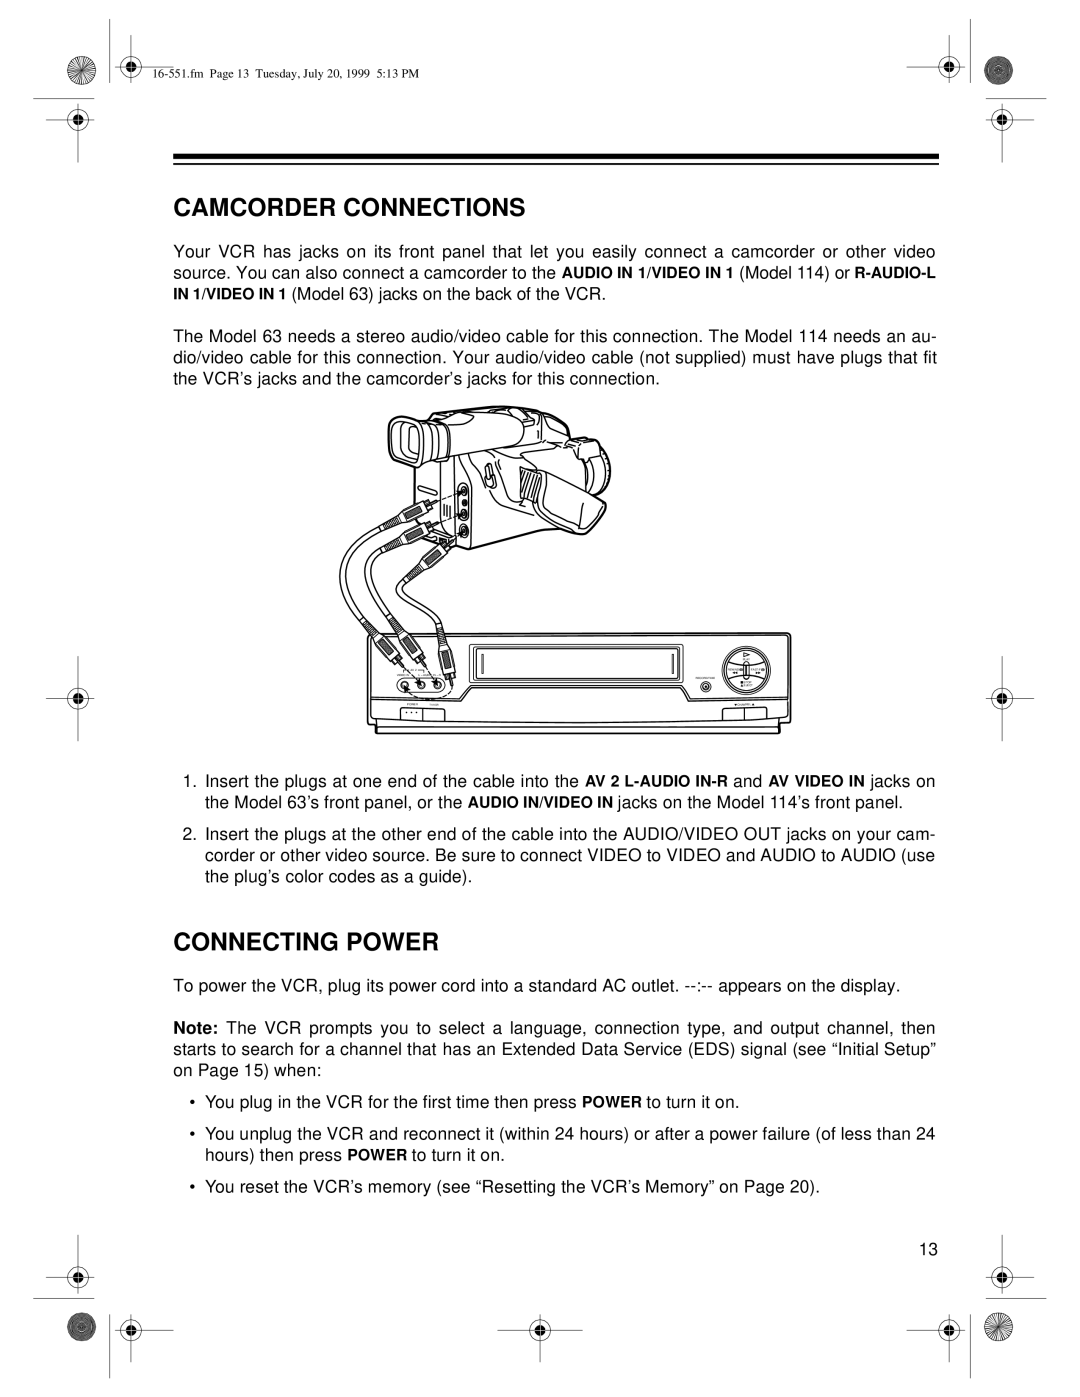
The Model 63 needs a stereo audio/video cable for this connection. The Model 114 needs an au- dio/video cable for this connection. Your audio/video cable (not supplied) must have plugs that fit the VCR’s jacks and the camcorder’s jacks for this connection.
![]() AV 2
AV 2
VIDEO IN | L – AUDIO IN – R |
POWER TV/VCR
PLAY
REWIND![]()
![]()
RECORD/TIME
![]() STOP
STOP
![]() EJECT
EJECT
1.Insert the plugs at one end of the cable into the AV 2
2.Insert the plugs at the other end of the cable into the AUDIO/VIDEO OUT jacks on your cam- corder or other video source. Be sure to connect VIDEO to VIDEO and AUDIO to AUDIO (use the plug’s color codes as a guide).
CONNECTING POWER
To power the VCR, plug its power cord into a standard AC outlet.
Note: The VCR prompts you to select a language, connection type, and output channel, then starts to search for a channel that has an Extended Data Service (EDS) signal (see “Initial Setup” on Page 15) when:
•You plug in the VCR for the first time then press POWER to turn it on.
•You unplug the VCR and reconnect it (within 24 hours) or after a power failure (of less than 24 hours) then press POWER to turn it on.
•You reset the VCR’s memory (see “Resetting the VCR’s Memory” on Page 20).
13