Preparation

Connecting the CD Changer to Your Receiver or Amplifier

Note: If you place the CD changer too near other audio components or their wires, you might hear a hum when you play a CD. Move the components or their wires to eliminate the hum.

Caution: Do not connect the CD changer to AC power until you complete all other connections.

1.Select a location for your CD changer that is near your receiver or ampli- fier and a standard AC outlet.

Caution: Do not place the CD changer on top of the receiver or amplifier or on any other component that gets hot.

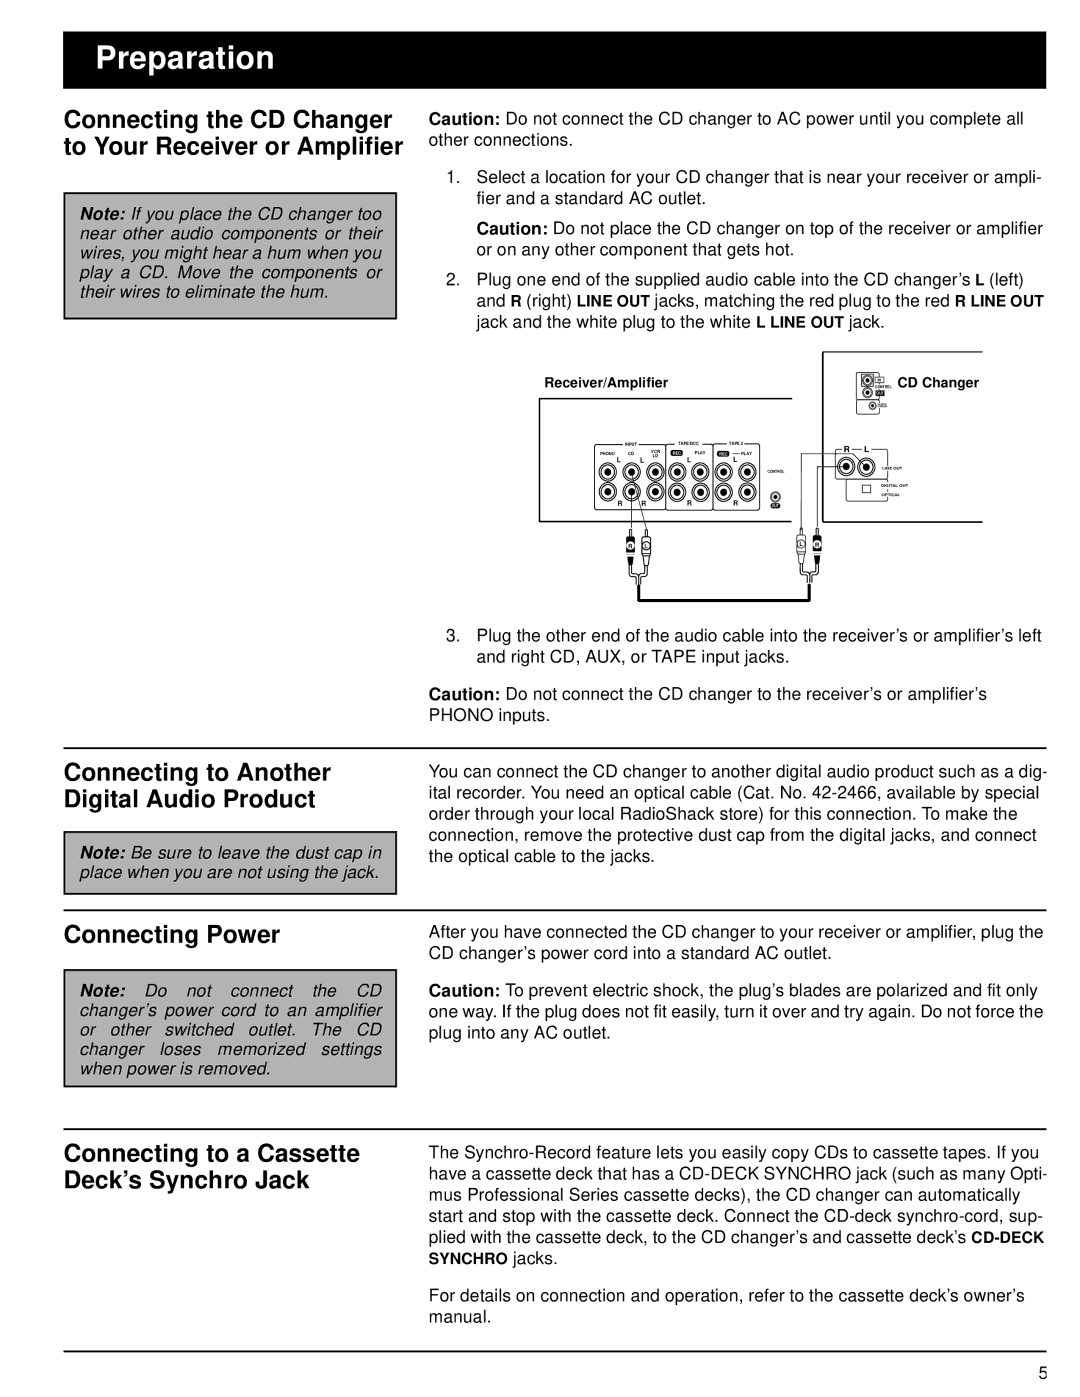
2.Plug one end of the supplied audio cable into the CD changer’s L (left) and R (right) LINE OUT jacks, matching the red plug to the red R LINE OUT jack and the white plug to the white L LINE OUT jack.

Receiver/Amplifier


CONTROL CD Changer


IN


OUT


CD•DECK


SYNCHRO

INPUT


TAPE/DCC

TAPE 2


R L

PHONO CD

VCR/

REC PLAY

REC __ PLAY


L

LD

L

L


L


CONTROL

LINE OUT


DIGITAL OUT


OPTICAL

R

R

R

R

OUT


R

L


L

R

3.Plug the other end of the audio cable into the receiver’s or amplifier’s left and right CD, AUX, or TAPE input jacks.

Caution: Do not connect the CD changer to the receiver’s or amplifier’s PHONO inputs.

Connecting to Another Digital Audio Product

Note: Be sure to leave the dust cap in place when you are not using the jack.

You can connect the CD changer to another digital audio product such as a dig- ital recorder. You need an optical cable (Cat. No. 42-2466, available by special order through your local RadioShack store) for this connection. To make the connection, remove the protective dust cap from the digital jacks, and connect the optical cable to the jacks.

Connecting Power

Note: Do not connect the CD changer’s power cord to an amplifier or other switched outlet. The CD changer loses memorized settings when power is removed.

After you have connected the CD changer to your receiver or amplifier, plug the CD changer’s power cord into a standard AC outlet.

Caution: To prevent electric shock, the plug’s blades are polarized and fit only one way. If the plug does not fit easily, turn it over and try again. Do not force the plug into any AC outlet.

Connecting to a Cassette Deck’s Synchro Jack

The Synchro-Record feature lets you easily copy CDs to cassette tapes. If you have a cassette deck that has a CD-DECK SYNCHRO jack (such as many Opti- mus Professional Series cassette decks), the CD changer can automatically start and stop with the cassette deck. Connect the CD-decksynchro-cord, sup- plied with the cassette deck, to the CD changer’s and cassette deck’s CD-DECK SYNCHRO jacks.

For details on connection and operation, refer to the cassette deck’s owner’s manual.

5

Page 5
Image 5
Optimus CD-8400 owner manual Preparation, Connecting Power

CD-8400 specifications

The Optimus CD-8400 is a cutting-edge audio equipment designed for audiophiles and casual listeners alike. Renowned for its high-performance capabilities, the CD player integrates advanced technologies that assure pristine sound quality and user-friendly operation, making it a desirable addition to any home audio setup.

One of the standout features of the Optimus CD-8400 is its high-resolution digital-to-analog converter (DAC). This component is crucial for converting the digital audio signals into analog signals without losing fidelity. The DAC employed in the CD-8400 boasts a high sampling rate and bit depth, offering an exceptional dynamic range and minimal distortion, allowing users to experience their music in its purest form.

The CD-8400 supports a wide range of disc formats, including standard CDs, CD-Rs, and CD-RWs. This versatility ensures that users can enjoy their favorite albums, as well as personal compilations, with ease. The device also includes a robust error correction mechanism, which minimizes playback interruptions due to scratches or imperfections on the disc, enhancing the listening experience.

In terms of design, the Optimus CD-8400 features an elegant and functional layout. The front panel is equipped with an intuitive LCD display that provides clear information about the playback status and track details. The ergonomically designed buttons and knobs ensure seamless navigation through menus and settings, making it easy for users of all skill levels to operate the device.

The CD-8400 also incorporates modern connectivity options, including digital output ports like coaxial and optical outputs. This functionality allows users to connect the CD player to external digital audio processors, amplifiers, or home theater systems, providing flexibility in how audio is delivered and enjoyed.

In addition to its standout technical features, the Optimus CD-8400 emphasizes durability and build quality. The chassis is constructed from high-grade materials, which not only adds to its aesthetic appeal but also reduces resonance and vibration during playback, ensuring that sound quality remains uncompromised.

Overall, the Optimus CD-8400 embodies a perfect blend of innovation, functionality, and design, making it an ideal choice for anyone looking to enhance their audio experience. Its combination of high-quality components and user-centric features places it firmly among the top options in the market for CD players.