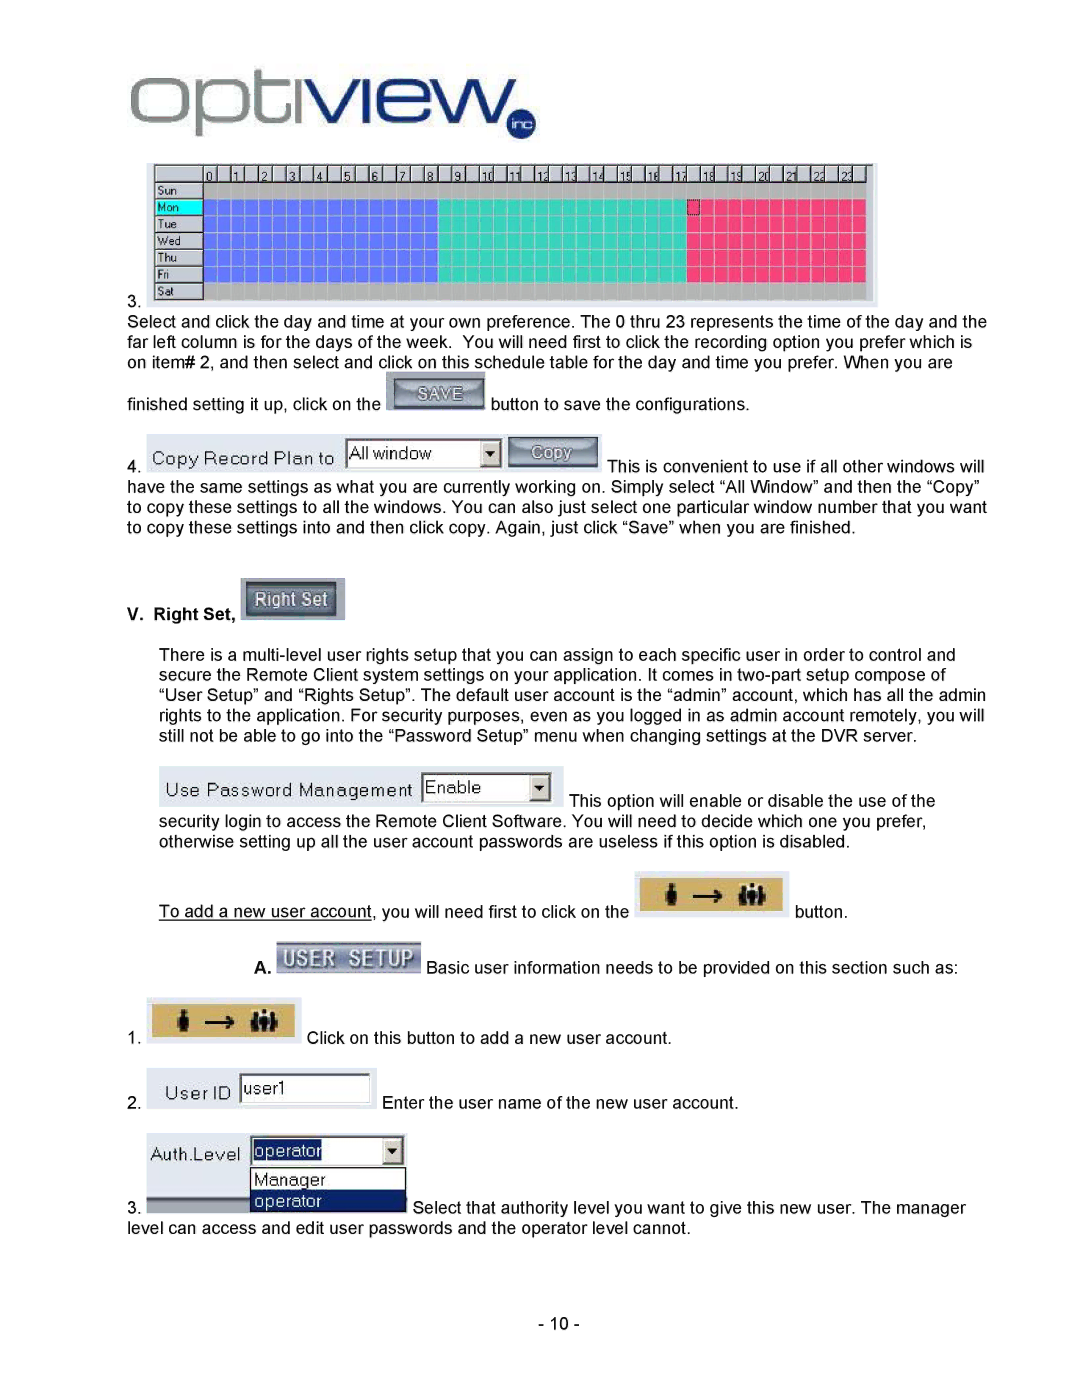
3. 
Select and click the day and time at your own preference. The 0 thru 23 represents the time of the day and the far left column is for the days of the week. You will need first to click the recording option you prefer which is on item# 2, and then select and click on this schedule table for the day and time you prefer. When you are
finished setting it up, click on the ![]() button to save the configurations.
button to save the configurations.
4. ![]() This is convenient to use if all other windows will have the same settings as what you are currently working on. Simply select “All Window” and then the “Copy” to copy these settings to all the windows. You can also just select one particular window number that you want to copy these settings into and then click copy. Again, just click “Save” when you are finished.
This is convenient to use if all other windows will have the same settings as what you are currently working on. Simply select “All Window” and then the “Copy” to copy these settings to all the windows. You can also just select one particular window number that you want to copy these settings into and then click copy. Again, just click “Save” when you are finished.
V. Right Set, 
There is a
![]() This option will enable or disable the use of the security login to access the Remote Client Software. You will need to decide which one you prefer, otherwise setting up all the user account passwords are useless if this option is disabled.
This option will enable or disable the use of the security login to access the Remote Client Software. You will need to decide which one you prefer, otherwise setting up all the user account passwords are useless if this option is disabled.
To add a new user account, you will need first to click on the ![]() button.
button.
A. ![]() Basic user information needs to be provided on this section such as:
Basic user information needs to be provided on this section such as:
1. ![]() Click on this button to add a new user account.
Click on this button to add a new user account.
2. ![]() Enter the user name of the new user account.
Enter the user name of the new user account.
3.  Select that authority level you want to give this new user. The manager level can access and edit user passwords and the operator level cannot.
- 10 -
