Main unit installation
1.Remove the battery compartment.
2.Insert the batteries, matching the polarities.
3.Press RESET after each battery change.
The battery icon | may appear in the following | |
areas: |
| |
|
| |
AREA | MEANING | |
|
| |
Main unit | Main unit batteries low | |
environment area | ||
| ||
Remote sensor | Remote sensor batteries | |
environment area | low | |
|
|
NOTE
•We recommend that you use alkaline batteries with this product for longer usage and lithium batteries in temperatures below freezing.
•Batteries should not be exposed to excessive heat such as sunshine or fire.
SYNCHRONISING AND PLACING SENSORS
The main unit will automatically search for new sensor reset within the last 30 minutes. If unit failed to synchronise with remote sensor, reset both the main unit and sensor or try selecting a different channel (and press RESET).
The remote sensor reception icons will show the following status:
ICONS | MEANING |
|
|
| Main unit is searching |
| for sensor(s) |
|
|
| A sensor has been |
| found and logged on |
|
|
and | No sensor found |
| |
|
|
Place the remote sensor within 30 m (98 ft) from the main unit.
TIP
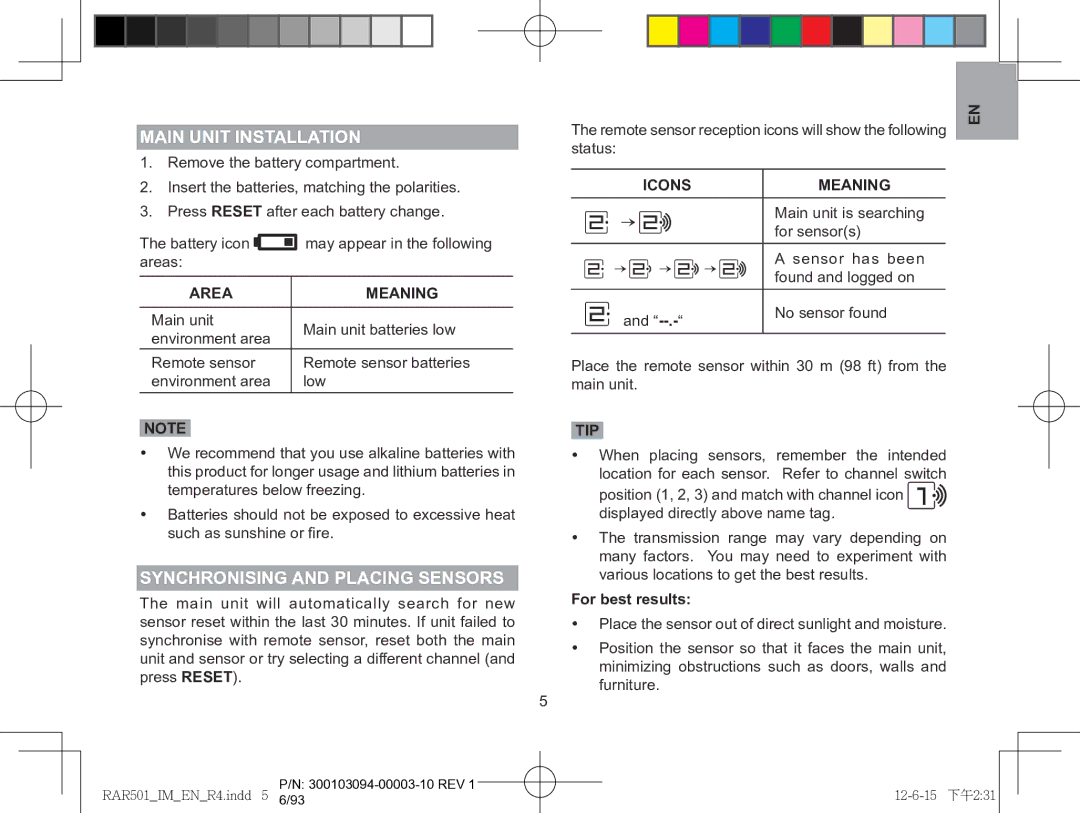
•When placing sensors, remember the intended location for each sensor. Refer to channel switch
position (1, 2, 3) and match with channel icon displayed directly above name tag.
•The transmission range may vary depending on many factors. You may need to experiment with various locations to get the best results.
For best results:
•Place the sensor out of direct sunlight and moisture.
•Position the sensor so that it faces the main unit, minimizing obstructions such as doors, walls and furniture.
5
EN
RAR501_IM_EN_R4.indd 5 | P/N: | |
6/93 |