EN
NOTE The vibrating device is powered by two "AA" 1.5V alkaline batteries (included). It is also compatible with rechargeable batteries (not included).
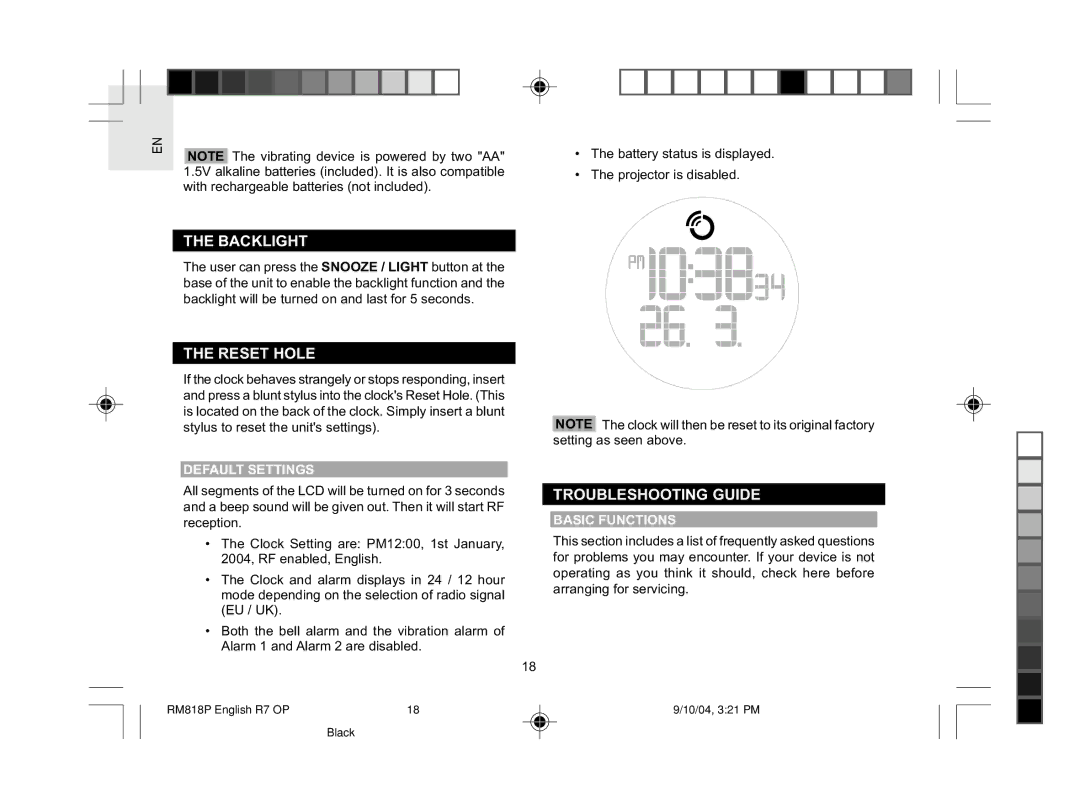
•The battery status is displayed.
•The projector is disabled.
THE BACKLIGHT
The user can press the SNOOZE / LIGHT button at the base of the unit to enable the backlight function and the backlight will be turned on and last for 5 seconds.
THE RESET HOLE
If the clock behaves strangely or stops responding, insert and press a blunt stylus into the clock's Reset Hole. (This is located on the back of the clock. Simply insert a blunt stylus to reset the unit's settings).
DEFAULT SETTINGS
All segments of the LCD will be turned on for 3 seconds and a beep sound will be given out. Then it will start RF reception.
•The Clock Setting are: PM12:00, 1st January, 2004, RF enabled, English.
•The Clock and alarm displays in 24 / 12 hour mode depending on the selection of radio signal (EU / UK).
•Both the bell alarm and the vibration alarm of Alarm 1 and Alarm 2 are disabled.
18
RM818P English R7 OP | 18 |
Black
NOTE The clock will then be reset to its original factory setting as seen above.
TROUBLESHOOTING GUIDE
BASIC FUNCTIONS
This section includes a list of frequently asked questions for problems you may encounter. If your device is not operating as you think it should, check here before arranging for servicing.
9/10/04, 3:21 PM