
RMR612HGA specifications
The Oregon Scientific RMR612HGA is a sophisticated weather station designed for both indoor and outdoor use, appealing to weather enthusiasts and casual users alike. With its sleek design and advanced technology, it provides real-time weather information, ensuring users stay informed about their environment.One of the standout features of the RMR612HGA is its multifunctional display, which presents a comprehensive overview of weather conditions. The large LCD screen showcases current temperature and humidity levels, both indoors and outdoors, alongside the date and time. The display is user-friendly and easy to read, making it suitable for users of all ages.
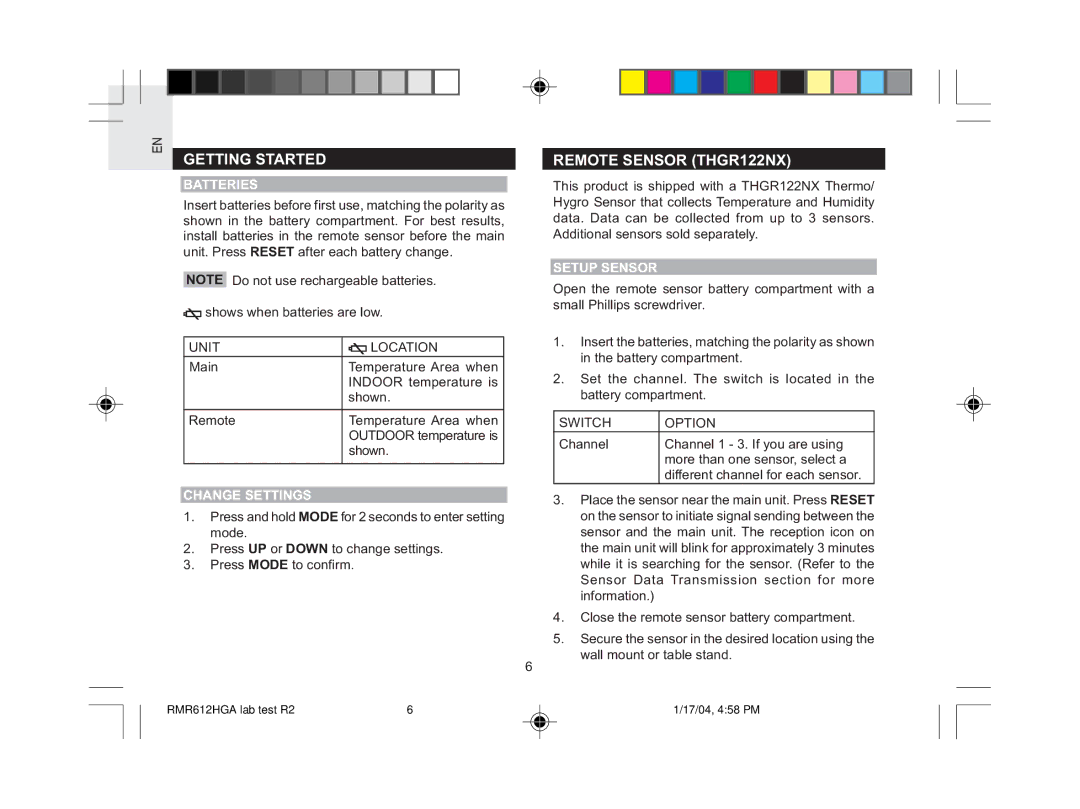
Equipped with wireless technology, the RMR612HGA includes an outdoor sensor that transmits data to the main unit, allowing for accurate temperature and humidity readings from up to 100 meters away. This ensures that users receive up-to-date weather information without the hassle of running wires. The outdoor sensor is also water-resistant, making it durable against various weather conditions.
The RMR612HGA goes beyond basic weather forecasting with its ability to display weather trends. It uses a barometric pressure sensor to analyze changes in atmospheric pressure and provide forecasts for the next 12 to 24 hours. This feature gives users an early warning of incoming weather systems, which is particularly valuable for planning outdoor activities.
Additionally, the device includes a built-in alarm clock with multiple alarms, making it a practical addition to the bedside table. Users can customize the alarm settings to suit their individual needs, including the option for snooze functionality.
One of the key characteristics of the RMR612HGA is its stylish and modern design, which seamlessly integrates into any home or office decor. Its compact size ensures it doesn’t take up much space, while the sleek finish adds a touch of sophistication.
Overall, the Oregon Scientific RMR612HGA is a reliable and feature-rich weather station suitable for anyone interested in monitoring their local weather conditions. With its advanced technologies and user-friendly interface, it stands out as a practical tool for everyday use, offering valuable insights into the ever-changing weather landscape.