LCD PANEL ILLUMINATION
When you press the LIGHT button, the LCD panel will illuminate for about 8 seconds. The illumination stays on longer than 8 seconds if you press the LIGHT button once again.
TTL AUTO FLASH
In the TTL AUTO Mode, the camera will control the amount of flash lighting to provide the appropriate exposure for the subject.
1.Set the camera’s exposure mode to P Mode. (In the case of ![]() ” fully automatic mode)
” fully automatic mode)
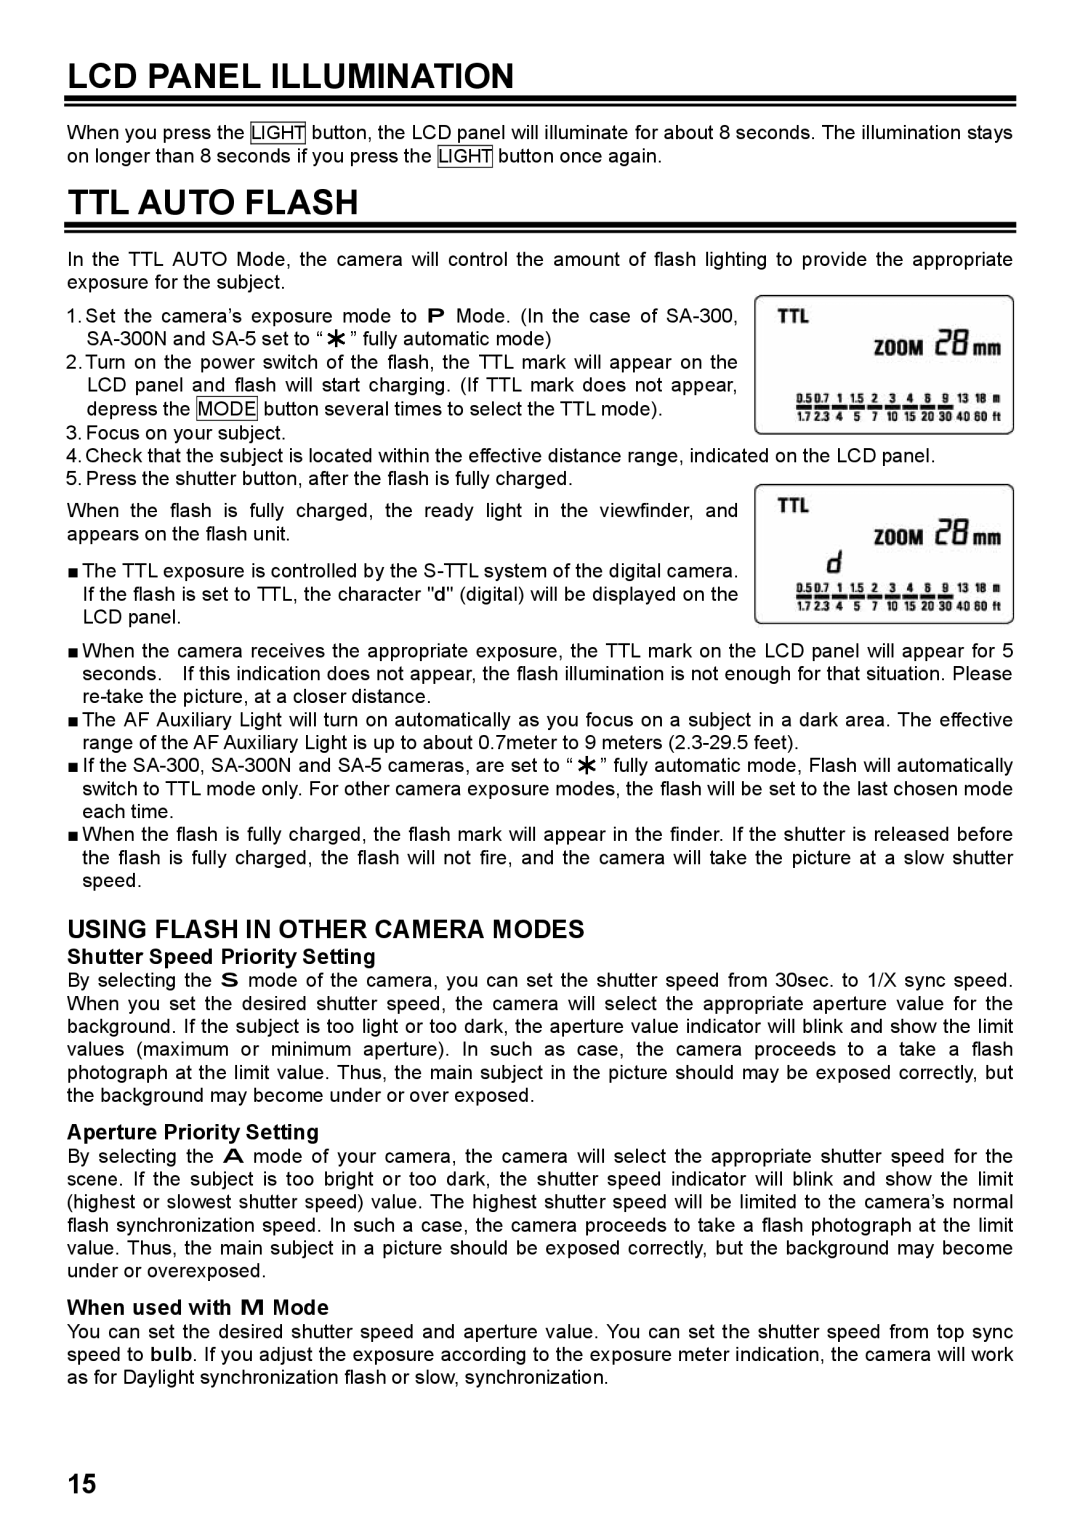
2.Turn on the power switch of the flash, the TTL mark will appear on the LCD panel and flash will start charging. (If TTL mark does not appear, depress the MODE button several times to select the TTL mode).
3.Focus on your subject.
4.Check that the subject is located within the effective distance range, indicated on the LCD panel.
5.Press the shutter button, after the flash is fully charged.
When the flash is fully charged, the ready light in the viewfinder, and appears on the flash unit.
■The TTL exposure is controlled by the
■When the camera receives the appropriate exposure, the TTL mark on the LCD panel will appear for 5 seconds. If this indication does not appear, the flash illumination is not enough for that situation. Please
■The AF Auxiliary Light will turn on automatically as you focus on a subject in a dark area. The effective range of the AF Auxiliary Light is up to about 0.7meter to 9 meters
■If the ![]() ” fully automatic mode, Flash will automatically switch to TTL mode only. For other camera exposure modes, the flash will be set to the last chosen mode each time.
” fully automatic mode, Flash will automatically switch to TTL mode only. For other camera exposure modes, the flash will be set to the last chosen mode each time.
■When the flash is fully charged, the flash mark will appear in the finder. If the shutter is released before the flash is fully charged, the flash will not fire, and the camera will take the picture at a slow shutter speed.
USING FLASH IN OTHER CAMERA MODES
Shutter Speed Priority Setting
By selecting the S mode of the camera, you can set the shutter speed from 30sec. to 1/X sync speed. When you set the desired shutter speed, the camera will select the appropriate aperture value for the background. If the subject is too light or too dark, the aperture value indicator will blink and show the limit values (maximum or minimum aperture). In such as case, the camera proceeds to a take a flash photograph at the limit value. Thus, the main subject in the picture should may be exposed correctly, but the background may become under or over exposed.
Aperture Priority Setting
By selecting the A mode of your camera, the camera will select the appropriate shutter speed for the scene. If the subject is too bright or too dark, the shutter speed indicator will blink and show the limit (highest or slowest shutter speed) value. The highest shutter speed will be limited to the camera’s normal flash synchronization speed. In such a case, the camera proceeds to take a flash photograph at the limit value. Thus, the main subject in a picture should be exposed correctly, but the background may become under or overexposed.
When used with M Mode
You can set the desired shutter speed and aperture value. You can set the shutter speed from top sync speed to bulb. If you adjust the exposure according to the exposure meter indication, the camera will work as for Daylight synchronization flash or slow, synchronization.
15