SECOND CURTAIN SYNCHRONIZATION
When you photograph a moving subject with slow synchronization, usually the furrow of the subject will be exposed in front of the subject. The ordinary flash light will fire when the first shutter curtain is fully opened, thus the subject will be exposed from the time flash is fired to the time the shutter is closed (This is called First Curtain Synchronization). When you use second curtain synchronization, the flash will fire just before the second curtain begins to close and and the subject will be exposed by ambient light from the time the shutter opens until the flash fires. The furrow of the subject will therefore be exposed behind the subject. This is a more natural effect.
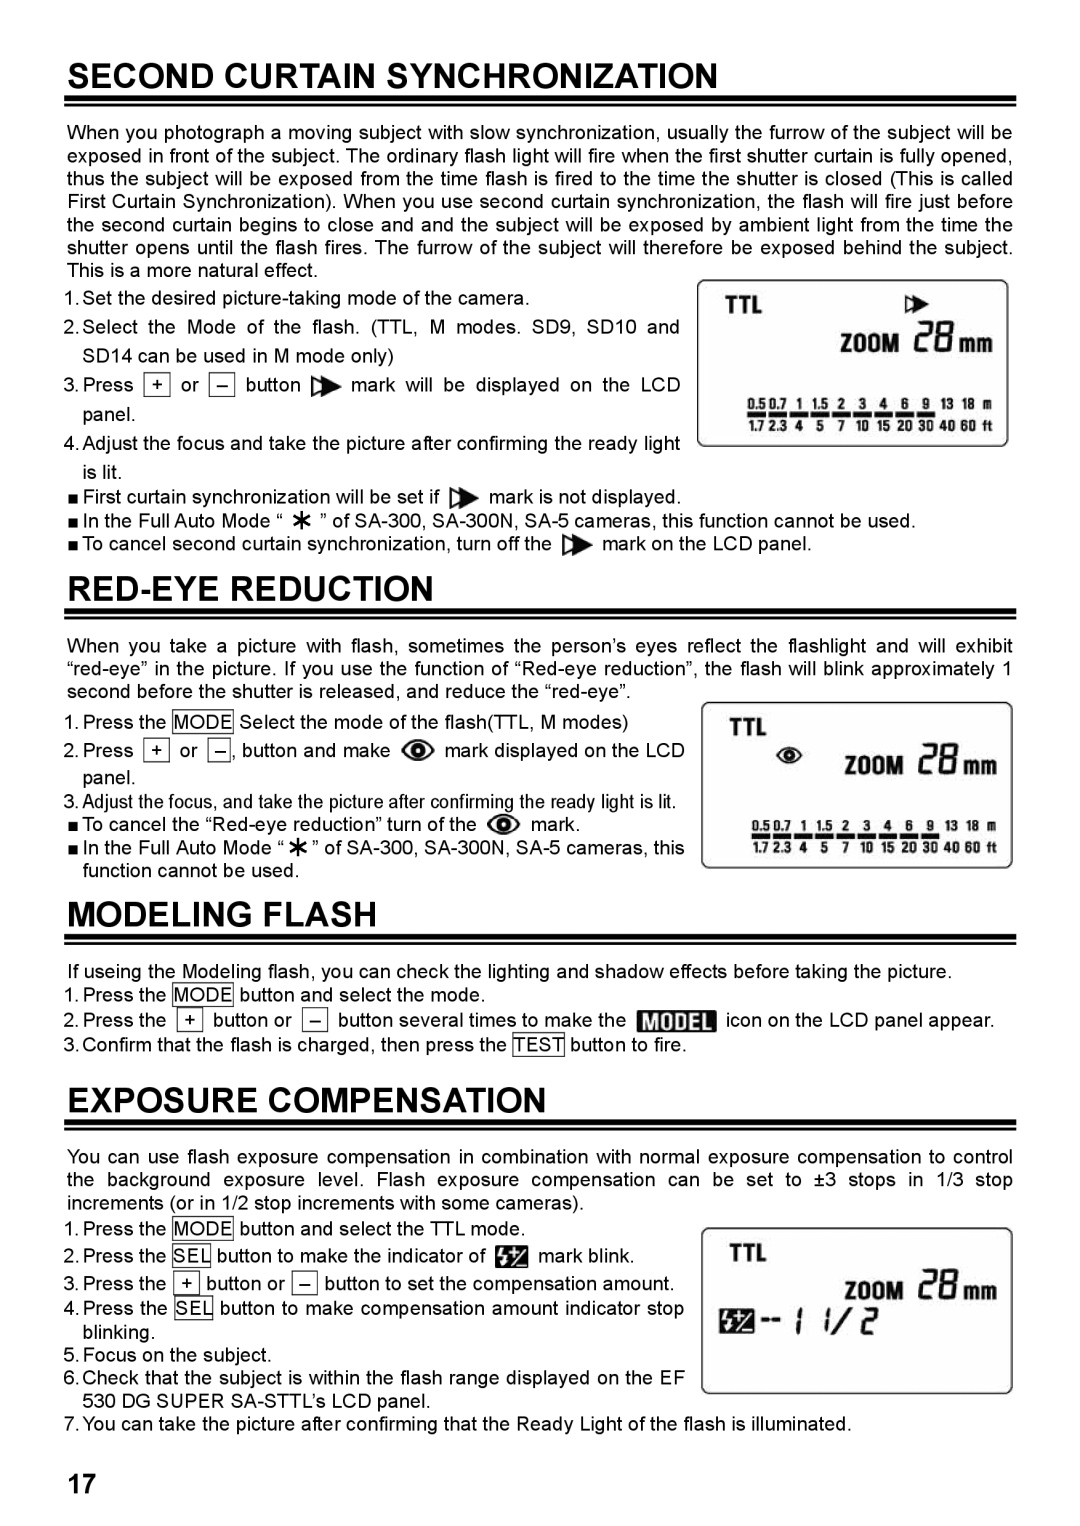
1.Set the desired
2.Select the Mode of the flash. (TTL, M modes. SD9, SD10 and SD14 can be used in M mode only)
3.Press + or – button ![]() mark will be displayed on the LCD panel.
mark will be displayed on the LCD panel.
4.Adjust the focus and take the picture after confirming the ready light
is lit.
■First curtain synchronization will be set if ![]() mark is not displayed.
mark is not displayed.
■In the Full Auto Mode “ ![]() ” of
” of
■To cancel second curtain synchronization, turn off the ![]() mark on the LCD panel.
mark on the LCD panel.
RED-EYE REDUCTION
When you take a picture with flash, sometimes the person’s eyes reflect the flashlight and will exhibit
1.Press the MODE Select the mode of the flash(TTL, M modes)
2.Press + or ![]() mark displayed on the LCD panel.
mark displayed on the LCD panel.
3.Adjust the focus, and take the picture after confirming the ready light is lit.
■ To cancel the ![]() mark.
mark.
■ In the Full Auto Mode “ ![]() ” of
” of
MODELING FLASH
If useing the Modeling flash, you can check the lighting and shadow effects before taking the picture.
1. Press the | MODE | button and select the mode. |
| ||
2. Press the | + button or – button several times to make the | icon on the LCD panel appear. | |||
3. Confirm that the flash is charged, then press the | TEST | button to fire. |
| ||
EXPOSURE COMPENSATION
You can use flash exposure compensation in combination with normal exposure compensation to control the background exposure level. Flash exposure compensation can be set to ±3 stops in 1/3 stop increments (or in 1/2 stop increments with some cameras).
1.Press the MODE button and select the TTL mode.
2.Press the SEL button to make the indicator of ![]() mark blink.
mark blink.
3.Press the + button or – button to set the compensation amount.
4.Press the SEL button to make compensation amount indicator stop blinking.
5.Focus on the subject.
6.Check that the subject is within the flash range displayed on the EF 530 DG SUPER
7.You can take the picture after confirming that the Ready Light of the flash is illuminated.
17