
CS-E12CKP, CS-E15CKP, CU-E15CKP5, CU-E12CKP5, CS-E9CKP specifications
The Panasonic CU-E9CKP5 and associated models, including the CS-E9CKP, CU-E12CKP5, CU-E15CKP5, and CS-E15CKP, represent a pivotal advancement in home air conditioning technology. These units are designed to deliver efficient cooling and heating solutions for residential and small commercial spaces, encapsulating a blend of performance, energy efficiency, and user-friendly features.One of the standout features is the advanced Inverter technology used across the range. This technology allows the air conditioners to modulate the compressor's speed, ensuring precise temperature control. By adjusting to the cooling demand, these units minimize energy consumption while maintaining comfort levels. As a result, users can expect significant reductions in energy bills compared to traditional fixed-speed models.
Another noteworthy characteristic is the R32 refrigerant used in these units. This eco-friendly refrigerant has a lower Global Warming Potential (GWP) compared to its predecessors, contributing to a reduced environmental impact. This aligns with the global push for greener technologies and reflects Panasonic's commitment to sustainability.
The CU-E9CKP5, CU-E12CKP5, and CU-E15CKP5 models are equipped with features such as a silent operation mode, ensuring minimal noise pollution, which is ideal for nighttime use or quiet environments. Additionally, these air conditioners incorporate a well-designed air filter system that enhances indoor air quality by capturing dust, allergens, and other particles.
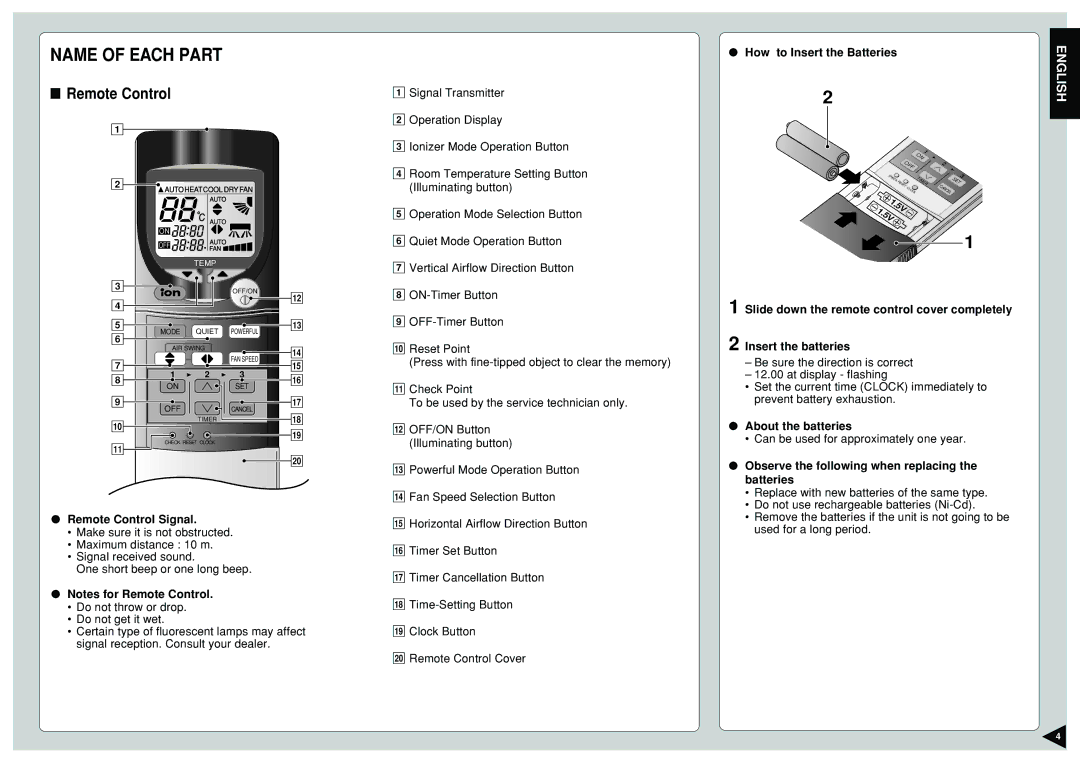
User convenience is further enhanced by the inclusion of a dedicated remote control and intuitive settings that allow users to schedule operations, adjust temperatures, and engage the turbo mode for rapid cooling when necessary. The sleek design of the indoor units also complements modern interiors while optimizing airflow.
Furthermore, these air conditioning systems boast durability and reliability. Built with high-quality materials, they are designed to withstand various climatic conditions while providing consistent performance. Regular maintenance is also simplified, helping to prolong the lifespan of the units.
In summary, the Panasonic CU-E9CKP5, CS-E9CKP, CU-E12CKP5, CU-E15CKP5, and CS-E15CKP air conditioning units are engineered for efficiency, sustainability, and user comfort. Combining innovative technologies and eco-friendly features, these models stand out as a robust choice for consumers seeking reliable and effective climate control solutions.