Adjustment in D-Sub/DVI Mode (Continued)
Smoothing the Picture
1 Press MENU to display the menu main page.
2 Press VOL+/- repeatedly to display Screen menu page. 3 Press CH![]() repeatedly to select Smoothing Mode item. 4 Press VOL+ or ENTER to access the
repeatedly to select Smoothing Mode item. 4 Press VOL+ or ENTER to access the
5 Press CH![]()
![]()
![]() to select Both on, Only Ver. on, Only Hor. on or Both off.
to select Both on, Only Ver. on, Only Hor. on or Both off.
Video | Audio | Screen Program Option | ||||||
|
|
|
|
|
|
|
|
|
1. | H Size |
|
|
|
| 0 | ||
|
|
|
| |||||
2. | H Position |
|
| 0 | ||||
|
| |||||||
3. | V Position |
|
| 0 | ||||
|
| |||||||
4. | Fine Tune |
|
| 00 | ||||
|
| |||||||
5. Smoothing Mode: |
| Both off | ||||||
6.Default
7.Auto Sync
8.Advanced:>>>
6 Press ENTER to confirm and press MENU repeatedly to exit.
When the screen displays a picture with a bevel edge, you may find a sawtooth picture on the bevel edge. This function helps to improve the picture quality by smoothing the sawtooth picture.
Both on - Smooth picture in the horizontal and vertical directions; Only Ver. on - Smooth picture in the vertical direction;
Only Hor. on - Smooth picture in the horizontal direction; Both off
Loading Default Values
1 Press MENU to display the menu main page.
2 Press VOL+/- repeatedly to display Screen menu page.
3 Press CH![]() repeatedly to select Default item.
repeatedly to select Default item.
4 Press ENTER to confirm and press MENU repeatedly to exit.
Advanced Adjustment for Image Position
Video | Audio | Screen Program Option | ||||||
|
|
|
|
|
|
|
|
|
1. | H Size |
|
|
|
| 0 | ||
|
|
|
| |||||
2. | H Position |
|
| 0 | ||||
|
| |||||||
3. | V Position |
|
| 0 | ||||
|
| |||||||
4. | Fine Tune |
|
| 00 | ||||
|
| |||||||
5. Smoothing Mode: |
| Both off | ||||||
6.Default
7.Auto Sync
8.Advanced:>>>
It is unnecessary to perform advanced adjustment in normal case. In most cases, the [Auto Sync] function is able to adjust and rectify the picture automatically. But, sometimes, if you find that the image position can not be correctly displayed even if you have adjusted the [H Position], [V Position] or [Auto Sync] item, please try to perform advanced adjustment for the image position.
1
2
3
4
5
6
7
Press MENU to display the menu main page.
Press VOL+/- repeatedly to display Screen menu page.
Press CH ![]() repeatedly to select Advanced item.
repeatedly to select Advanced item.
Press VOL+ or ENTER to access the
Press CH ![]()
![]()
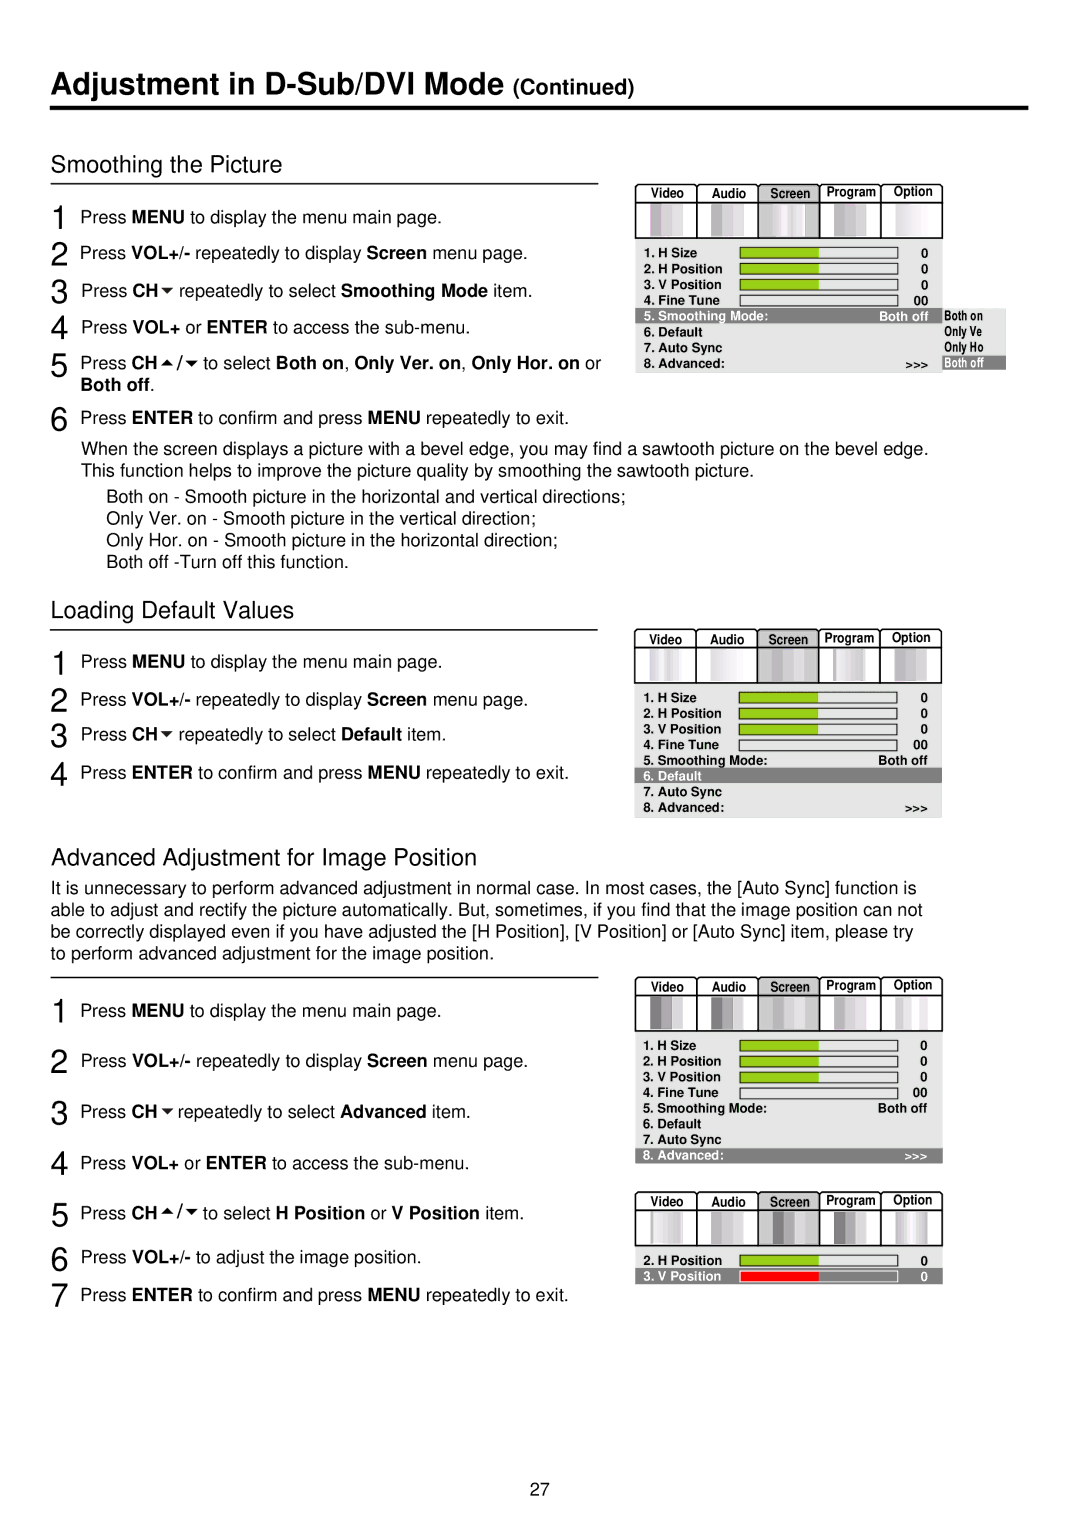
![]() to select H Position or V Position item.
to select H Position or V Position item.
Press VOL+/- to adjust the image position.
Press ENTER to confirm and press MENU repeatedly to exit.
Video | Audio | Screen Program Option | ||||||
|
|
|
|
|
|
|
|
|
1. | H Size |
|
|
|
| 0 | ||
|
|
|
| |||||
2. | H Position |
|
| 0 | ||||
|
| |||||||
3. | V Position |
|
| 0 | ||||
|
| |||||||
4. | Fine Tune |
|
| 00 | ||||
|
| |||||||
5. Smoothing Mode: |
| Both off | ||||||
6.Default
7.Auto Sync
8. Advanced: | >>> | |||||
Video | Audio | Screen Program Option | ||||
|
|
|
|
|
|
|
2. H Position |
|
| 0 | |||
|
| |||||
3. V Position | 0 | |||||
27