First-time Operation
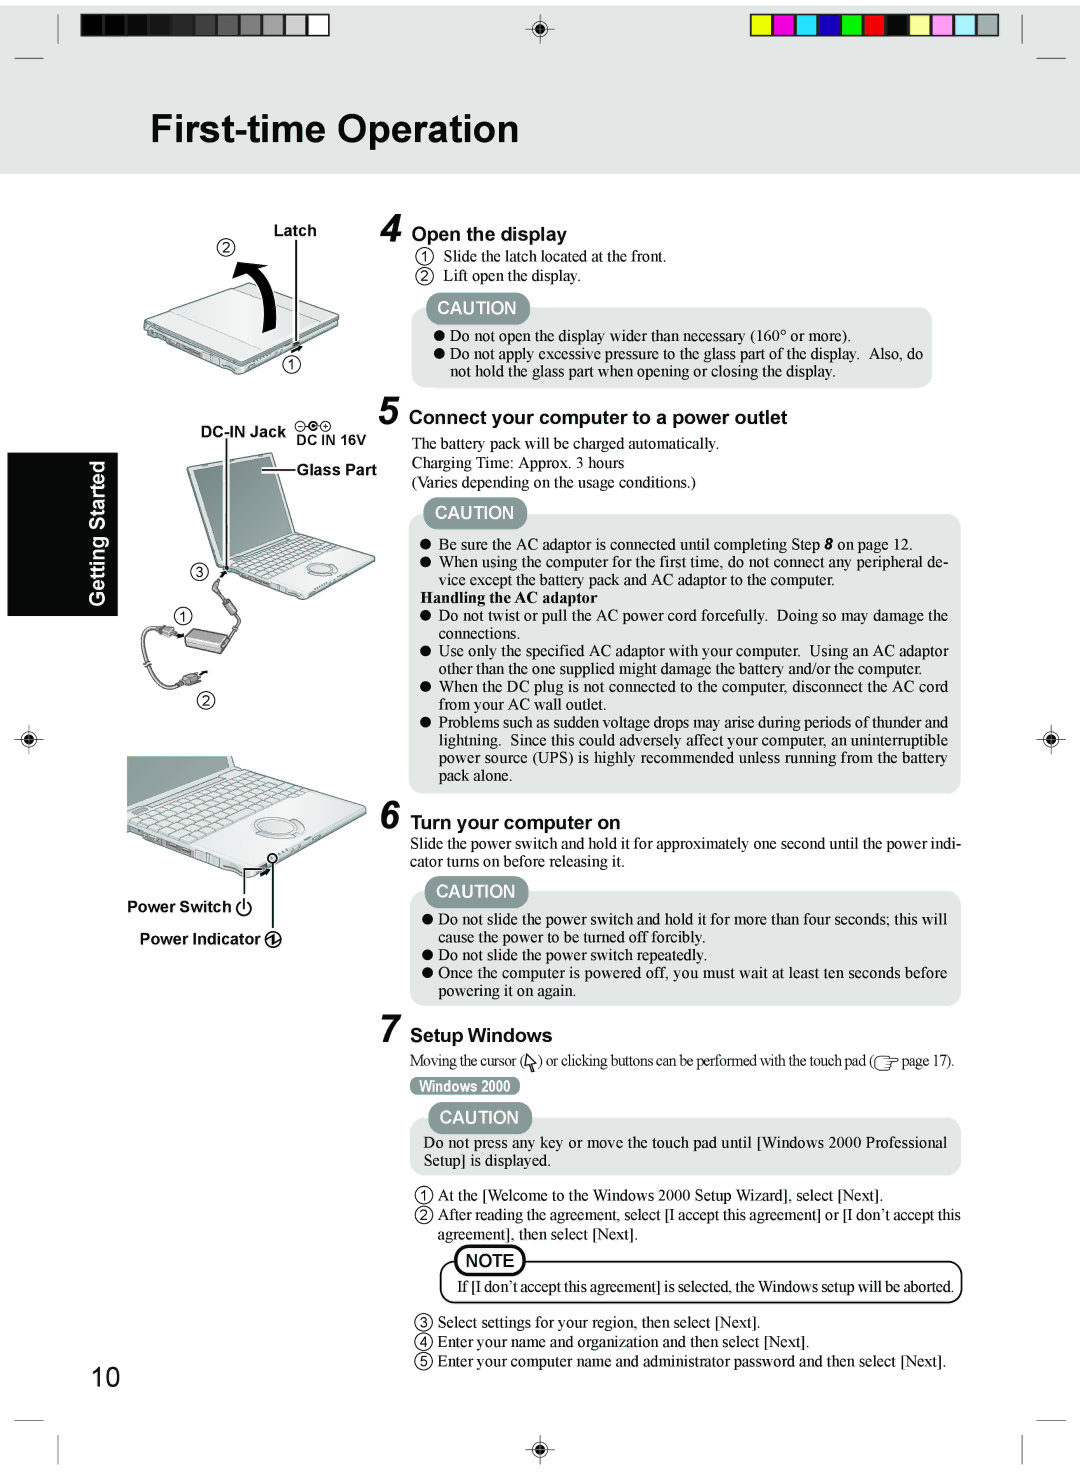
2 | Latch | 4 Open the display |
| ||
|
| 1 Slide the latch located at the front. |
2Lift open the display.
| CAUTION | |
| Do not open the display wider than necessary (160° or more). | |
1 | Do not apply excessive pressure to the glass part of the display. Also, do | |
not hold the glass part when opening or closing the display. | ||
|
5
Connect your computer to a power outlet
The battery pack will be charged automatically.
Getting Started
 Glass Part
3
1
2
![]()
![]()
![]()
![]() 6
6
Power Switch 
Power Indicator
Charging Time: Approx. 3 hours
(Varies depending on the usage conditions.)
CAUTION
![]() Be sure the AC adaptor is connected until completing Step 8 on page 12.
Be sure the AC adaptor is connected until completing Step 8 on page 12. ![]() When using the computer for the first time, do not connect any peripheral de- vice except the battery pack and AC adaptor to the computer.
When using the computer for the first time, do not connect any peripheral de- vice except the battery pack and AC adaptor to the computer.
Handling the AC adaptor
![]() Do not twist or pull the AC power cord forcefully. Doing so may damage the connections.
Do not twist or pull the AC power cord forcefully. Doing so may damage the connections.
![]() Use only the specified AC adaptor with your computer. Using an AC adaptor other than the one supplied might damage the battery and/or the computer.
Use only the specified AC adaptor with your computer. Using an AC adaptor other than the one supplied might damage the battery and/or the computer.
![]() When the DC plug is not connected to the computer, disconnect the AC cord from your AC wall outlet.
When the DC plug is not connected to the computer, disconnect the AC cord from your AC wall outlet.
![]() Problems such as sudden voltage drops may arise during periods of thunder and lightning. Since this could adversely affect your computer, an uninterruptible power source (UPS) is highly recommended unless running from the battery pack alone.
Problems such as sudden voltage drops may arise during periods of thunder and lightning. Since this could adversely affect your computer, an uninterruptible power source (UPS) is highly recommended unless running from the battery pack alone.
Turn your computer on
Slide the power switch and hold it for approximately one second until the power indi- cator turns on before releasing it.
CAUTION
![]() Do not slide the power switch and hold it for more than four seconds; this will cause the power to be turned off forcibly.
Do not slide the power switch and hold it for more than four seconds; this will cause the power to be turned off forcibly.
![]() Do not slide the power switch repeatedly.
Do not slide the power switch repeatedly.
![]() Once the computer is powered off, you must wait at least ten seconds before powering it on again.
Once the computer is powered off, you must wait at least ten seconds before powering it on again.
7 Setup Windows
Moving the cursor (![]() ) or clicking buttons can be performed with the touch pad (
) or clicking buttons can be performed with the touch pad (![]() page 17).
page 17).
Windows 2000
10
CAUTION
Do not press any key or move the touch pad until [Windows 2000 Professional Setup] is displayed.
1At the [Welcome to the Windows 2000 Setup Wizard], select [Next].
2After reading the agreement, select [I accept this agreement] or [I don’t accept this agreement], then select [Next].
NOTE
If [I don’t accept this agreement] is selected, the Windows setup will be aborted.
3 Select settings for your region, then select [Next].
4 Enter your name and organization and then select [Next].
5 Enter your computer name and administrator password and then select [Next].