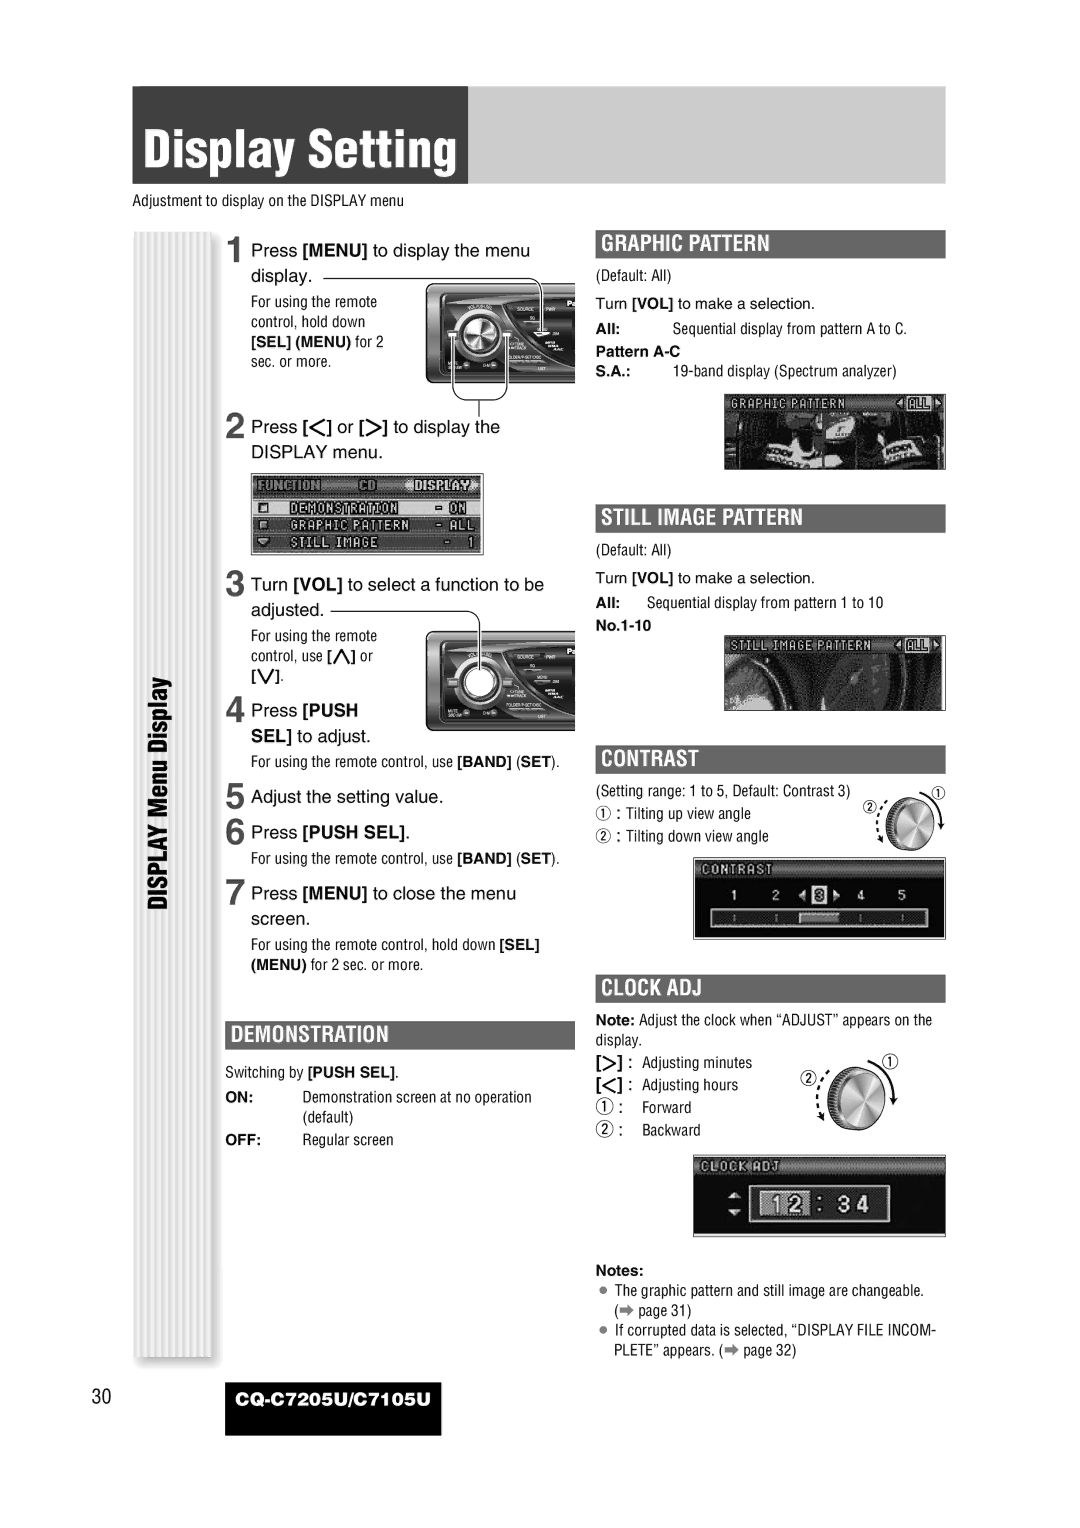
GRAPHIC PATTERN
(Default: All)
Turn [VOL] to make a selection.
All: Sequential display from pattern A to C.
Pattern
S.A.:
|
| STILL IMAGE PATTERN | |
|
| (Default: All) | |
| 3 Turn [VOL] to select a function to be | Turn [VOL] to make a selection. | |
| All: Sequential display from pattern 1 to 10 | ||
| adjusted. | ||
| |||
| For using the remote | ||
|
| ||
| control, use [}] or |
| |
Display | [{]. |
| |
4 Press [PUSH |
| ||
SEL] to adjust. | CONTRAST | ||
For using the remote control, use [BAND] (SET). | |||
Menu | |||
5 Adjust the setting value. | (Setting range: 1 to 5, Default: Contrast 3) | ||
q : Tilting up view angle | |||
DISPLAY | 6 Press [PUSH SEL]. | ||
w : Tilting down view angle | |||
For using the remote control, use [BAND] (SET). |
| ||
7 Press [MENU] to close the menu |
|
CLOCK ADJ
Note: Adjust the clock when “ADJUST” appears on the display.
[[] : Adjusting minutes
[]] : Adjusting hours
ON: Demonstration screen at no operation
(default)
q : Forward
OFF: Regular screen
w : Backward
Notes:
¡ The graphic pattern and still image are changeable. (a page 31)
¡ If corrupted data is selected, “DISPLAY FILE INCOM- PLETE” appears. (a page 32)
30