Taking a Still picture
Applicable modes: ![]()
![]()
![]()
![]()
![]()
![]()
![]()
![]()
![]()
![]()
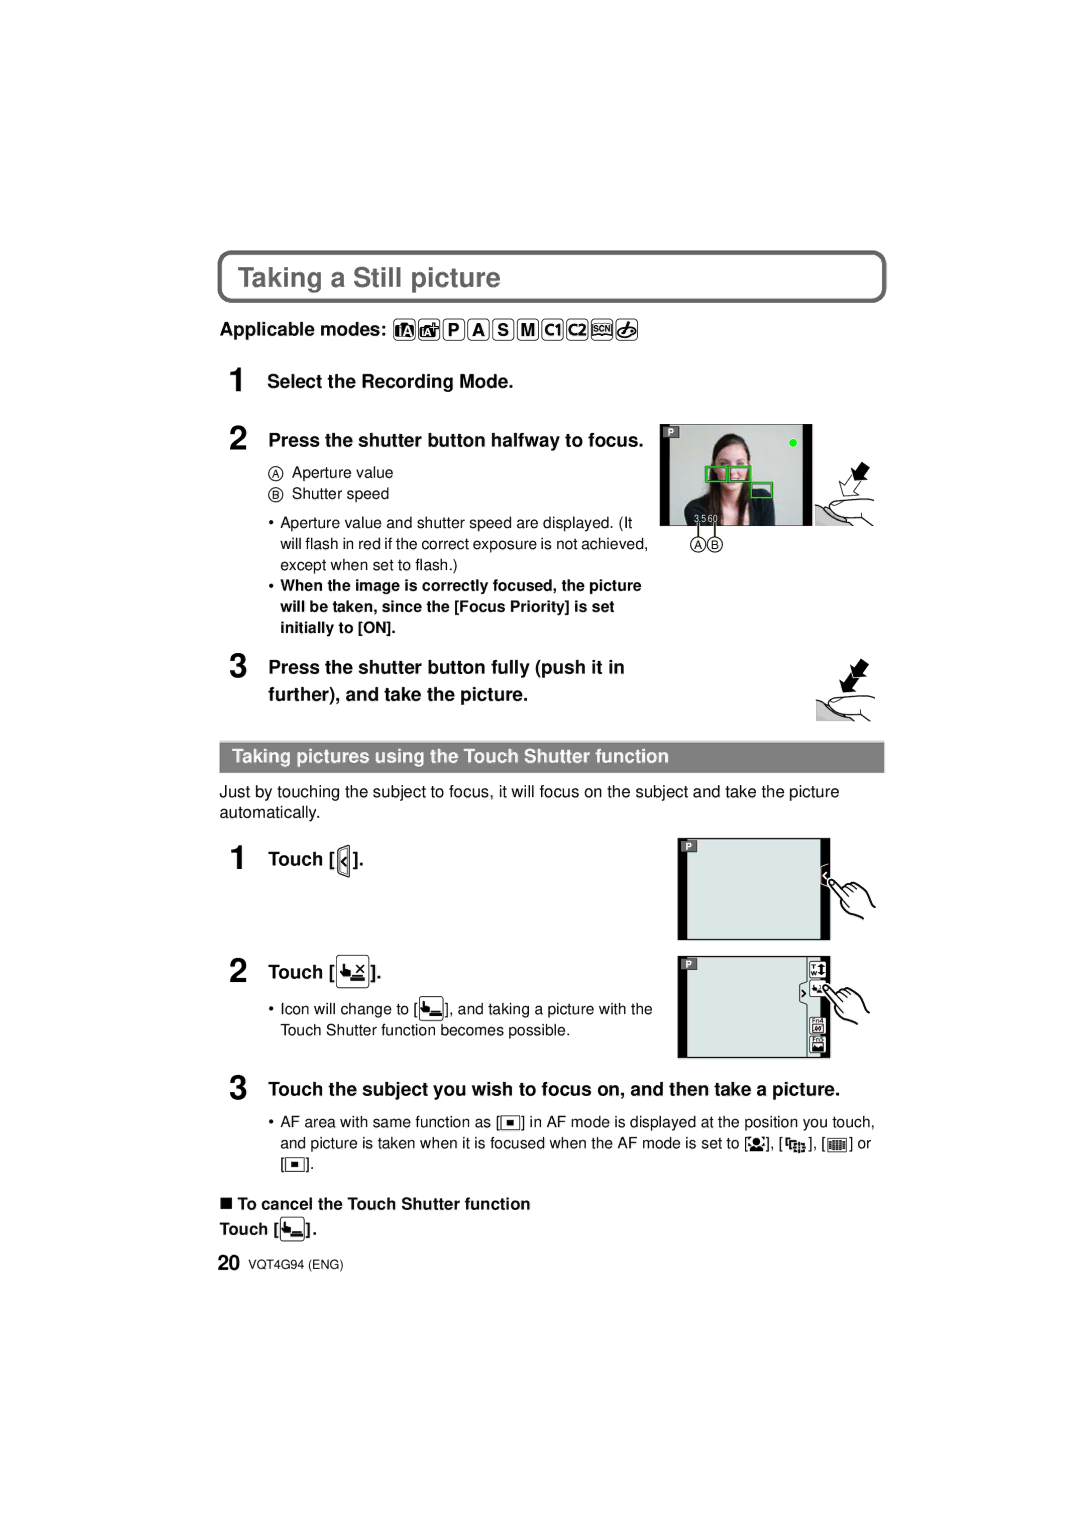
1 Select the Recording Mode.
2 Press the shutter button halfway to focus.
AAperture value B Shutter speed
•Aperture value and shutter speed are displayed. (It will flash in red if the correct exposure is not achieved, except when set to flash.)
•When the image is correctly focused, the picture will be taken, since the [Focus Priority] is set initially to [ON].
3.5 60
AB
3 Press the shutter button fully (push it in further), and take the picture.
Taking pictures using the Touch Shutter function
Just by touching the subject to focus, it will focus on the subject and take the picture automatically.
1
2
Touch [  ].
].
Touch [  × ].
× ].
•Icon will change to [![]() ], and taking a picture with the Touch Shutter function becomes possible.
], and taking a picture with the Touch Shutter function becomes possible.
3 Touch the subject you wish to focus on, and then take a picture.
•AF area with same function as [Ø] in AF mode is displayed at the position you touch,
and picture is taken when it is focused when the AF mode is set to [š], [![]() ], [
], [ ![]()
![]()
![]()
![]()
![]()
![]()
![]() ] or [Ø].
] or [Ø].
∫To cancel the Touch Shutter function
Touch [![]() ].
].
20 VQT4G94 (ENG)