Adjusting the pictures on the LCD screen
1 Press [LCD MENU].
≥It is also possible to display with the following procedures.
1Press [SUB MENU].
2Select “Other Functions” with [3, 4], and select [OK].
3 Select “LCD Menu” with [3, 4], and select [OK].
|
| LCD Menu |
|
|
| |
|
|
|
|
|
|
|
|
| Picture | Dynamic |
| ||
|
|
|
|
|
|
|
|
|
| Brightness |
|
|
|
|
|
| Color |
|
|
|
|
|
| Tint |
|
|
|
|
|
| SUB | RETURN |
| |
|
|
| MENU |
| ||
2 |
|
|
|
|
| |
Select the item with [3, 4]. | ||||||
3 | Change the setting with [3, 4, 2, 1]. | |||||
Picture:Adjusting image quality
!Standard: Standard
!Dynamic: Picture with high contrast
! Night: | Picture suitable for viewing in dark places |
!User jBrightness: s5 to r5 jColor: s5 to r5 jTint: s5 to r5
≥Underlined items are the factory presets.
Loading the disc or SD card
Disc
Getting started
![]()
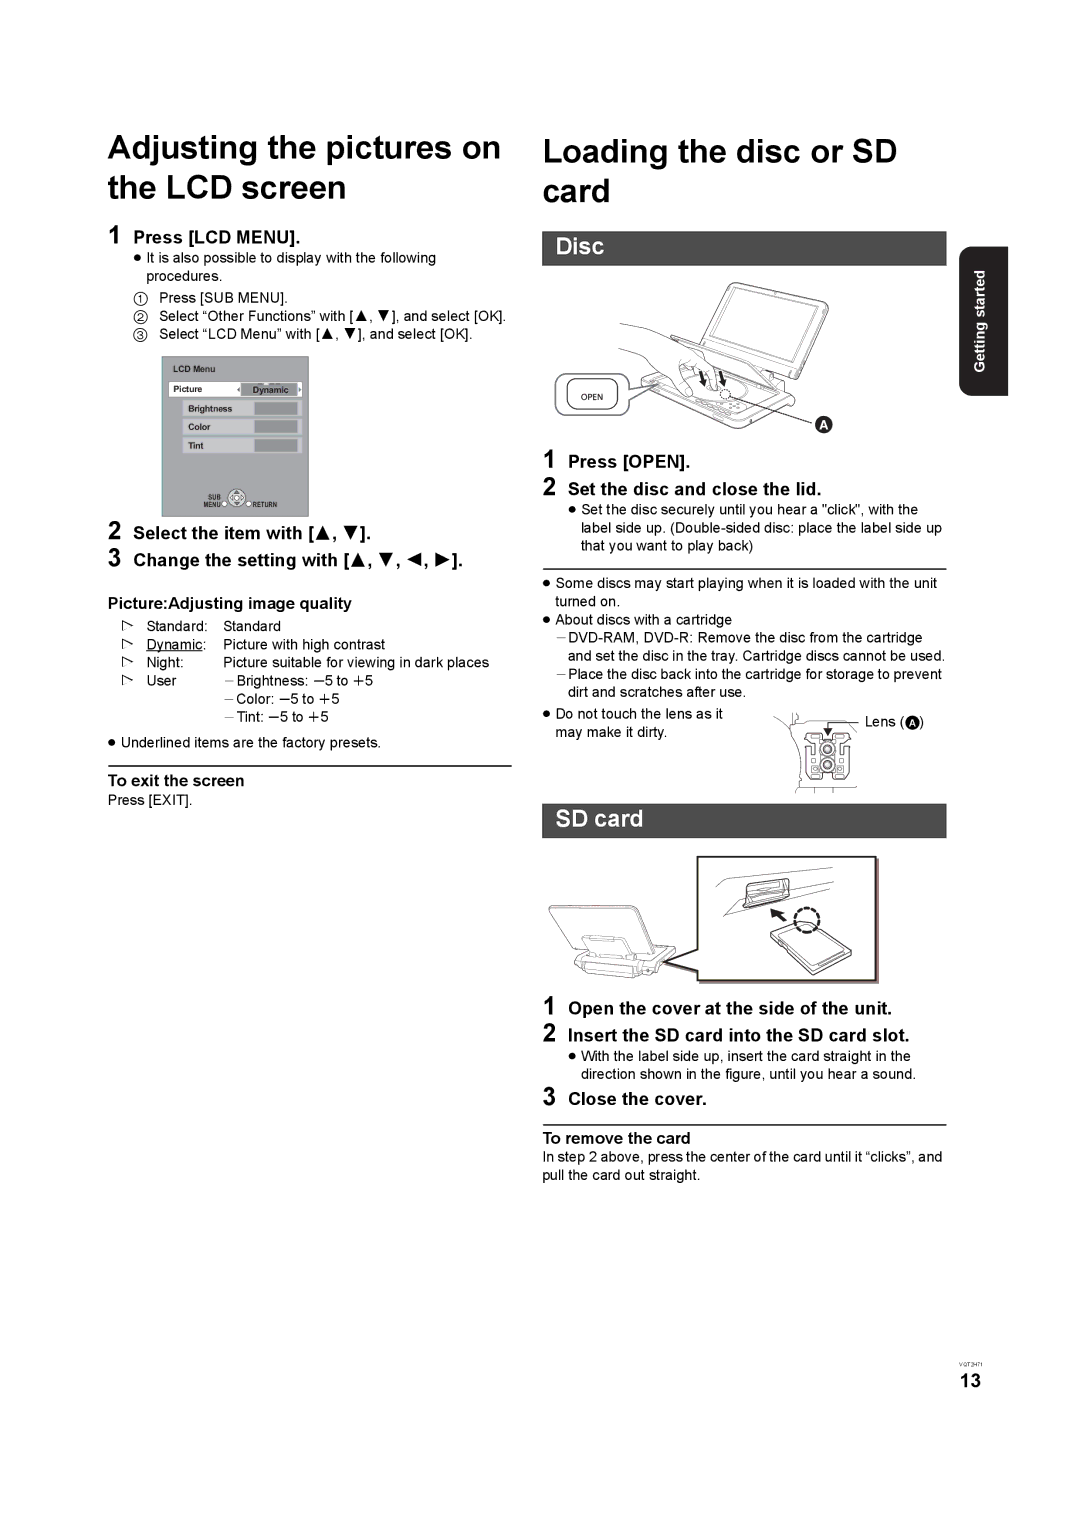
1 Press [OPEN].
2 Set the disc and close the lid.
≥Set the disc securely until you hear a "click", with the label side up.
≥Some discs may start playing when it is loaded with the unit turned on.
≥About discs with a cartridge
jPlace the disc back into the cartridge for storage to prevent dirt and scratches after use.
≥ Do not touch the lens as it | Lens (A) | |
may make it dirty. | ||
|
To exit the screen
Press [EXIT].
SD card
1 Open the cover at the side of the unit.
2 Insert the SD card into the SD card slot.
≥ With the label side up, insert the card straight in the direction shown in the figure, until you hear a sound.
3 Close the cover.
To remove the card
In step 2 above, press the center of the card until it “clicks”, and pull the card out straight.
VQT2H71
13