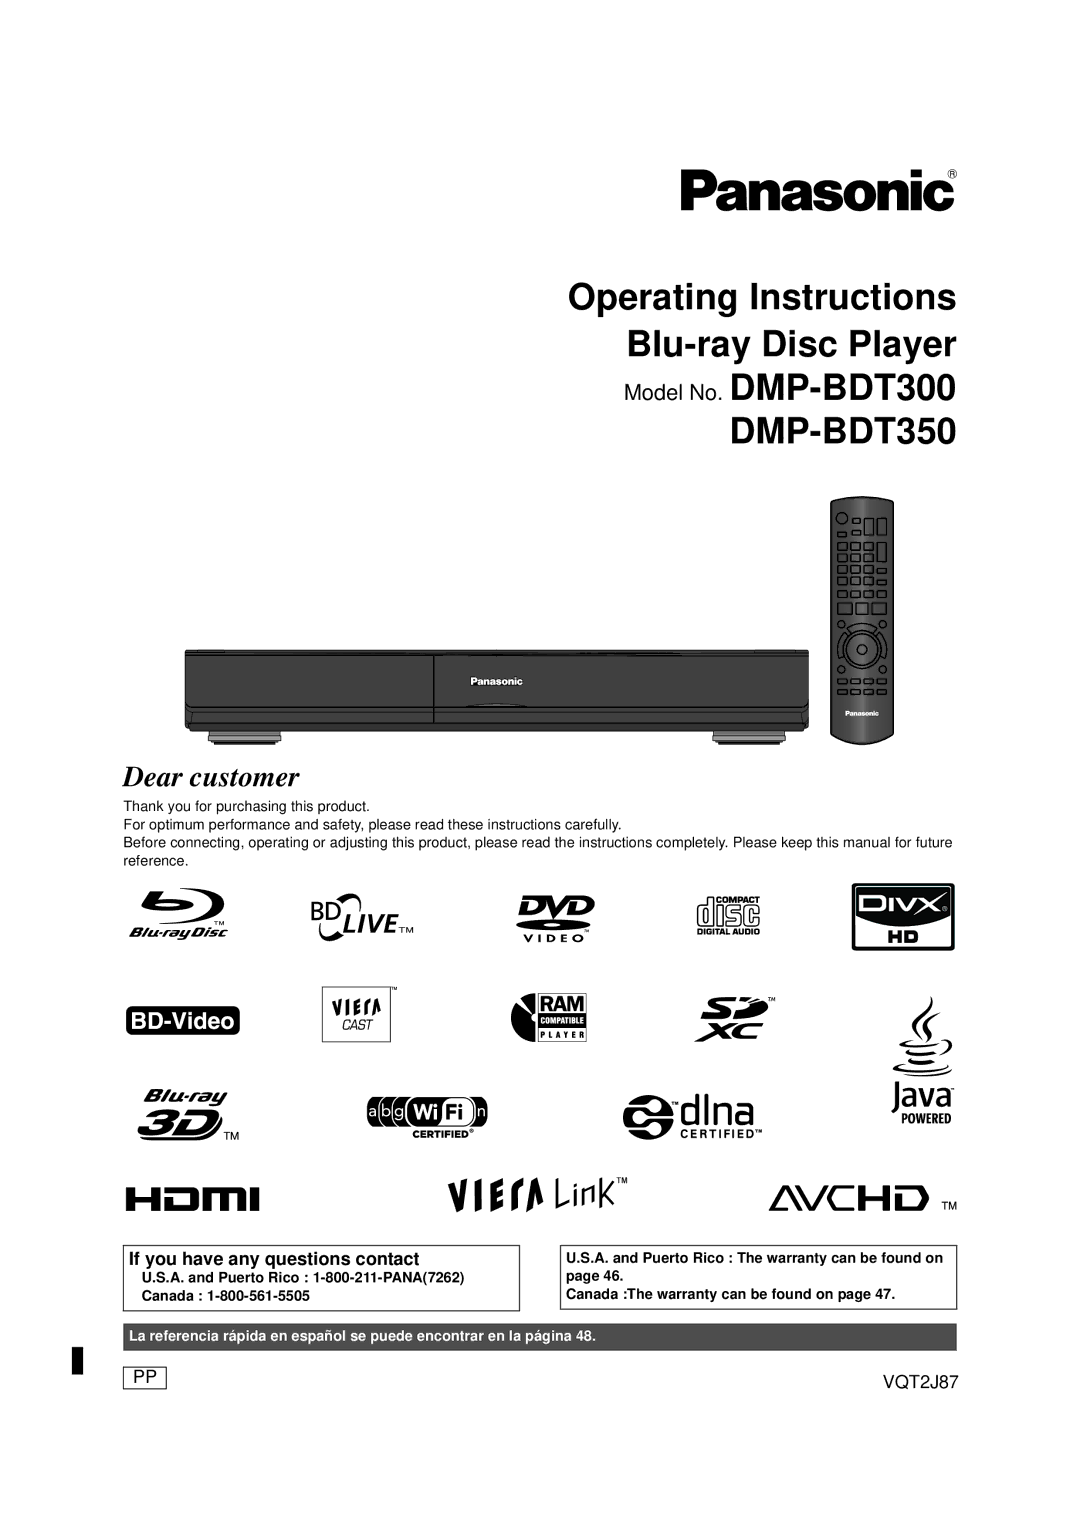
Main
IMPORTANT SAFETY INSTRUCTIONS
WARNING:
OPEN
NOT
ELECTRIC
Table of contents
Getting started
Connections & Settings
Playback
Settings
Accessory
Unit and media care
DO DO NOT
R6/LR6, AA
Clean this unit with a soft, dry cloth
Control reference guide
1 2 5 87 9 10
4 63 11
Playable discs/Cards/USB devices
Type Logo examples Type detail Playable contents
BD
DVD
CD
ALL
STEP 1 : Connecting to a TV
Via an HDMI MAIN AV OUT terminal
Via a COMPONENT VIDEO OUT terminal Via a VIDEO OUT terminal
STEP 2 : Connecting to an amplifier/receiver
Digital Audio
Via an HDMI MAIN AV OUT terminal
Via an HDMI MAIN AV OUT and HDMI SUB AV OUT terminal
Analog Audio
Via a COAXIAL or OPTICAL terminal Via a 5.1/7.1ch AUDIO OUT terminal
STEP 3 : Connecting to a broadband network
Using LAN (ethernet) cable Using Wireless LAN Adaptor (DY-WL10)
Connections & Settings
DMP-BDT300_VQT2J87_eng.book 13
Precautions of Wireless LAN Adaptor
THE FOLLOWING APPLIES IN THE U.S.A. AND CANADA.
THE FOLLOWING APPLIES ONLY IN THE U.S.A. FCC Note:
STEP 4 : Connecting to an AC power
STEP 5 : Setting
1
2
make the settings with [3,4] and press
1
2
make the settings with [3,4,2,1] and
Network Easy Setting
When you experience problems with settings
Page
STEP 6 : Reprogramming the remote control
1
Input the code (>42) with the number buttons while pressing [TV POWER].
Input the code (>42) with the number buttons while pressing [RECEIVER jVOL].
2
Inserting or removing media
To switch drives
FUNCTIONS menu
Playing video contents
1 2
To show menus
To show the status messages
BD DVD CD SD USB
2
Useful functions
Press [PIP].
1 2
BD-Live
Enjoying
3
Deleting data/Formatting SD cards
Regarding DivX
Enjoying 3D video
3D settings
BD
Playing still pictures
1
2
Press [3,4,2,1] to select the album and press [OK].
3
Playing music
1
2
Playing a track in another folder
1
DLNA feature
1 Press [FUNCTION MENU]. 2 Press [3,4] to select Network and
3 Press [3,4] to select Home Network (DLNA) and press [OK].
Viewing of video and pictures on the equipment connected to this unit via the network
Useful functions for when playing back pictures
Linked operations with the TV
2
Automatic input switching Power on link
Power off link
Easy control only with VIERA remote control
Playback menu
1 2
3
4
Disc
Play
Video
Chroma Process
Detail Clarity
Super Resolution
Setup menu
1
2
3
4
Display
Digital Audio Output (>38)
PCM Down Conversion
Downmix
7.1ch Audio Reformatting
TV / Device Connection
HDMI Video Mode
HDMI(SUB) Output Mode
HDMI Resolution
24p Output
Network
LAN Connection Mode
Access Point Connection Setting
IP Address/DNS Settings
Proxy Server Settings
Troubleshooting guide
General operation
Before requesting service, please perform the following steps.
Unit doesnt respond to remote control or front panel buttons.
Cannot eject disc.
Picture
Playback Network
Disc cannot be played.
The contents of the USB device cannot be read.
Still pictures (JPEG) do not play back normally.
I cant play back BD-Live.
Messages
Cannot play.
On the units display
Cannot display on this unit.
No disc is inserted.
Audio Information
HDMI AV OUT/DIGITAL AUDIO OUT (Coaxial/Optical)
About audio from audio output terminals
AUDIO OUT
Press [SETUP] > Audio > Set each item
Recommended audio output setting
About MP3/JPEG/DivX/ AVCHD/MPEG2 files
MP3
JPEG
DivX
Subtitles text file of DivX
Structure of folders that can be played in this unit
Supplemental information
DMP-BDT300_VQT2J87_eng.book 42
TV/Amplifier/Receiver code list
Language code list
Audio attribute
Specifications
Page
Glossary
Limited Warranty (ONLY FOR U.S.A. AND PUERTO RICO)
Panasonic Blu-ray and DVD Products Limited Warranty
PARTS AND SERVICE, WHICH ARE NOT COVERED BY THIS LIMITED WARRANTY, ARE YOUR RESPONSIBILITY.
As of November 2009
Limited Warranty (Only for CANADA)
Panasonic Canada Inc.
PANASONIC PRODUCTLIMITED WARRANTY
Referencia rpida en espaol
Preparacin
Salto
1Pulse [POWER] para encender la unidad.
2Inserte el medio.
Index
Panasonic Consumer Electronics Company, Division of Panasonic Corporation of North America
Panasonic Canada Inc.
pr
VQT2J87