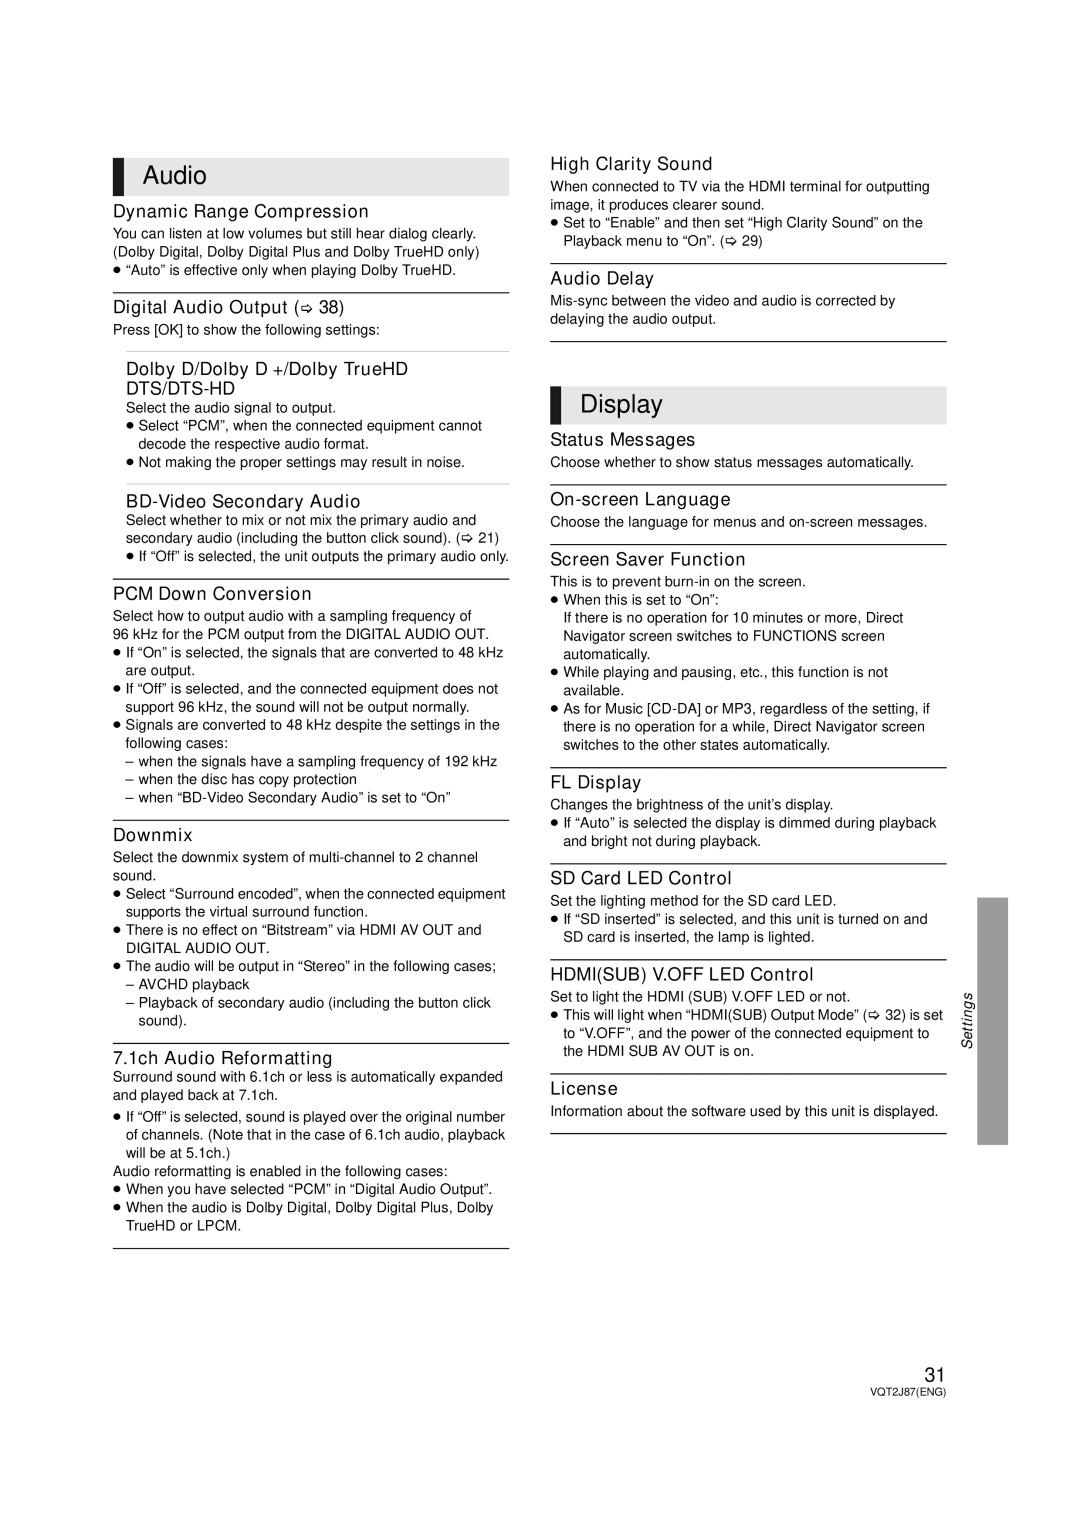
Audio
Dynamic Range Compression
You can listen at low volumes but still hear dialog clearly. (Dolby Digital, Dolby Digital Plus and Dolby TrueHD only)
≥“Auto” is effective only when playing Dolby TrueHD.
Digital Audio Output (> 38)
Press [OK] to show the following settings:
Dolby D/Dolby D +/Dolby TrueHD
DTS/DTS-HD
Select the audio signal to output.
≥Select “PCM”, when the connected equipment cannot decode the respective audio format.
≥Not making the proper settings may result in noise.
BD-Video Secondary Audio
Select whether to mix or not mix the primary audio and secondary audio (including the button click sound). (> 21)
≥If “Off” is selected, the unit outputs the primary audio only.
PCM Down Conversion
Select how to output audio with a sampling frequency of
96 kHz for the PCM output from the DIGITAL AUDIO OUT.
≥If “On” is selected, the signals that are converted to 48 kHz are output.
≥If “Off” is selected, and the connected equipment does not support 96 kHz, the sound will not be output normally.
≥Signals are converted to 48 kHz despite the settings in the following cases:
–when the signals have a sampling frequency of 192 kHz
–when the disc has copy protection
–when
Downmix
Select the downmix system of
≥Select “Surround encoded”, when the connected equipment supports the virtual surround function.
≥There is no effect on “Bitstream” via HDMI AV OUT and
DIGITAL AUDIO OUT.
≥The audio will be output in “Stereo” in the following cases;
–AVCHD playback
–Playback of secondary audio (including the button click sound).
7.1ch Audio Reformatting
Surround sound with 6.1ch or less is automatically expanded and played back at 7.1ch.
≥If “Off” is selected, sound is played over the original number of channels. (Note that in the case of 6.1ch audio, playback
will be at 5.1ch.)
Audio reformatting is enabled in the following cases:
≥When you have selected “PCM” in “Digital Audio Output”.
≥When the audio is Dolby Digital, Dolby Digital Plus, Dolby TrueHD or LPCM.
High Clarity Sound
When connected to TV via the HDMI terminal for outputting image, it produces clearer sound.
≥Set to “Enable” and then set “High Clarity Sound” on the Playback menu to “On”. (> 29)
Audio Delay
Display
Status Messages
Choose whether to show status messages automatically.
Choose the language for menus and
Screen Saver Function
This is to prevent
≥When this is set to “On”:
If there is no operation for 10 minutes or more, Direct Navigator screen switches to FUNCTIONS screen automatically.
≥While playing and pausing, etc., this function is not available.
≥As for Music
FL Display
Changes the brightness of the unit’s display.
≥If “Auto” is selected the display is dimmed during playback and bright not during playback.
SD Card LED Control
Set the lighting method for the SD card LED.
≥If “SD inserted” is selected, and this unit is turned on and SD card is inserted, the lamp is lighted.
HDMI(SUB) V.OFF LED Control
Set to light the HDMI (SUB) V.OFF LED or not. | Settings | |
≥ This will light when “HDMI(SUB) Output Mode” (> 32) is set | ||
| ||
to “V.OFF”, and the power of the connected equipment to |
| |
the HDMI SUB AV OUT is on. |
|
License
Information about the software used by this unit is displayed.
31
VQT2J87(ENG)
