For Reduced the VCR’s Power
Consumption When the VCR Is Switched
Off
1Press the MENU button T to display the Main menu on the TV screen.
|
|
|
|
|
|
| Main menu |
|
|
2 | Press the Cursor buttons | Timer record |
|
|
Display | Channel Guide :OFF | |||
|
|
| ||
| (3421) Q to select “Display”, | Tuning | OSD :4:3 | |
| Clock |
| ||
| Power save | :OFF | ||
| “Power save” and the entry field | Functions | VCR display :DIMMED | |
| for “Power save” in this order. | Language |
|
|
|
|
| ||
| Country |
|
| |
|
|
|
| |
|
|
|
|
|
3Press the Cursor buttons (34) Q to select “ON” or “OFF”.
ON: In this setting, the power consumption is greatly minimised when the VCR is turned off (Standby mode). In this case, the following happens:
≥The item “VCR display” is automatically set to “OFF”.
≥To turn the VCR on, keep the
≥The Power save function works only when the VCR is turned off (Standby mode). It does not operate in the timer recording standby mode. After all programmed timer recordings have been made, and after all programmed data have been erased, the VCR switches over to the Power save mode.
≥When the VCR is off, Pay TV programmes cannot be watched on the TV because the signal from the connected decoder is not looped through. To watch them, turn on the VCR.
OFF: In this setting, the power consumption is not reduced when the VCR is turned off (Standby mode).
4Press the OK button S to conclude the setting.
5Press the EXIT button R to exit the On Screen Display.
For Automatic Change of the Brightness of the VCR Display When the VCR Is Switched Off
1Press the MENU button T to display the Main menu on the TV screen.
|
|
|
|
|
|
| Main menu |
|
|
2 | Press the Cursor buttons | Timer record |
|
|
Display | Channel Guide :OFF | |||
| (3421) Q to select “Display”, | Tuning | OSD :4:3 | |
| Clock | Power save :OFF | ||
| “VCR display” and the entry field | |||
| Functions |
| ||
| VCR display : | DIMMED | ||
| for “VCR display” in this order. | Language |
|
|
|
|
| ||
| Country |
|
| |
|
|
|
|
|
3Press the Cursor buttons (34) Q to select the desired condition.
≥When the VCR is switched off, the brightness of the VCR display is as follows:
ON: | Indications are brightly lit. |
OFF: | Indications are not lit. |
DIMMED: | Indications are dimly lit. |
4Press the OK button S to conclude the setting.
5Press the EXIT button R to exit the On Screen Display.
Settings for the Main Menu Item “Functions”
To Set the Type of External Source Equipment that Is Connected to the AV2
1Press the MENU button T to display the Main menu on the TV screen.
|
|
|
|
|
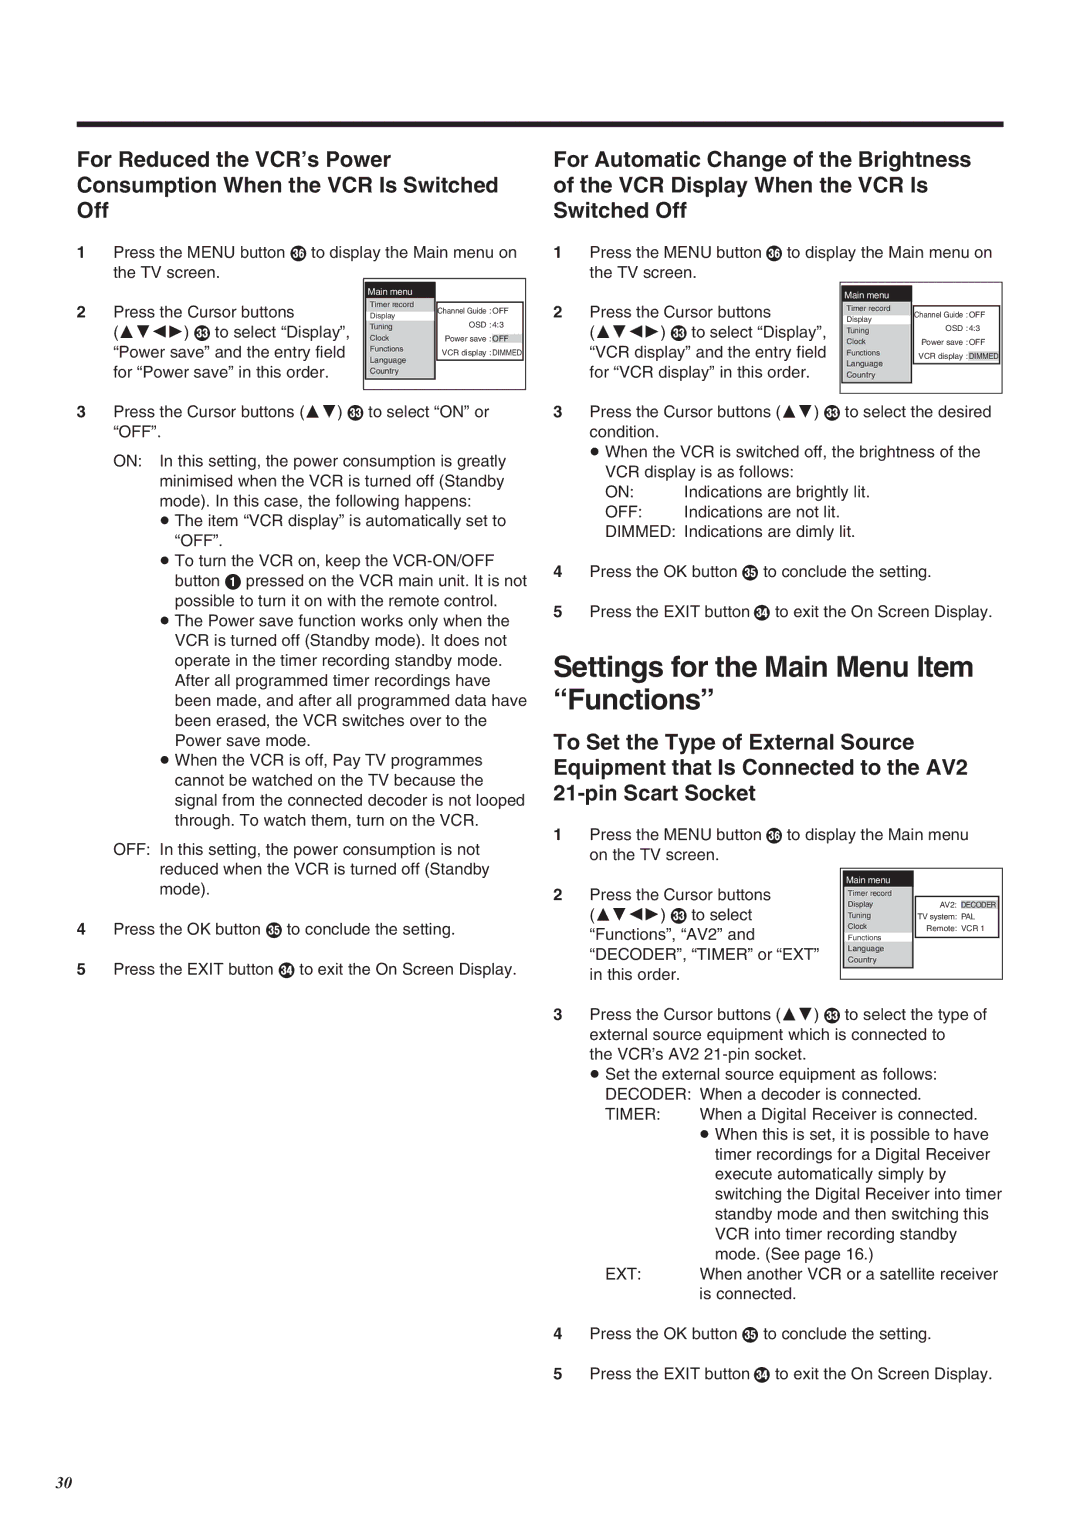
2 Press the Cursor buttons | Main menu |
|
|
|
Timer record |
|
|
| |
(3421) Q to select | Display | AV2: | DECODER |
|
Tuning | TV system: PAL |
| ||
“Functions”, “AV2” and | Clock | Remote: VCR 1 |
| |
Functions |
|
|
| |
|
|
| ||
“DECODER”, “TIMER” or “EXT” | Language |
|
|
|
Country |
|
|
| |
in this order. |
|
|
|
|
|
|
|
| |
3Press the Cursor buttons (34) Q to select the type of external source equipment which is connected to
the VCR’s AV2
≥Set the external source equipment as follows: DECODER: When a decoder is connected.
TIMER: | When a Digital Receiver is connected. |
| ≥ When this is set, it is possible to have |
| timer recordings for a Digital Receiver |
| execute automatically simply by |
| switching the Digital Receiver into timer |
| standby mode and then switching this |
| VCR into timer recording standby |
| mode. (See page 16.) |
EXT: | When another VCR or a satellite receiver |
| is connected. |
4Press the OK button S to conclude the setting.
5Press the EXIT button R to exit the On Screen Display.
30