NV-VP33 Series specifications
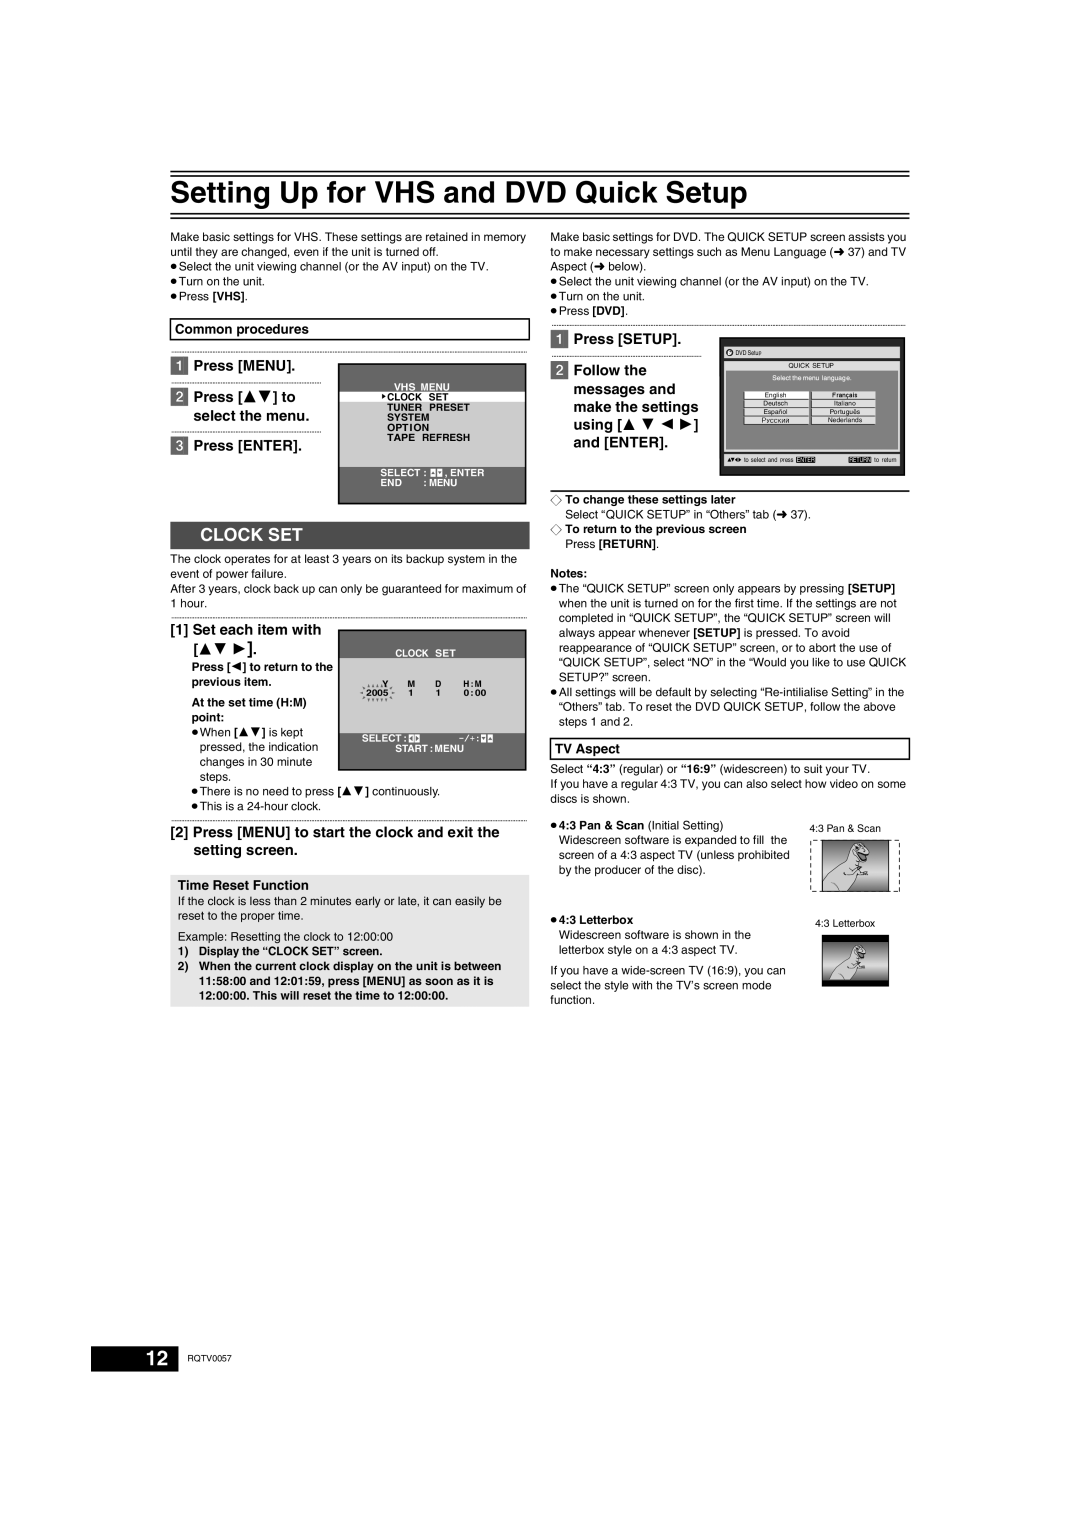
The Panasonic NV-VP33 Series is a notable entry in the realm of home video and audio equipment, showcasing advanced features and technologies that cater to the needs of consumers seeking high-quality performance. This series expertly combines the functionality of a VHS recorder with the convenience of a built-in DVD player, offering an ideal solution for those who enjoy both formats.One of the main features of the NV-VP33 Series is its dual-format playback capability. This allows users to play and record VHS tapes while also enjoying DVDs, making it a versatile choice for any home entertainment setup. The integration of these two technologies allows for seamless transitions between formats, providing an easy way to enjoy various media without the need for multiple devices.
Moreover, the NV-VP33 Series is equipped with a variety of user-friendly features aimed at enhancing the viewing experience. The on-screen display provides users with easy navigation options, ensuring that both novice and experienced users can operate the device with minimal hassle. Additionally, the series includes a timer recording function, allowing users to schedule recordings in advance, which is perfect for capturing favorite shows or movies.
In terms of picture quality, the NV-VP33 Series incorporates Panasonic's advanced video technologies to deliver sharp and vibrant images. With features such as automatic tracking adjustment and Dolby Digital sound, the series ensures that audio and video fidelity meet modern standards, providing an enjoyable viewing experience.
Another significant characteristic of the NV-VP33 Series is its compact design. The device is thoughtfully engineered to occupy minimal space, making it an excellent addition to any home theater system or living room setup. This space-saving design does not compromise on performance, as it retains the robust functionality expected from Panasonic products.
Durability is another hallmark of the NV-VP33 Series. Built with quality materials, this device is designed to withstand the rigors of daily use, ensuring a long lifespan for consumers. The company’s long-standing reputation for reliability is evident in this series, making it a worthwhile investment for those seeking dependable home entertainment solutions.
In summary, the Panasonic NV-VP33 Series stands out for its dual-format capabilities, user-friendly features, high-quality audio-visual performance, compact design, and durability. With its innovative technology and thoughtful design elements, this series offers a compelling option for homeowners looking to enhance their entertainment experience. Whether revisiting classic VHS tapes or enjoying the latest DVDs, the NV-VP33 Series is engineered to deliver satisfaction and versatility.

