CLASSIFICATION |
|
| No. |
|
| REV. |
Einstufung |
|
|
| C | ||
SUBJECT | EvalBoard PAN4570 | PAGE |
|
|
| |
Thema |
|
| Seite | 8 of 20 |
| |
CUSTOMER’S CODE |
| PANASONIC’S CODE | DATE | 06.11.2006 | ||
EvalPAN4570 |
|
| Datum | |||
6. SERIAL PORT
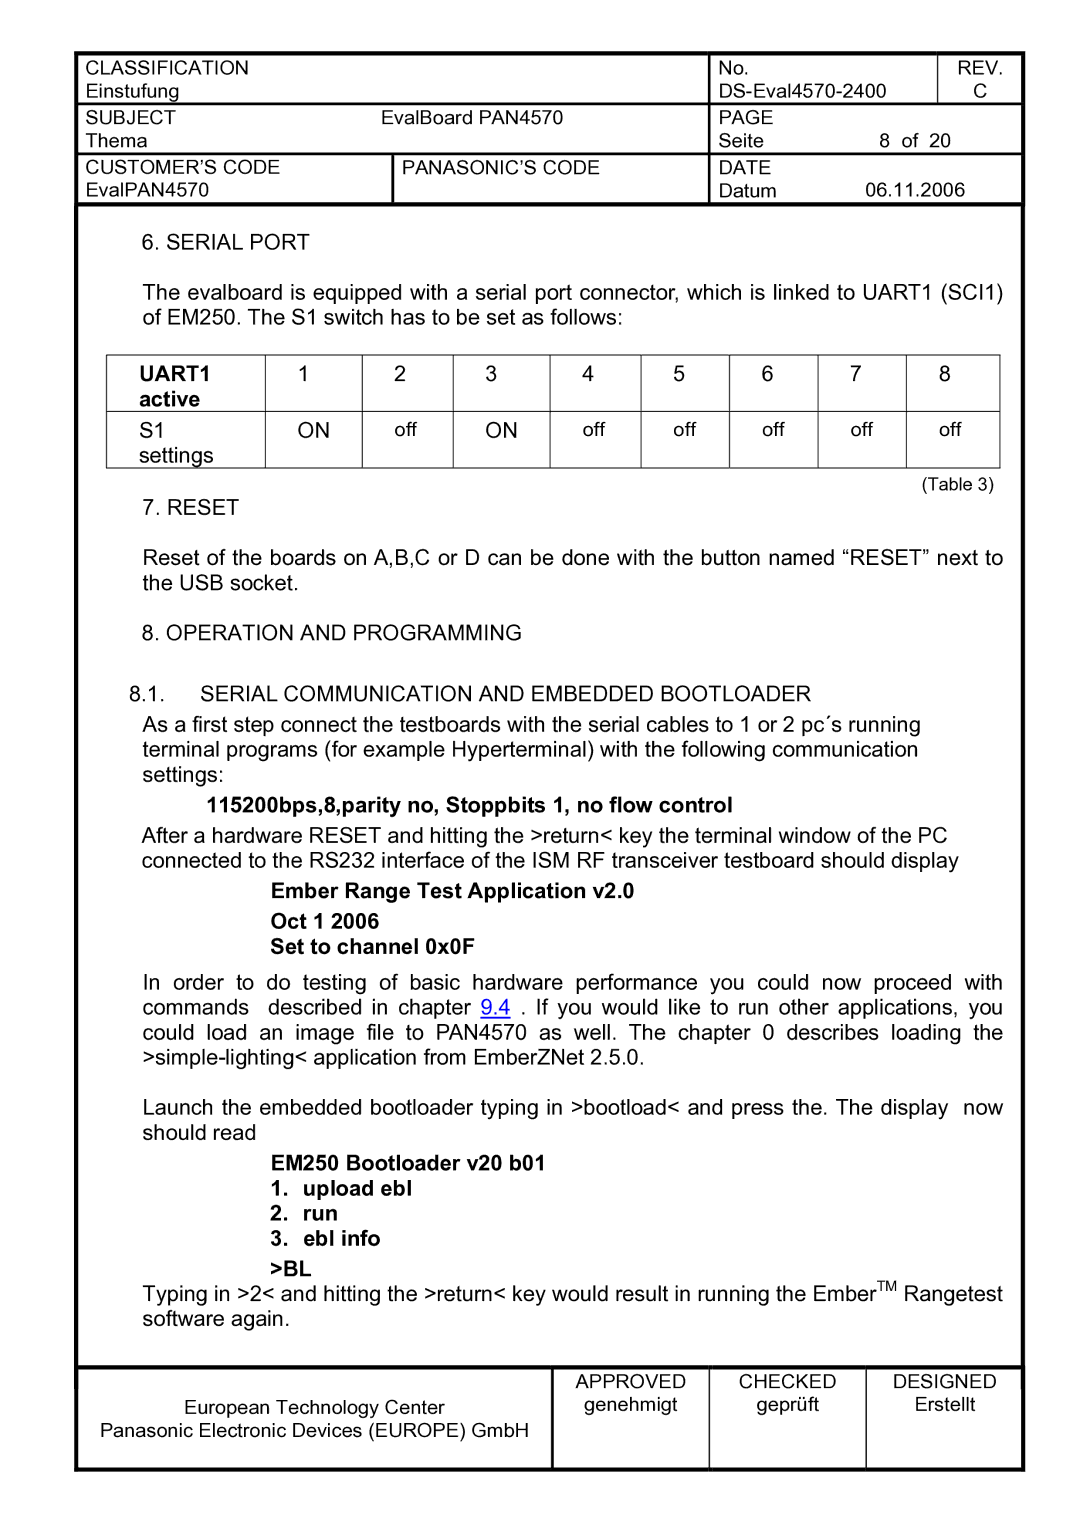
The evalboard is equipped with a serial port connector, which is linked to UART1 (SCI1) of EM250. The S1 switch has to be set as follows:
UART1 | 1 | 2 | 3 | 4 | 5 | 6 | 7 | 8 |
active |
|
|
|
|
|
|
|
|
S1 | ON | off | ON | off | off | off | off | off |
settings |
|
|
|
|
|
|
|
|
7. RESET |
|
|
|
|
|
|
| (Table 3) |
|
|
|
|
|
|
|
|
Reset of the boards on A,B,C or D can be done with the button named “RESET” next to the USB socket.
8. OPERATION AND PROGRAMMING
8.1.SERIAL COMMUNICATION AND EMBEDDED BOOTLOADER
As a first step connect the testboards with the serial cables to 1 or 2 pc´s running terminal programs (for example Hyperterminal) with the following communication settings:
115200bps,8,parity no, Stoppbits 1, no flow control
After a hardware RESET and hitting the >return< key the terminal window of the PC connected to the RS232 interface of the ISM RF transceiver testboard should display
Ember Range Test Application v2.0
Oct 1 2006
Set to channel 0x0F
In order to do testing of basic hardware performance you could now proceed with commands described in chapter 9.4 . If you would like to run other applications, you could load an image file to PAN4570 as well. The chapter 0 describes loading the
Launch the embedded bootloader typing in >bootload< and press the. The display now should read
EM250 Bootloader v20 b01
1.upload ebl
2.run
3.ebl info
>BL
Typing in >2< and hitting the >return< key would result in running the EmberTM Rangetest software again.
European Technology Center
Panasonic Electronic Devices (EUROPE) GmbH
APPROVED
genehmigt
CHECKED
geprüft
DESIGNED
Erstellt