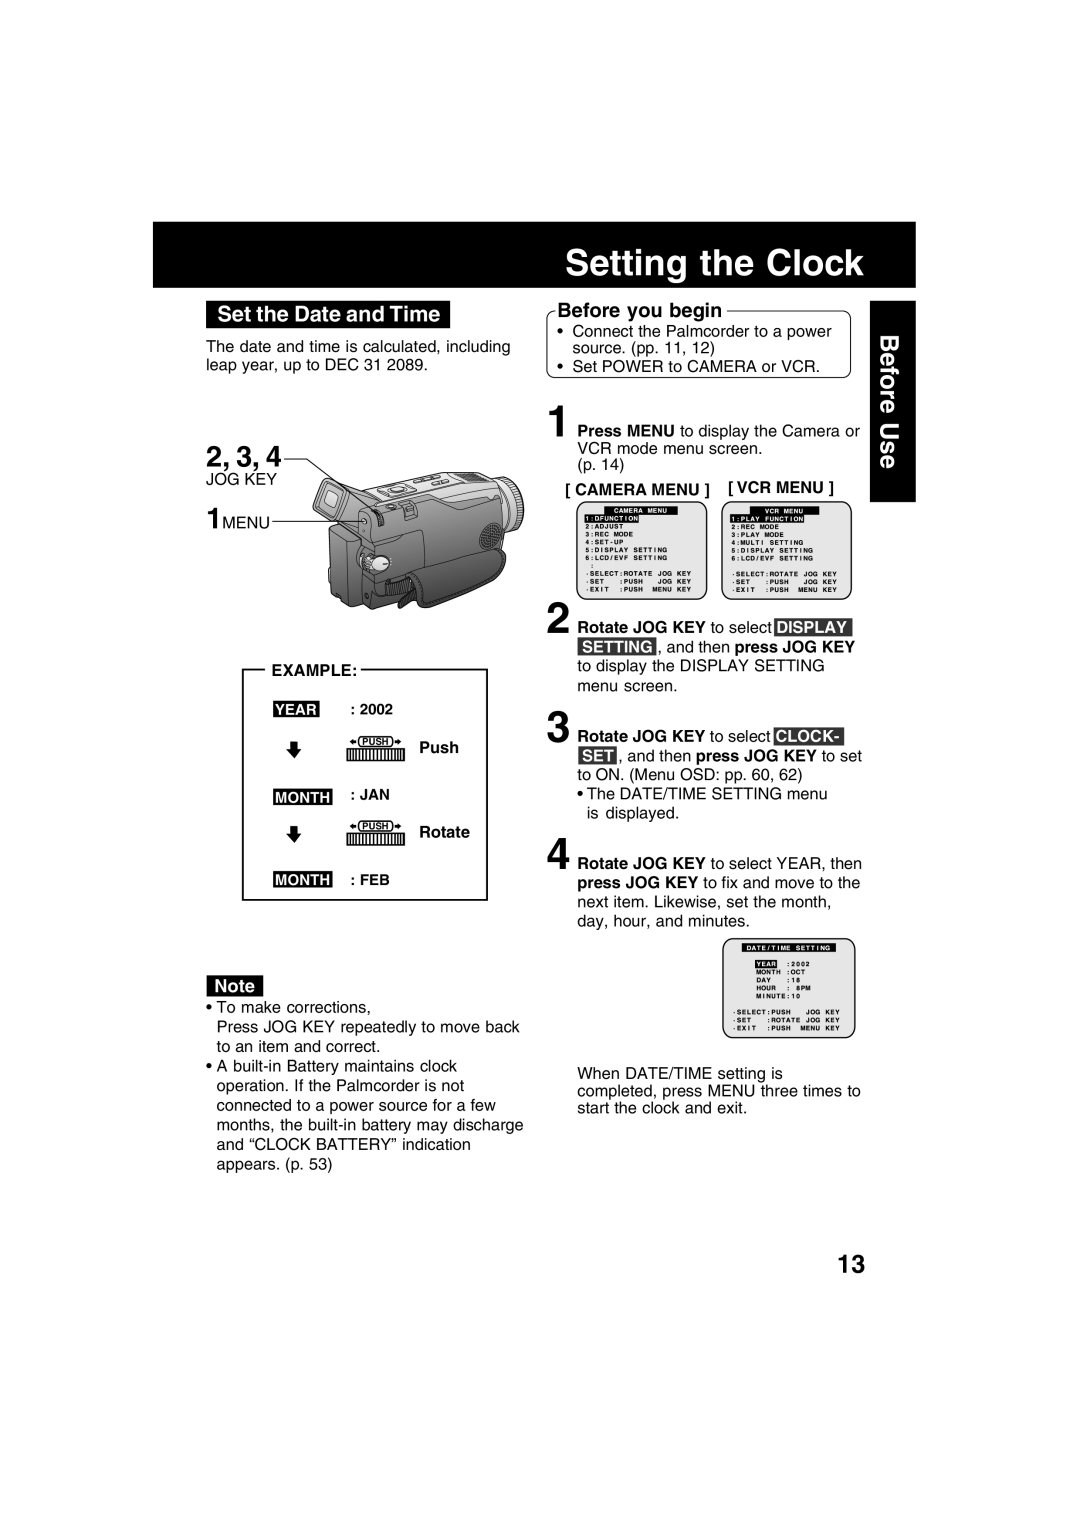
PV-DV52 specifications
The Panasonic PV-DV52 was a compact and versatile camcorder that left an impression in the world of digital video recording during its time. Renowned for its user-friendly design and advanced features, the PV-DV52 catered to both amateur filmmakers and seasoned videographers seeking portability and quality.One of the primary highlights of the PV-DV52 is its recording capability. This camcorder featured a MiniDV format, allowing users to record high-quality digital video with exceptional clarity. The MiniDV format ensured that the footage produced was crisp and vibrant, making it ideal for capturing special moments or creating home movies.
The PV-DV52 was equipped with a 3CCD imaging system, a notable technology that set it apart from many competitors. Unlike standard camcorders that use a single CCD, the 3CCD system utilized three separate CCD sensors—one for each primary color (red, green, and blue). This design resulted in improved color accuracy, enhanced image detail, and reduced artifacts, producing stunning visuals that truly represented the scene.
Another impressive feature of the PV-DV52 was its optical zoom capabilities. The camcorder came with a 10x optical zoom lens that enabled users to capture distant subjects without compromising quality. Additionally, users could employ a digital zoom feature, further extending their reach when needed. This flexibility made the camcorder ideal for various shooting scenarios, from capturing wildlife at a distance to recording events in large venues.
The PV-DV52 also prioritized ease of use, equipped with a user-friendly interface and intuitive controls. A flip-out LCD screen provided users with the ability to monitor their recordings easily, making framing shots and reviewing footage straightforward. The camcorder had built-in stabilization technology, which minimized the impact of shaky hands while filming, resulting in smoother video playback.
Moreover, the Panasonic PV-DV52 offered a range of connectivity options, including FireWire (IEEE 1394) ports, facilitating easy transfer of video to computers for editing. This feature was particularly significant, as it allowed for a seamless workflow for aspiring filmmakers looking to enhance their content.
Overall, the Panasonic PV-DV52 was a well-rounded and dependable camcorder that leveraged advanced technologies to deliver professional-quality video recording in a compact package. Its combination of 3CCD imaging, optical zoom, and user-friendly features made it a popular choice during its era, appealing to various users seeking to capture life's important moments with ease.

