Reduces power consumption
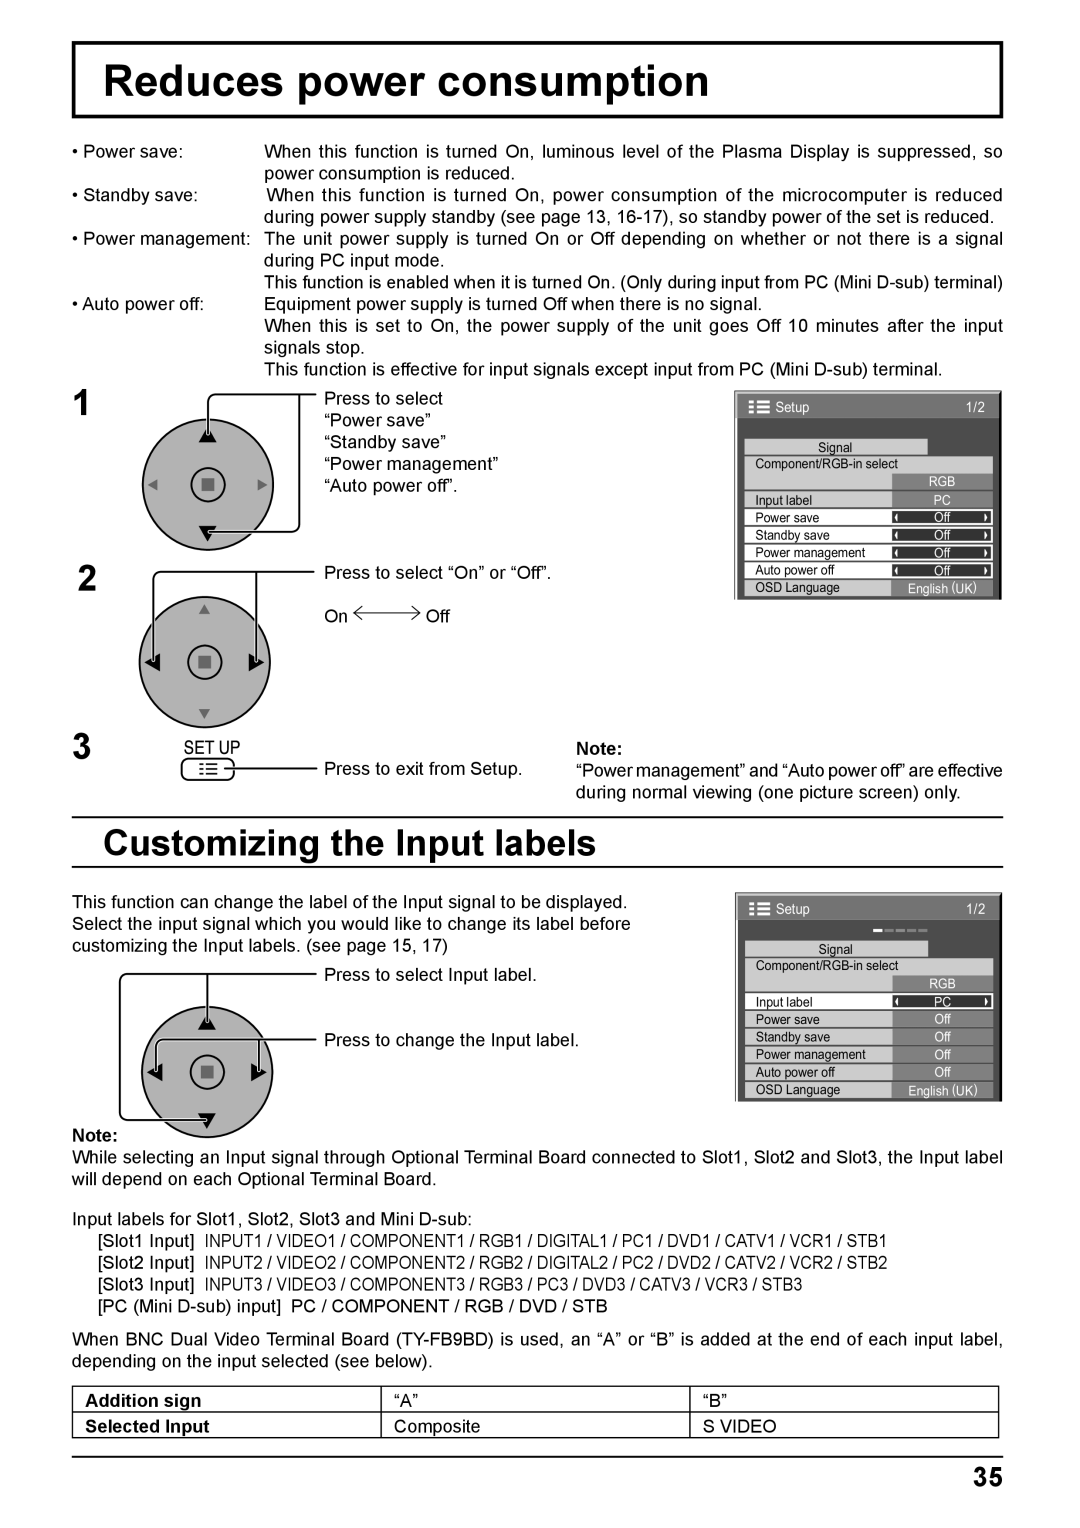
• Power save: | When this function is turned On, luminous level of the Plasma Display is suppressed, so |
| power consumption is reduced. |
• Standby save: | When this function is turned On, power consumption of the microcomputer is reduced |
| during power supply standby (see page 13, |
•Power management: The unit power supply is turned On or Off depending on whether or not there is a signal during PC input mode.
This function is enabled when it is turned On. (Only during input from PC (Mini
• Auto power off: | Equipment power supply is turned Off when there is no signal. |
| When this is set to On, the power supply of the unit goes Off 10 minutes after the input |
| signals stop. |
| This function is effective for input signals except input from PC (Mini |
1
2
Press to select “Power save” “Standby save” “Power management” “Auto power off”.
Press to select “On” or “Off”.
On ![]() Off
Off
Setup | 1/2 |
Signal |
|
| |
| RGB |
Input label | PC |
Power save | Off |
Standby save | Off |
Power management | Off |
Auto power off | Off |
OSD Language | English (UK) |
3
Press to exit from Setup. | Note: |
“Power management” and “Auto power off” are effective | |
| during normal viewing (one picture screen) only. |
Customizing the Input labels
This function can change the label of the Input signal to be displayed. Select the input signal which you would like to change its label before customizing the Input labels. (see page 15, 17)
Press to select Input label.
Press to change the Input label.
Setup | 1/2 |
Signal |
|
| |
| RGB |
Input label | PC |
Power save | Off |
Standby save | Off |
Power management | Off |
Auto power off | Off |
OSD Language | English (UK) |
Note:
While selecting an Input signal through Optional Terminal Board connected to Slot1, Slot2 and Slot3, the Input label will depend on each Optional Terminal Board.
Input labels for Slot1, Slot2, Slot3 and Mini
[Slot1 Input] INPUT1 / VIDEO1 / COMPONENT1 / RGB1 / DIGITAL1 / PC1 / DVD1 / CATV1 / VCR1 / STB1
[Slot2 Input] INPUT2 / VIDEO2 / COMPONENT2 / RGB2 / DIGITAL2 / PC2 / DVD2 / CATV2 / VCR2 / STB2
[Slot3 Input] INPUT3 / VIDEO3 / COMPONENT3 / RGB3 / PC3 / DVD3 / CATV3 / VCR3 / STB3 [PC (Mini
When BNC Dual Video Terminal Board
Addition sign | “A” | “B” |
Selected Input | Composite | S VIDEO |
35
