WV-CS574 specifications
The Panasonic WV-CS574 is a sophisticated surveillance camera renowned for its advanced features and versatile technologies designed to enhance security applications. This camera is particularly well-suited for both indoor and outdoor use, making it a popular choice for monitoring public spaces, commercial properties, and other critical areas.One of the standout features of the WV-CS574 is its exquisite image quality. Equipped with a high-resolution 1/4-inch CCD sensor, the camera delivers clear and crisp images at a resolution of 480 TV lines. This ensures that even in challenging lighting conditions, the camera can maintain its performance, providing reliable surveillance footage for security personnel.
The WV-CS574 incorporates a powerful 18x optical zoom lens combined with a 12x digital zoom, allowing for detailed close-ups of objects or individuals that may be far from the camera. This flexibility is crucial for identifying faces and license plates from a considerable distance. The camera also supports automatic focus, which simplifies the process of capturing sharp images, minimizing the chances of blurry footage.
Panasonic ensures that the WV-CS574 can adapt to a variety of environmental conditions through features like automatic backlight compensation and digital noise reduction. These technologies work together to optimize the camera's performance in varying light situations, whether it’s bright sunlight or dimly lit areas. Additionally, the camera’s wide dynamic range (WDR) capability helps balance the exposure levels in scenes with both bright and dark areas, resulting in clear images without loss of detail.
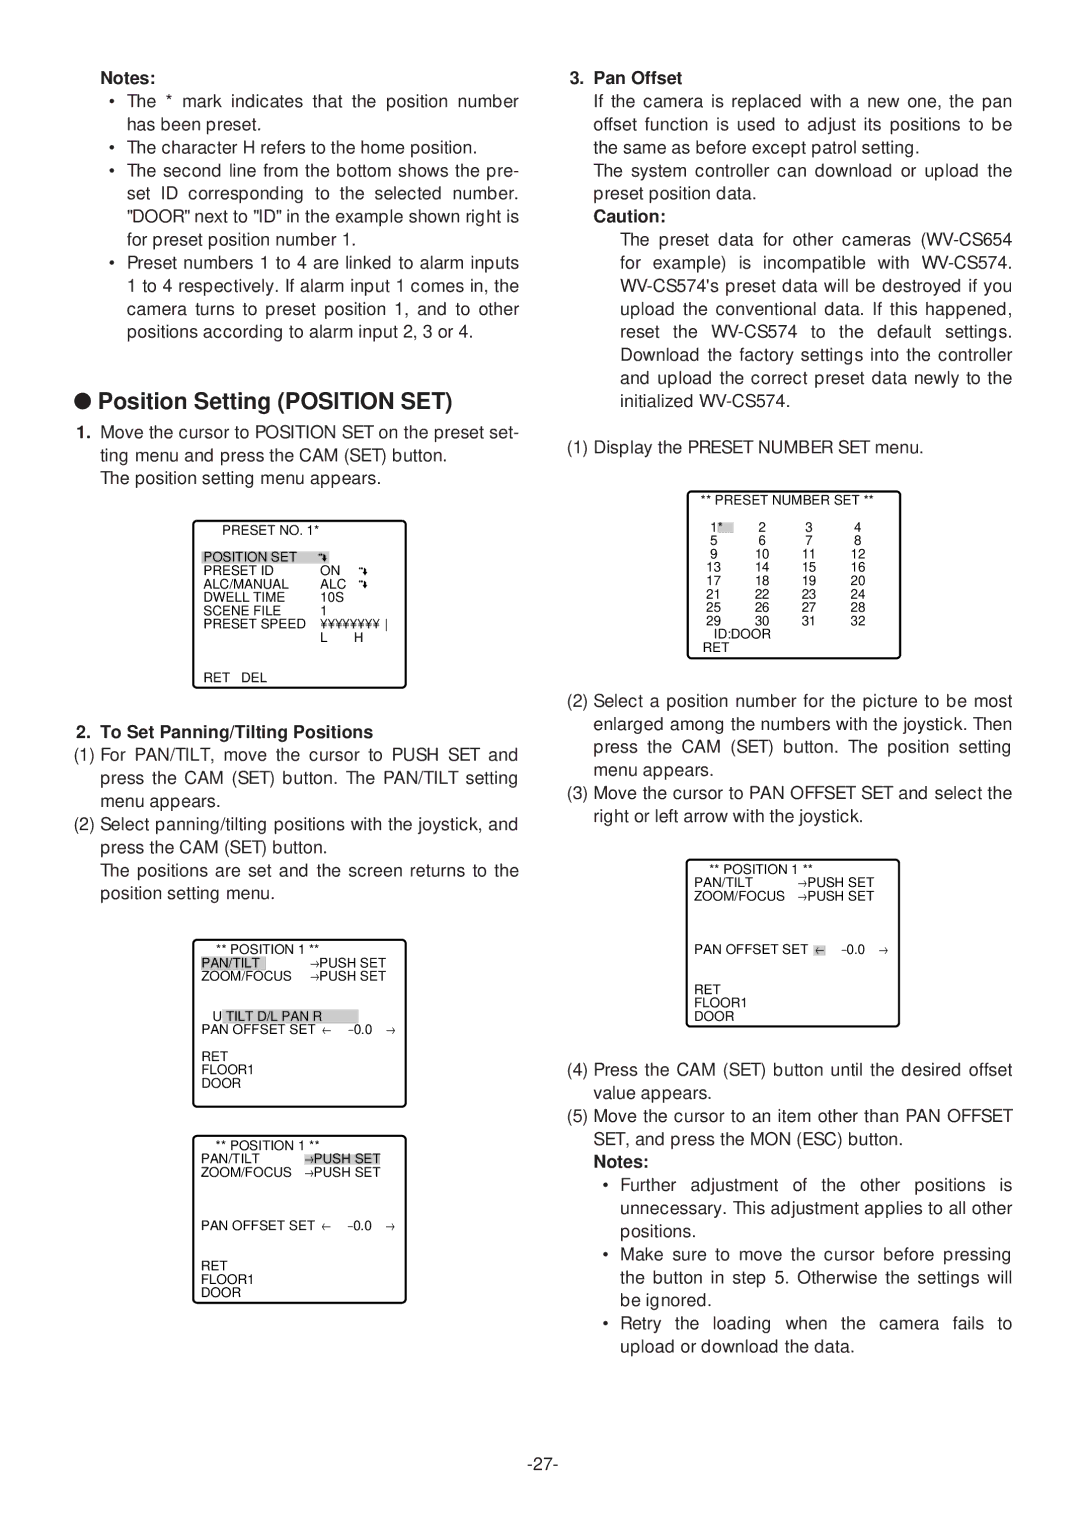
The WV-CS574 is designed with ease of use in mind, featuring a user-friendly interface that simplifies configuration and operation. Its pan-tilt-zoom (PTZ) capabilities offer a comprehensive monitoring solution, allowing operators to remotely control the camera's movement for real-time surveillance. The camera can pan 360 degrees and tilt 90 degrees, providing extensive coverage of the monitored area.
Moreover, the Panasonic WV-CS574 is built to withstand harsh environments, with an IP66 rating for weather resistance. This makes it suitable for outdoor installations where exposure to rain, dust, and extreme temperatures is a concern.
The camera supports various video formats, ensuring compatibility with different surveillance systems. Additionally, features like alarm inputs and outputs facilitate integration with other security devices, enhancing overall monitoring capabilities. With its combination of high-quality imaging, robust design, and versatile functionality, the Panasonic WV-CS574 stands out as an exceptional choice for any surveillance needs.

