WV-NW474S specifications
The Panasonic WV-NW474S is a high-performance network camera specifically designed for a variety of surveillance applications. This innovative model is known for its outstanding image quality, advanced features, and reliable performance in diverse environments. With a focus on enhancing security monitoring, the WV-NW474S integrates sophisticated technologies that set it apart in the competitive market of network cameras.One of the main features of the WV-NW474S is its exceptional imaging capability. It is equipped with a 1/3-inch progressive scan CCD sensor, which delivers high-resolution video at 640x480 pixels. The camera supports both standard and high-definition streaming, enabling users to capture clear images even in challenging conditions. The incorporation of advanced digital signal processing ensures that the image quality remains consistent, reducing noise and improving visibility in low-light scenarios.
Another significant technological advancement in the WV-NW474S is its wide dynamic range (WDR) functionality. This feature enables the camera to adjust to varying lighting conditions, making it especially effective in environments with intense backlighting. WDR allows the camera to capture details in both shadows and highlights, ensuring that important details are not lost.
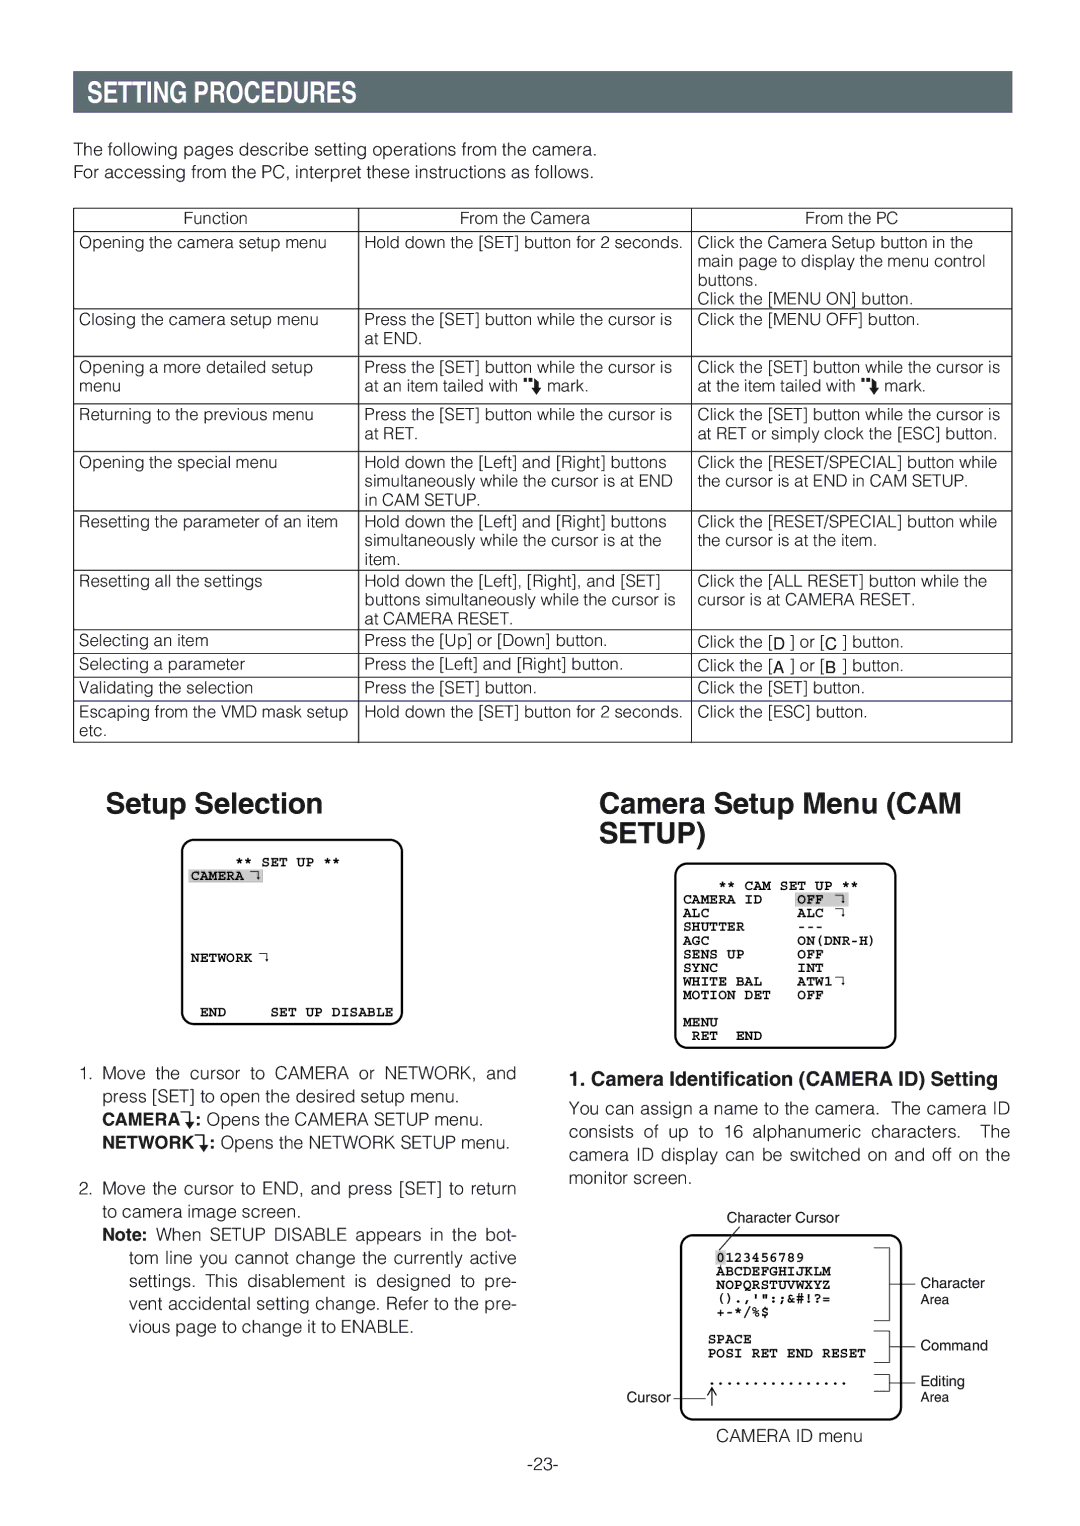
The WV-NW474S also emphasizes flexibility in installation and usage. It supports multiple codecs, including H.264 and Motion JPEG, and offers dual streaming capabilities. This flexibility allows users to choose the optimal compression format based on their network conditions and storage capacity. Furthermore, the camera features a user-friendly web interface for easy configuration and monitoring, making it accessible even for those with minimal technical expertise.
Additionally, the WV-NW474S is built to withstand various environmental challenges. It is designed with an IP66-rated housing, providing protection against dust and water ingress. This rugged design ensures reliable operation in outdoor settings or industrial environments, making it a dependable solution for security monitoring.
On the connectivity front, the WV-NW474S includes various network protocols, ensuring compatibility with diverse surveillance systems. It has the capability for Power over Ethernet (PoE), enabling power delivery and network connectivity through a single cable, simplifying installation.
In summary, the Panasonic WV-NW474S network camera combines high-resolution imaging, advanced WDR capabilities, robust environmental protection, and comprehensive connectivity options. These features make it an ideal choice for both commercial and residential surveillance needs, offering reliability and performance that users can trust. Whether for monitoring public spaces or securing private properties, the WV-NW474S stands out as a versatile and trustworthy security solution.

