Note: The card will only fit in one direction; do not force it. The card should fit snugly when
properly inserted. Turn the Power Switch on the back of the Digital Photo Frame ON. The Digital Photo Frame will automatically start a slide show of the photos on the card.
4.To display photos individually, press the Exit button to open the Thumbnails Screen. Use
the Up and Down arrows to choose a photo. Press the Play button (>/II) on the top of the Digital Photo Frame, or the Enter button on the remote control.
Note: Pull the plastic tab sticking out of the remote control. It protects the battery, and the remote control will not work unless it is removed.
5.To restart the Slide Show, press the Play button (>/II) again, or press the Slide Show button on the remote control.
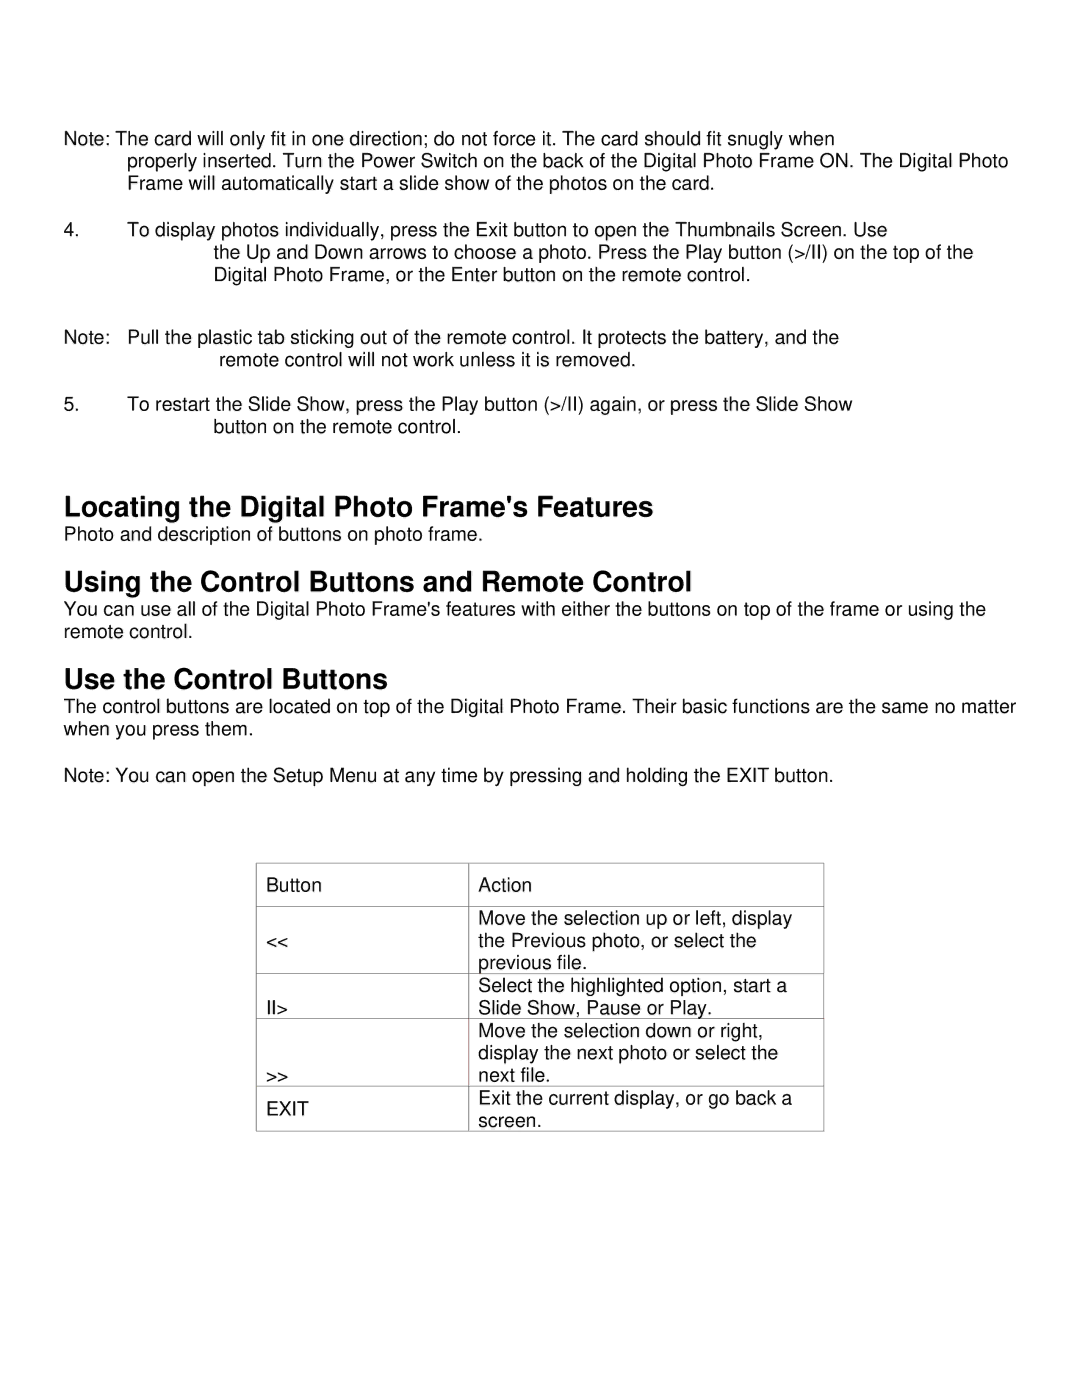
Locating the Digital Photo Frame's Features
Photo and description of buttons on photo frame.
Using the Control Buttons and Remote Control
You can use all of the Digital Photo Frame's features with either the buttons on top of the frame or using the remote control.
Use the Control Buttons
The control buttons are located on top of the Digital Photo Frame. Their basic functions are the same no matter when you press them.
Note: You can open the Setup Menu at any time by pressing and holding the EXIT button.
Button | Action | |
|
| |
| Move the selection up or left, display | |
<< | the Previous photo, or select the | |
| previous file. | |
| Select the highlighted option, start a | |
II> | Slide Show, Pause or Play. | |
| Move the selection down or right, | |
| display the next photo or select the | |
>> | next file. | |
EXIT | Exit the current display, or go back a | |
screen. | ||
|