REPLACING THE CAMERA
NOTE: You must wear
CAMERA REMOVAL
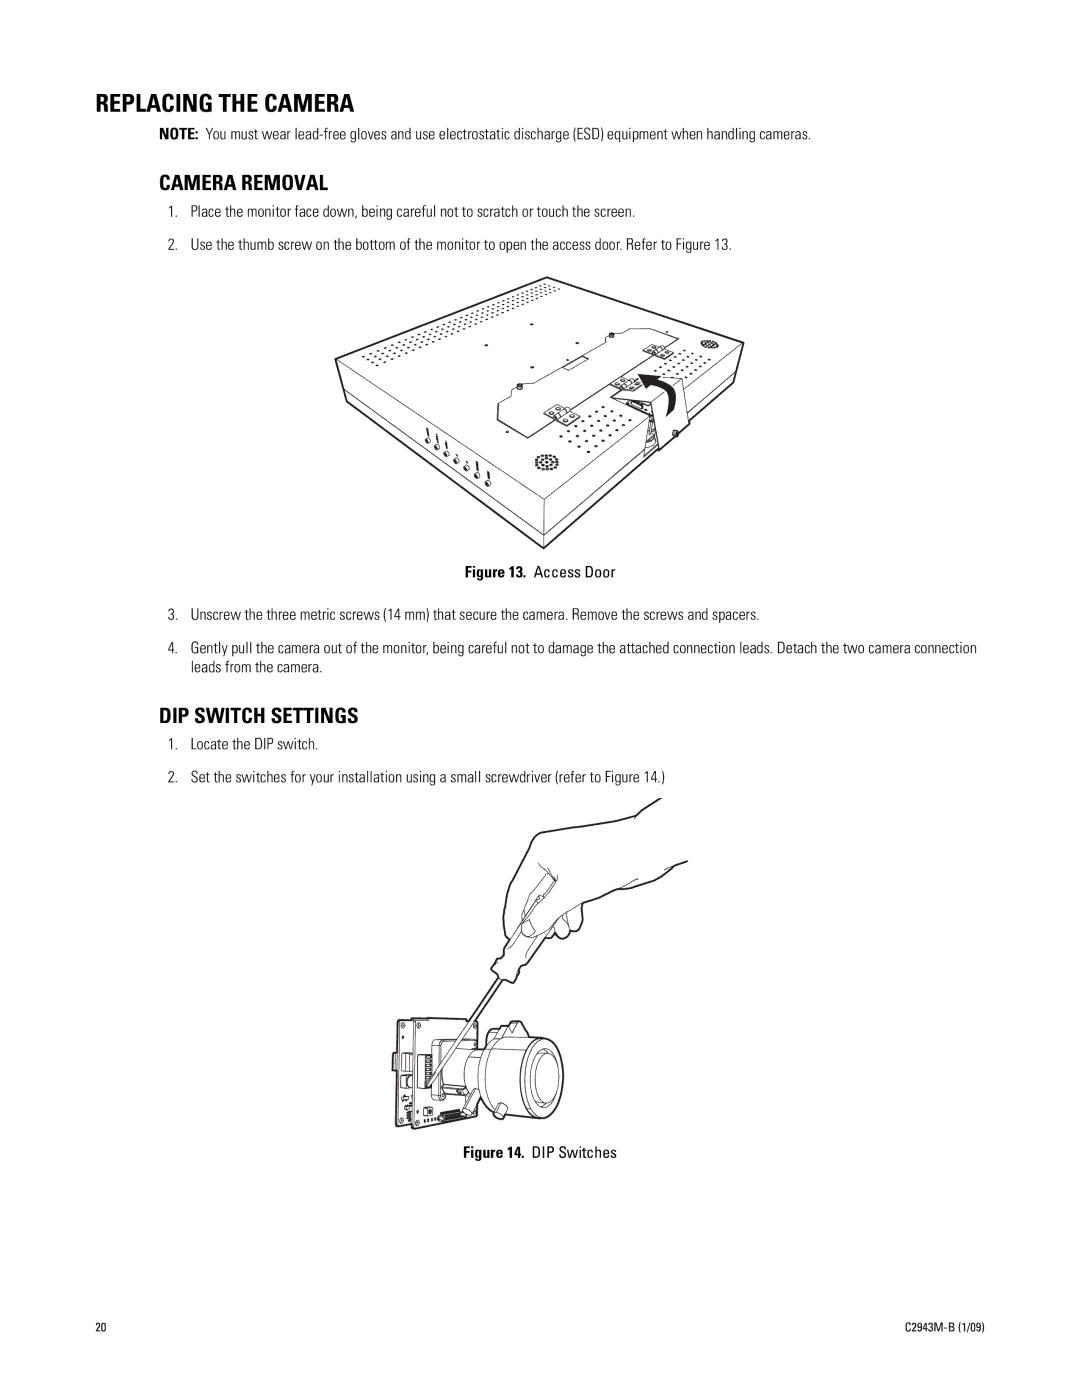
1.Place the monitor face down, being careful not to scratch or touch the screen.
2.Use the thumb screw on the bottom of the monitor to open the access door. Refer to Figure 13.
Figure 13. Access Door
3.Unscrew the three metric screws (14 mm) that secure the camera. Remove the screws and spacers.
4.Gently pull the camera out of the monitor, being careful not to damage the attached connection leads. Detach the two camera connection leads from the camera.
DIP SWITCH SETTINGS
1.Locate the DIP switch.
2.Set the switches for your installation using a small screwdriver (refer to Figure 14.)
Figure 14. DIP Switches
20 |
|