Installation
MOUNTING
The PVM accommodates mounts that adhere to the VESA® 100 x 100 standard.
For mounting from a ceiling, Pelco recommends using the
For more information and instructions on mounting, refer to the
For a list of additional mounts, refer to Specifications on page 23.
WIRING
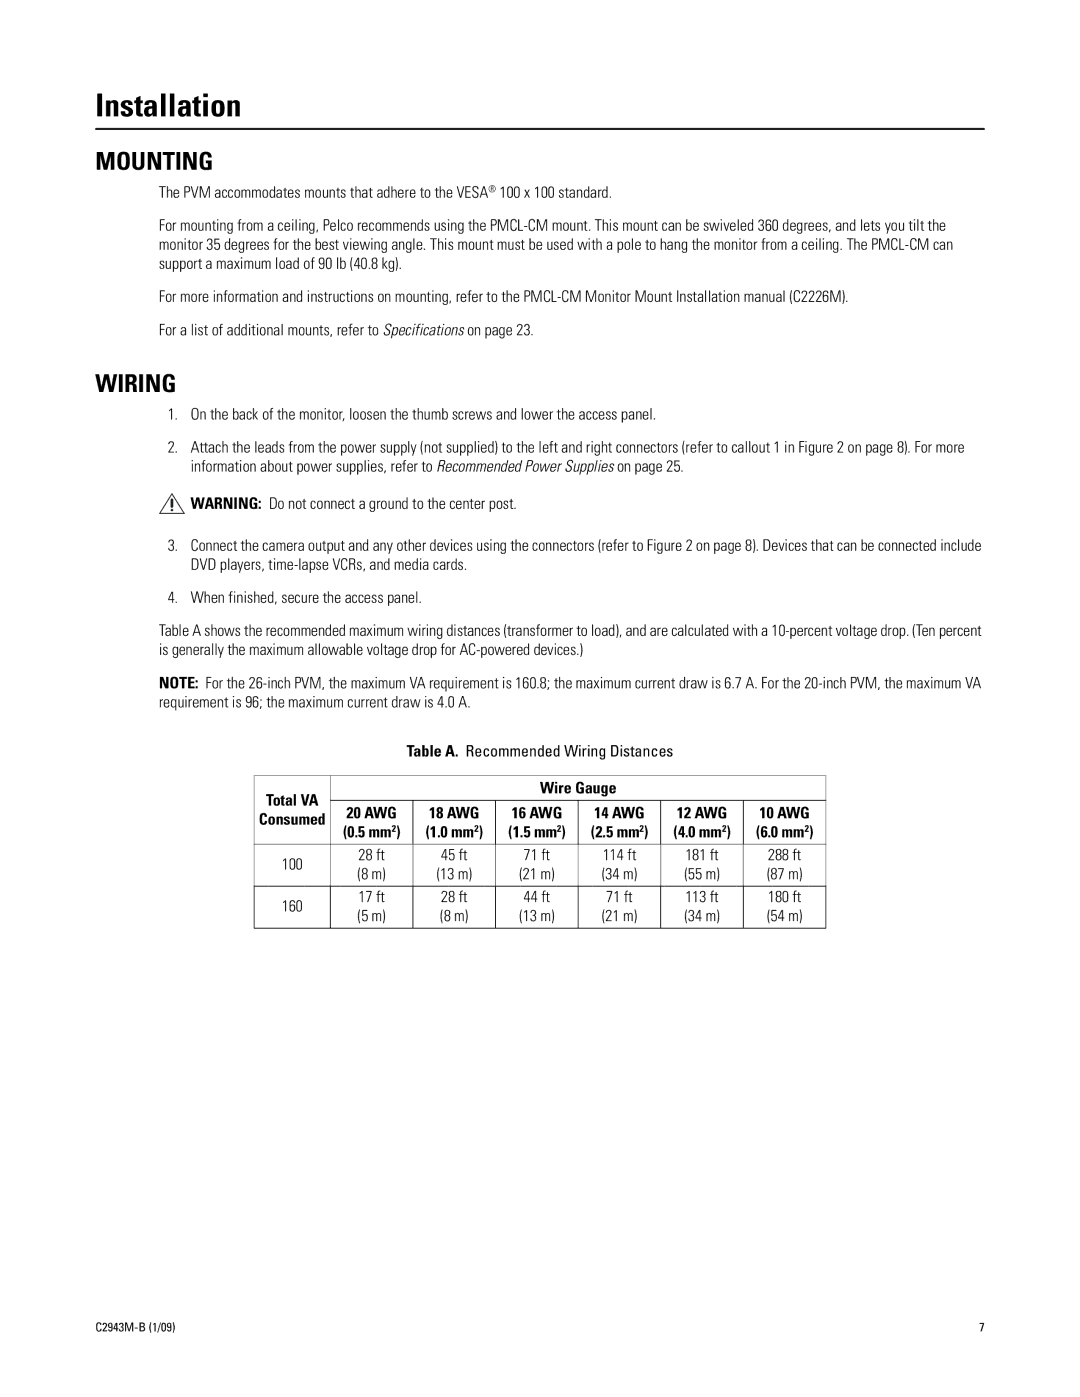
1.On the back of the monitor, loosen the thumb screws and lower the access panel.
2.Attach the leads from the power supply (not supplied) to the left and right connectors (refer to callout 1 in Figure 2 on page 8). For more information about power supplies, refer to Recommended Power Supplies on page 25.
WARNING: Do not connect a ground to the center post.
3.Connect the camera output and any other devices using the connectors (refer to Figure 2 on page 8). Devices that can be connected include DVD players,
4.When finished, secure the access panel.
Table A shows the recommended maximum wiring distances (transformer to load), and are calculated with a
NOTE: For the
Table A. Recommended Wiring Distances
Total VA |
|
| Wire Gauge |
|
| ||
|
|
|
|
|
| ||
20 AWG | 18 AWG | 16 AWG | 14 AWG | 12 AWG | 10 AWG | ||
Consumed | |||||||
(0.5 mm2) | (1.0 mm2) | (1.5 mm2) | (2.5 mm2) | (4.0 mm2) | (6.0 mm2) | ||
| |||||||
100 | 28 ft | 45 ft | 71 ft | 114 ft | 181 ft | 288 ft | |
(8 m) | (13 m) | (21 m) | (34 m) | (55 m) | (87 m) | ||
| |||||||
|
|
|
|
|
|
| |
160 | 17 ft | 28 ft | 44 ft | 71 ft | 113 ft | 180 ft | |
(5 m) | (8 m) | (13 m) | (21 m) | (34 m) | (54 m) | ||
| |||||||
|
|
|
|
|
|
| |
7 |