3.0 INSTALLATION
3.1 MOUNTING
NOTE: If you are going to install a heater/blower kit, it should be done before installing the back box. Refer to Section 3.2.3, HEATER/BLOWER KIT FIELD INSTALLATION.
The Intercept® Series of domes provide back box configurations for several applica- tions and environments (refer to Figures 12 and 13).
Installation instructions for the applications listed below will appear in the following order:
1.Suspended ceiling mounting
2.Hard ceiling mounting
3.Pendant mounting
3.1.1 Suspended Ceiling Mounting
NOTE: When installing into a 2' x 4' (.61 m x 1.22 m) ceiling grid, cut the ceiling tile in half and install an addi- tional “T” rail for support.
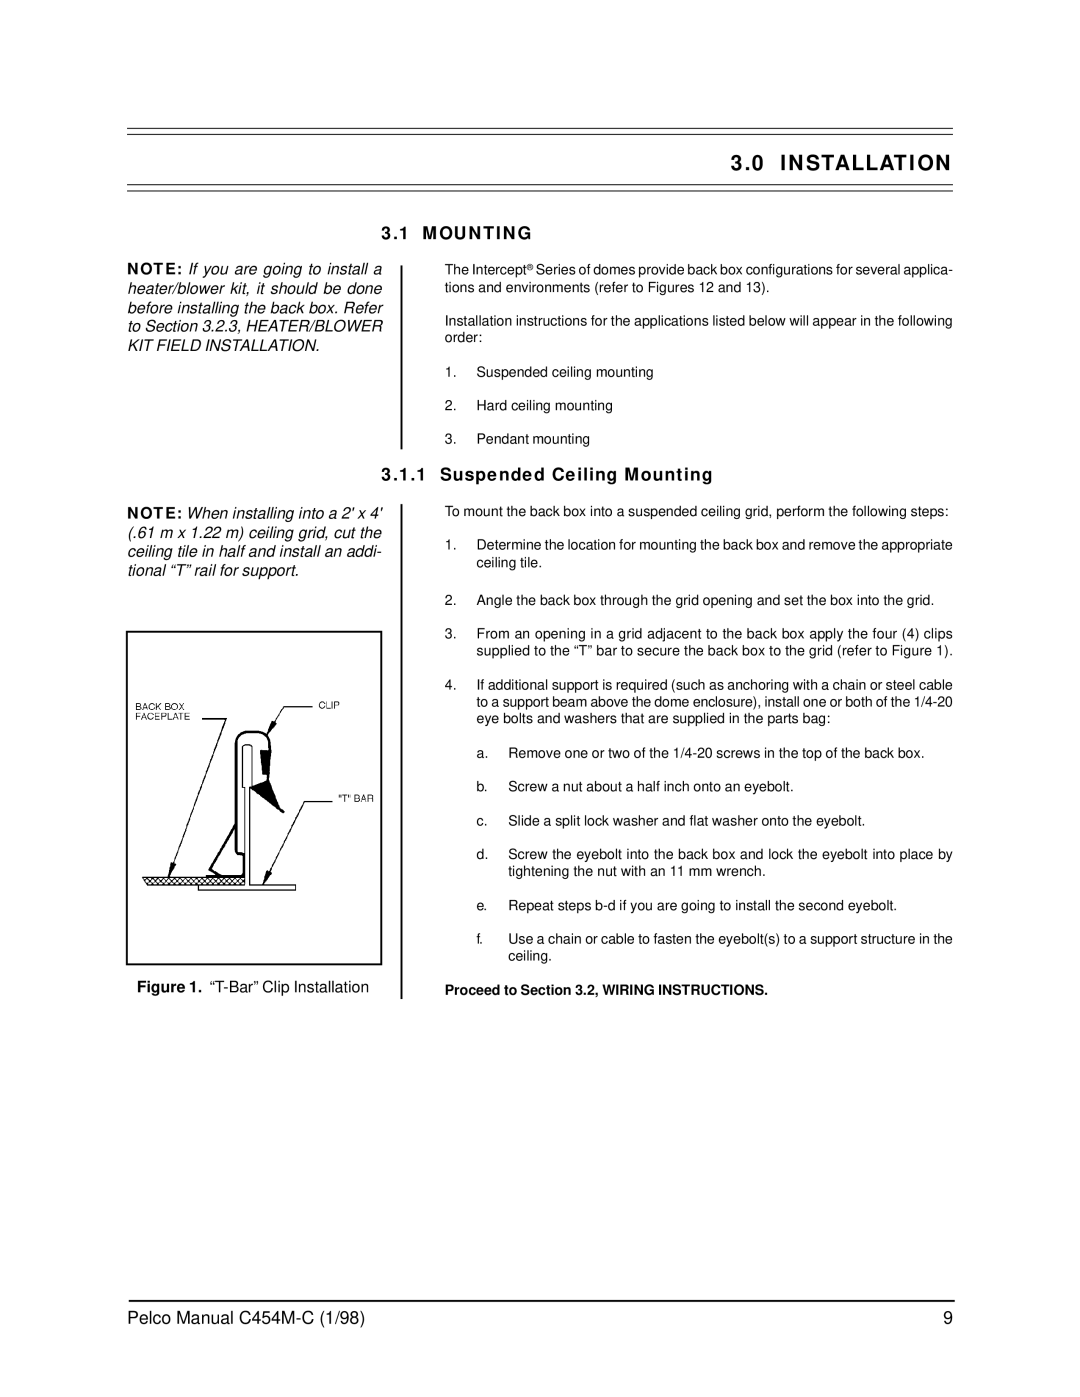
Figure 1. “T-Bar” Clip Installation
To mount the back box into a suspended ceiling grid, perform the following steps:
1.Determine the location for mounting the back box and remove the appropriate ceiling tile.
2.Angle the back box through the grid opening and set the box into the grid.
3.From an opening in a grid adjacent to the back box apply the four (4) clips supplied to the “T” bar to secure the back box to the grid (refer to Figure 1).
4.If additional support is required (such as anchoring with a chain or steel cable to a support beam above the dome enclosure), install one or both of the
a.Remove one or two of the
b.Screw a nut about a half inch onto an eyebolt.
c.Slide a split lock washer and flat washer onto the eyebolt.
d.Screw the eyebolt into the back box and lock the eyebolt into place by tightening the nut with an 11 mm wrench.
e.Repeat steps
f.Use a chain or cable to fasten the eyebolt(s) to a support structure in the ceiling.
Proceed to Section 3.2, WIRING INSTRUCTIONS.
Pelco Manual | 9 |