C1932M, CC4620 specifications
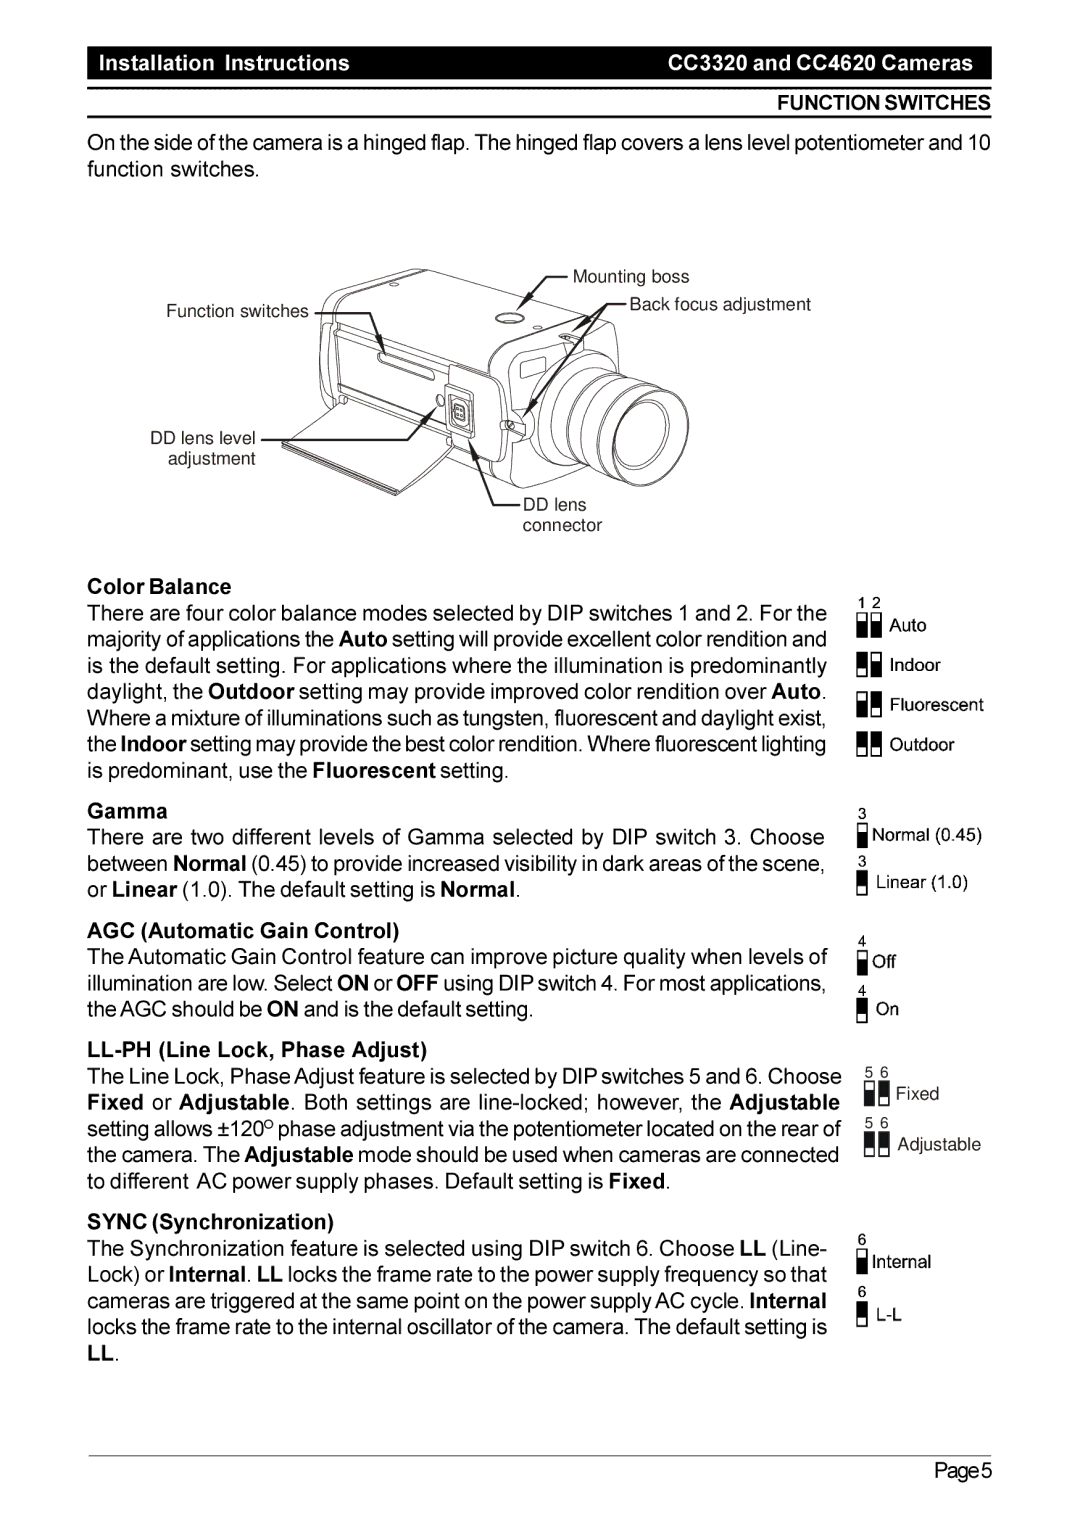
The Pelco CC4620 and C1932M are prominent surveillance cameras that exemplify cutting-edge technology in the realm of security and monitoring. Designed for both indoor and outdoor applications, these models are well-regarded for their performance, flexibility, and reliability.Starting with the Pelco CC4620, this camera is known for its high-resolution imaging capabilities, providing crisp and clear video data. It features a 1/4-inch CCD sensor, which boasts enhanced light sensitivity, making it an excellent choice for low-light environments. The CC4620 is equipped with a built-in varifocal lens, allowing users to adjust the focal length from 3.5mm to 10mm, which offers versatility in various surveillance situations. This model supports a significant range of viewing angles, making it suitable for different types of installations, from narrow hallways to expansive outdoor spaces.
The C1932M, on the other hand, is notable for its robust design and comprehensive features. This camera includes a 1/3-inch CCD sensor, providing high-quality video resolution that ensures detailed monitoring. The C1932M is designed with a weather-resistant housing, making it ideal for outdoor applications subjected to varying environmental conditions. Its wide dynamic range technology allows it to perform effectively in scenes with high contrast, ensuring visibility in bright and dark areas simultaneously.
Both models support advanced video compression technologies, including H.264, which significantly reduces bandwidth usage while maintaining high image quality. This feature allows for efficient storage solutions and seamless transmission over networks. Furthermore, the integration with various Pelco software solutions enhances the user experience, offering intelligent video analytics and remote monitoring capabilities.
In terms of connectivity, both the CC4620 and C1932M are compatible with standard video outputs, facilitating easy integration into existing surveillance systems. They also support PoE (Power over Ethernet), simplifying installation by reducing the need for separate power cables.
Overall, the Pelco CC4620 and C1932M are exceptional choices for users seeking reliable and versatile security solutions. Their combination of high-quality imaging, robust build quality, and advanced technological features make them suitable for a wide array of applications, ensuring safety and security in both commercial and residential environments. These cameras reflect Pelco's commitment to innovation and reliability in video surveillance technology.

