REASSEMBLING THE UNIT
1.Replace the lid, and use the original screws to secure the lid in place.
2.Reattach any devices that you disconnected from the unit (refer to Figure 15).
3.Reconnect the power cord.
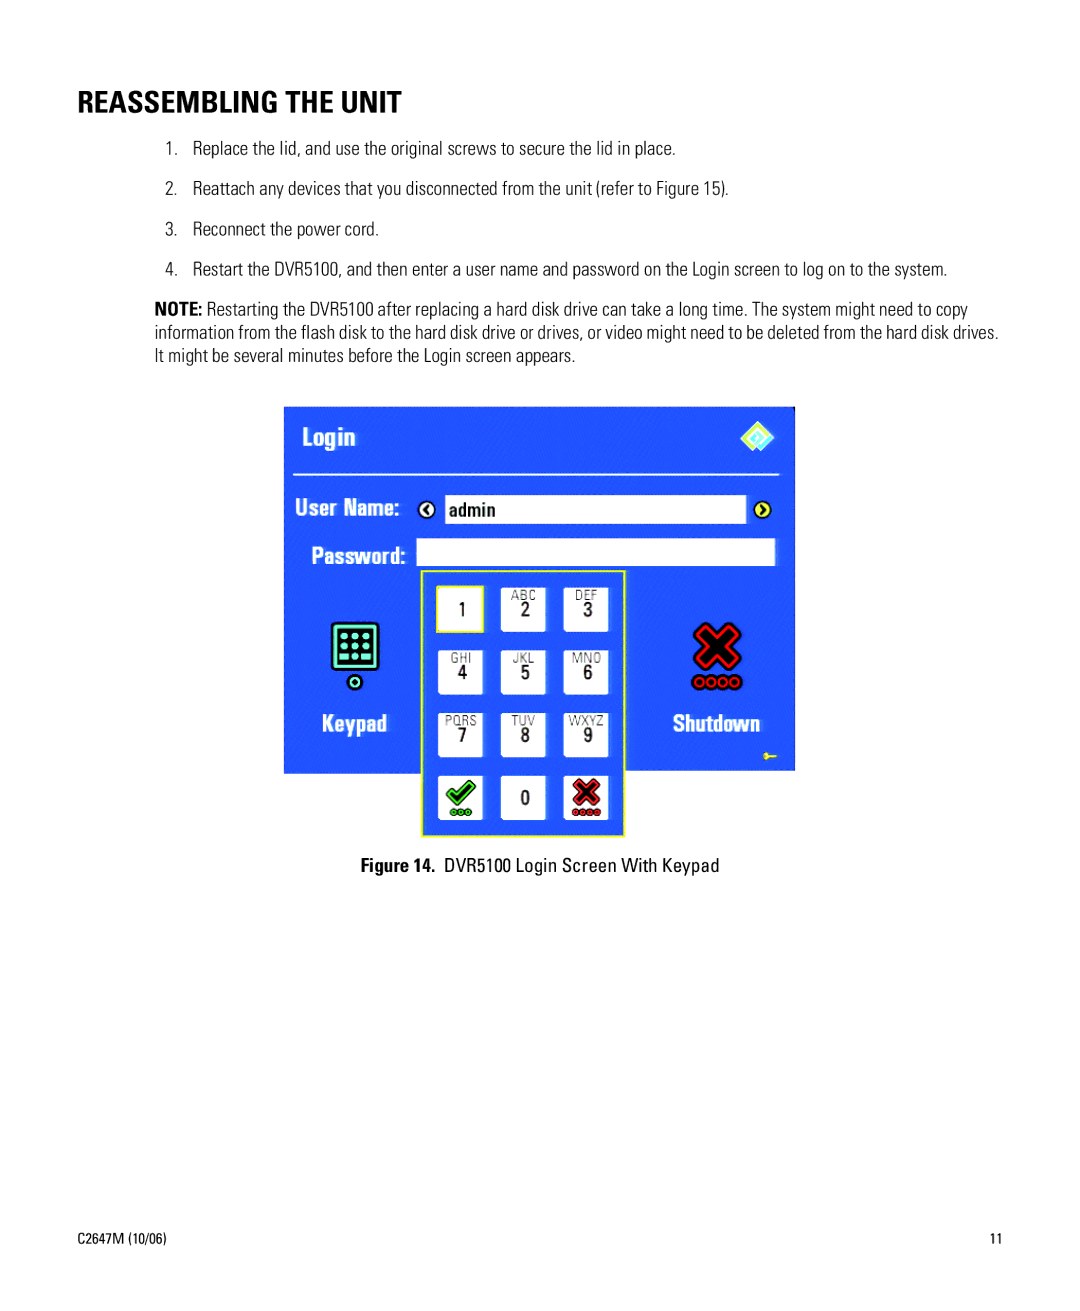
4.Restart the DVR5100, and then enter a user name and password on the Login screen to log on to the system.
NOTE: Restarting the DVR5100 after replacing a hard disk drive can take a long time. The system might need to copy information from the flash disk to the hard disk drive or drives, or video might need to be deleted from the hard disk drives. It might be several minutes before the Login screen appears.
Figure 14. DVR5100 Login Screen With Keypad
C2647M (10/06) | 11 |