DX8100-ISCI specifications
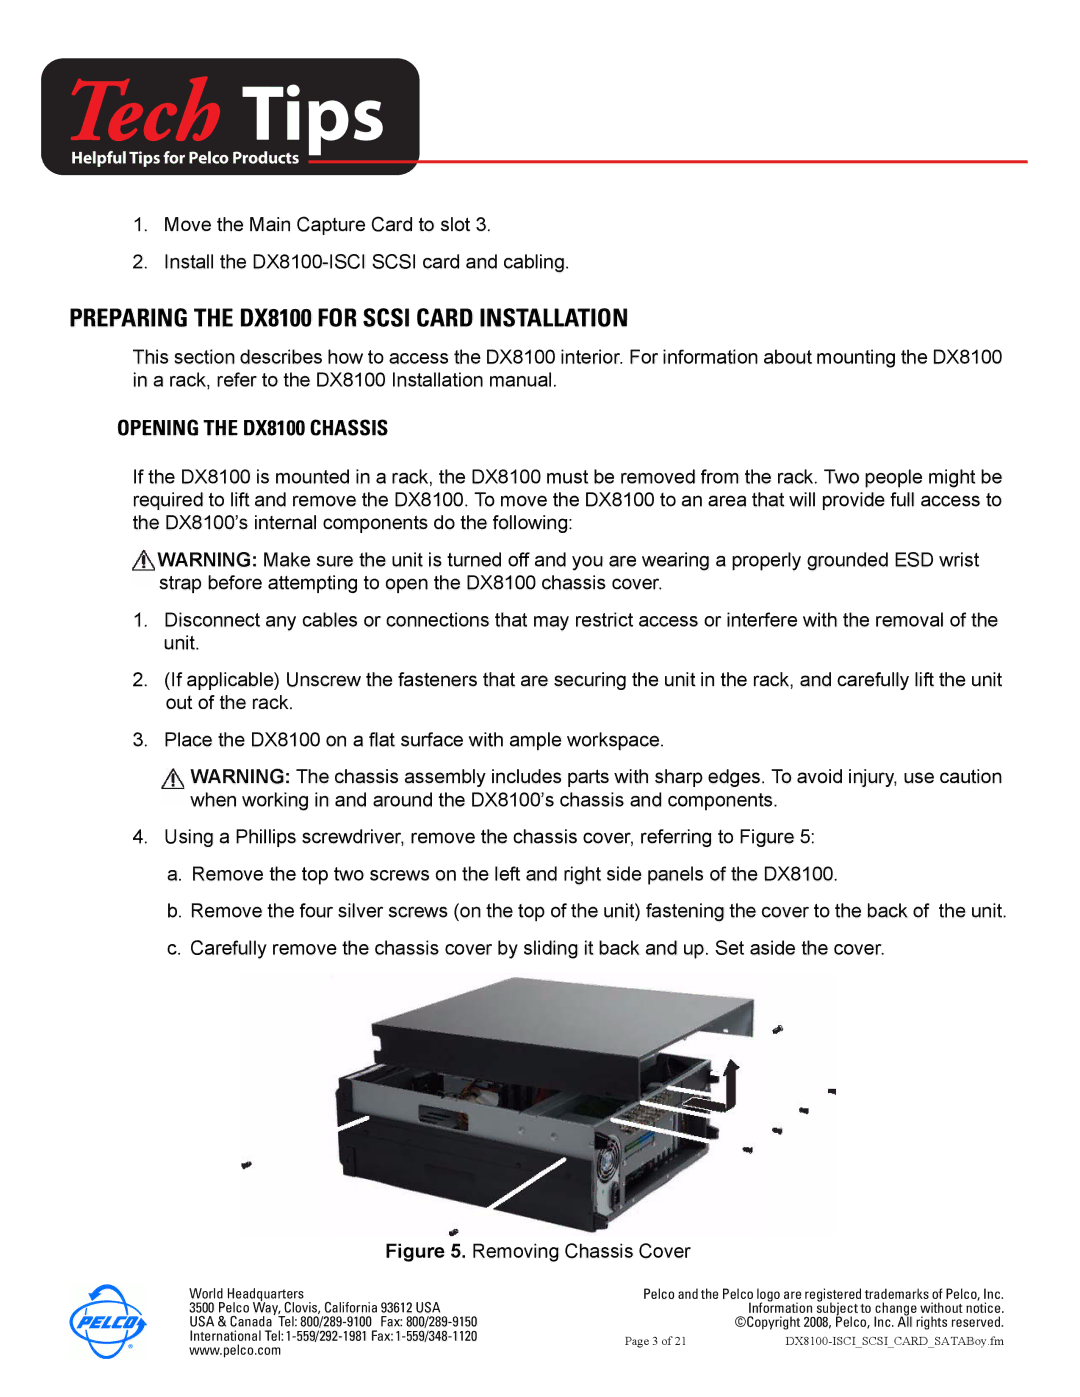
The Pelco DX8100-ISCI is a highly regarded digital video recorder (DVR) designed specifically for surveillance and security applications. Utilizing cutting-edge technology, the DX8100-ISCI provides a robust solution for users seeking reliable video management and storage capabilities.One of the main features of the DX8100-ISCI is its impressive storage capacity. The device supports up to 2TB of internal storage, allowing for extensive video retention and record time. This is particularly beneficial for organizations that require long-term surveillance without the need for constant data deletion. The DVR also incorporates advanced video compression technologies, enabling efficient use of storage space while maintaining high-quality video output.
A hallmark of the DX8100-ISCI is its intuitive user interface. The system enables seamless navigation and operation, providing users with a straightforward experience in monitoring and managing camera feeds. Features such as remote access via web browsers or dedicated software applications empower users to view live footage and recorded videos from anywhere with an internet connection.
Another significant characteristic of the DX8100-ISCI is its multi-camera support. The DVR can connect with up to 16 cameras, allowing for comprehensive surveillance of various locations simultaneously. This capability is particularly beneficial for businesses and institutions requiring extensive monitoring coverage.
In terms of video analytics, the DX8100-ISCI comes equipped with features such as motion detection and alarm management, enhancing the effectiveness of surveillance efforts. Users can set up automated alerts to notify them of any unusual activity, ensuring timely responses to potential security breaches.
The device also boasts robust connectivity options, including USB ports for easy data backup and transfer. Its compatibility with Pelco's diverse range of cameras ensures that users can tailor their surveillance systems to their specific needs.
Overall, the Pelco DX8100-ISCI stands out with its comprehensive feature set, user-friendly interface, and advanced technology, making it an ideal choice for businesses and organizations seeking to enhance their security measures. Its combination of reliability, capacity, and ease of use positions the DX8100-ISCI as a key player in modern surveillance solutions.

