REINSTALL CAMERA MODULE
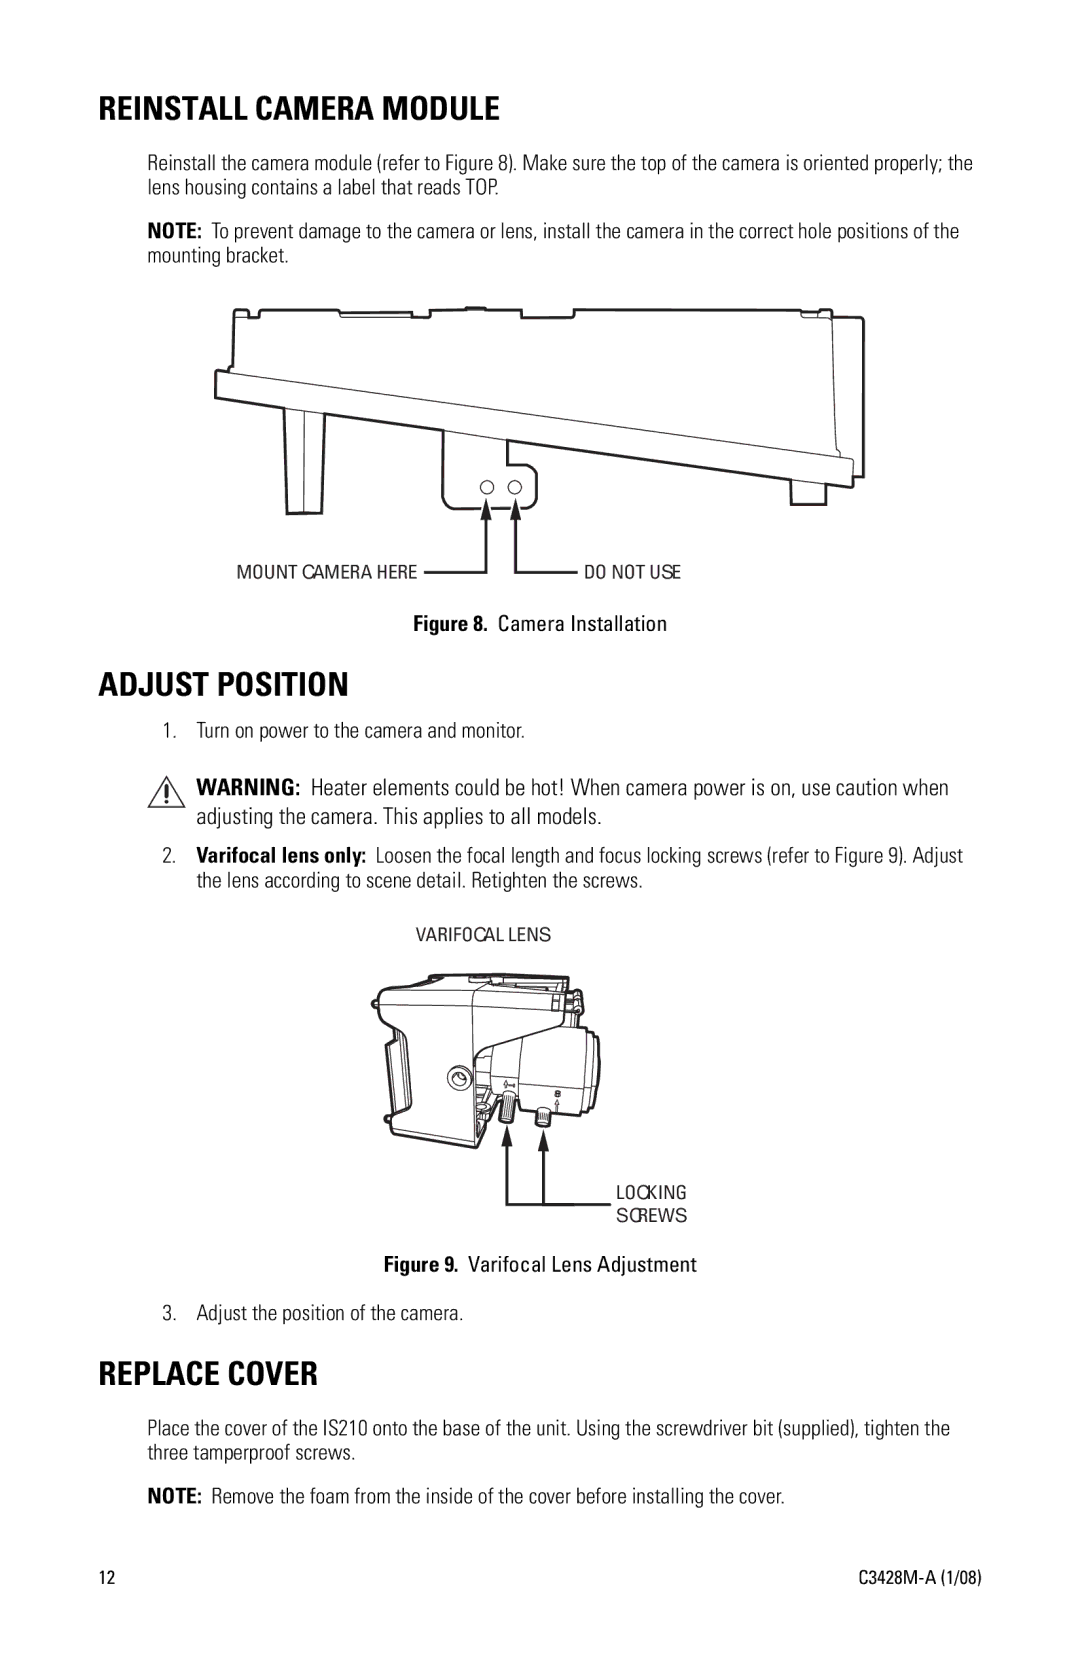
Reinstall the camera module (refer to Figure 8). Make sure the top of the camera is oriented properly; the lens housing contains a label that reads TOP.
NOTE: To prevent damage to the camera or lens, install the camera in the correct hole positions of the mounting bracket.
MOUNT CAMERA HERE
DO NOT USE
Figure 8. Camera Installation
ADJUST POSITION
1. Turn on power to the camera and monitor.
WARNING: Heater elements could be hot! When camera power is on, use caution when adjusting the camera. This applies to all models.
2.Varifocal lens only: Loosen the focal length and focus locking screws (refer to Figure 9). Adjust the lens according to scene detail. Retighten the screws.
VARIFOCAL LENS
LOCKING
SCREWS
Figure 9. Varifocal Lens Adjustment
3. Adjust the position of the camera.
REPLACE COVER
Place the cover of the IS210 onto the base of the unit. Using the screwdriver bit (supplied), tighten the three tamperproof screws.
NOTE: Remove the foam from the inside of the cover before installing the cover.
12 |