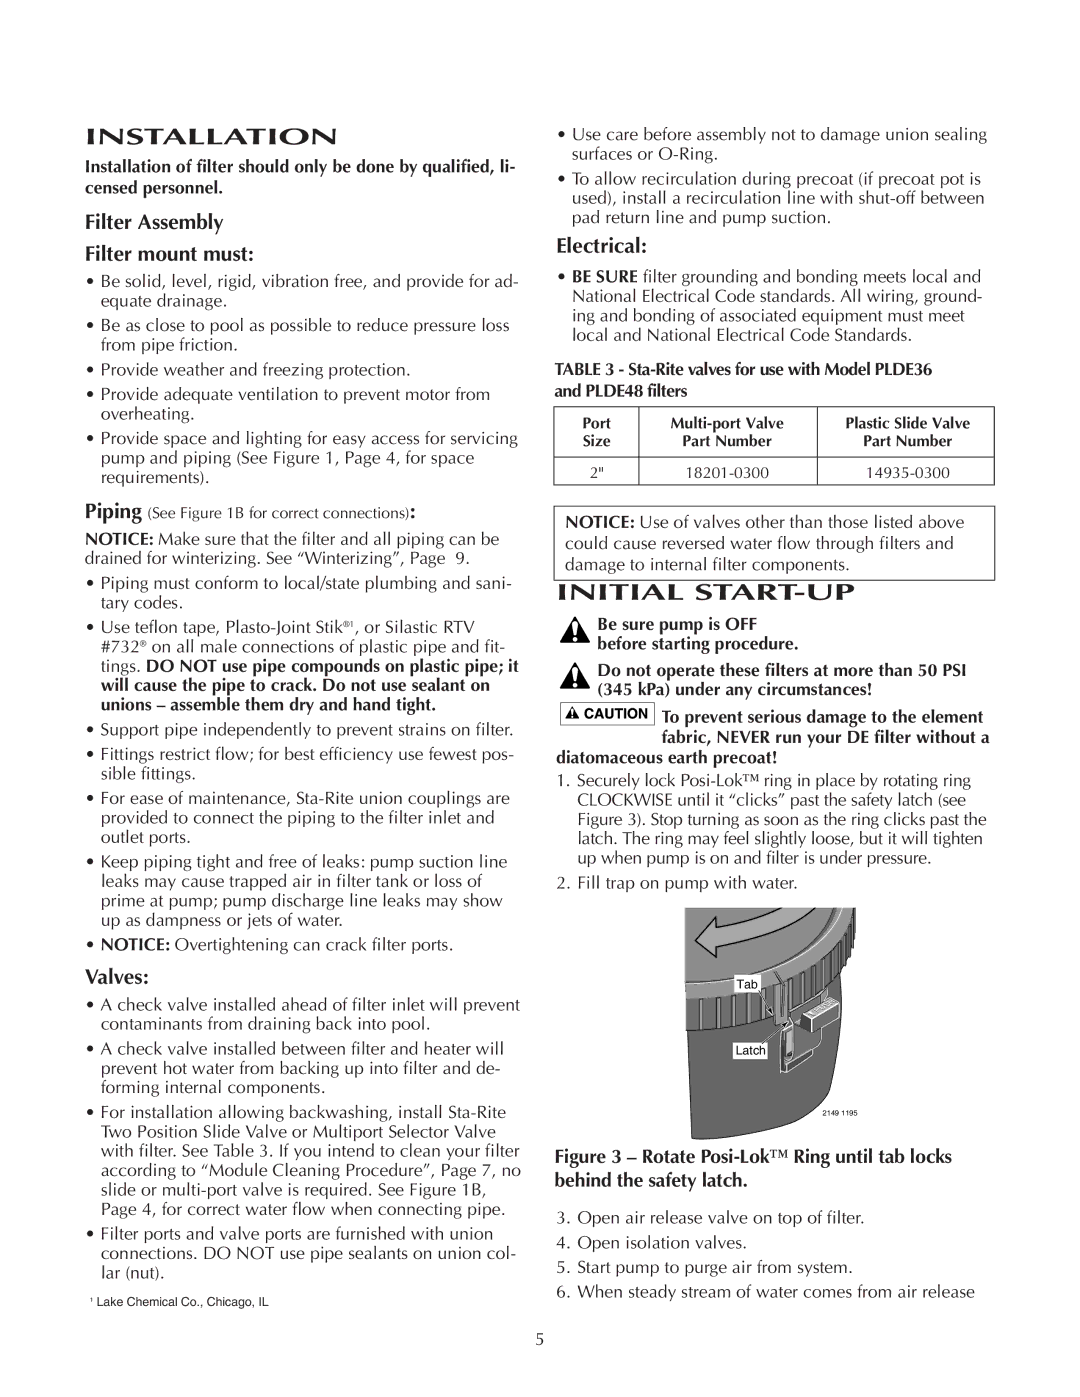
PLDE48, PLDE36 specifications
Pentair, a global leader in water treatment and sustainability solutions, offers a range of high-performance water filtration systems, among which the Pentair PLDE36 and PLDE48 stand out. These models are designed for both residential and commercial applications, providing reliable water filtration that ensures the quality of water used for drinking, cooking, and other household needs.The Pentair PLDE36 and PLDE48 are equipped with advanced filtration technologies that enhance their effectiveness. One notable feature is their multi-stage filtration process, which combines sediment filtration, activated carbon filtration, and a specialized membrane to remove a wide range of contaminants from the water. This includes chlorine, sediment, heavy metals, and other harmful substances, ensuring that the output water is clean, safe, and great-tasting.
One of the key characteristics of the PLDE series is its high capacity and flow rate. The PLDE36 is capable of providing up to 36,000 gallons of filtered water, while the PLDE48 can deliver up to 48,000 gallons, making these filters suitable for larger households or small commercial operations. This high capacity reduces the need for frequent filter changes, providing convenience and cost-effectiveness for users.
Another significant aspect of these models is the ease of installation and maintenance. The Pentair PLDE systems come with user-friendly interfaces and clear instructions, allowing for straightforward setup and operation. Additionally, the filter replacement process has been simplified, ensuring customers can easily replace cartridges without requiring professional assistance.
Both the PLDE36 and PLDE48 are built with durable materials designed to withstand various environmental conditions. Their robust construction ensures longevity, which is crucial for maintaining consistent water quality over time. Additionally, these systems come equipped with monitoring features that alert users when it's time to change the filter, further simplifying maintenance.
Energy efficiency is also an integral part of the Pentair PLDE series. Utilizing smart technologies, these systems minimize power consumption while maximizing performance, aligning with the growing demand for eco-friendly solutions.
In conclusion, the Pentair PLDE36 and PLDE48 are advanced water filtration systems that combine innovative technologies, high capacity, ease of use, and sustainability. These features make them ideal choices for anyone looking to ensure access to clean, safe drinking water while also being mindful of environmental impact.

