22ENGLISH
Activating the Travel Lock
![]()
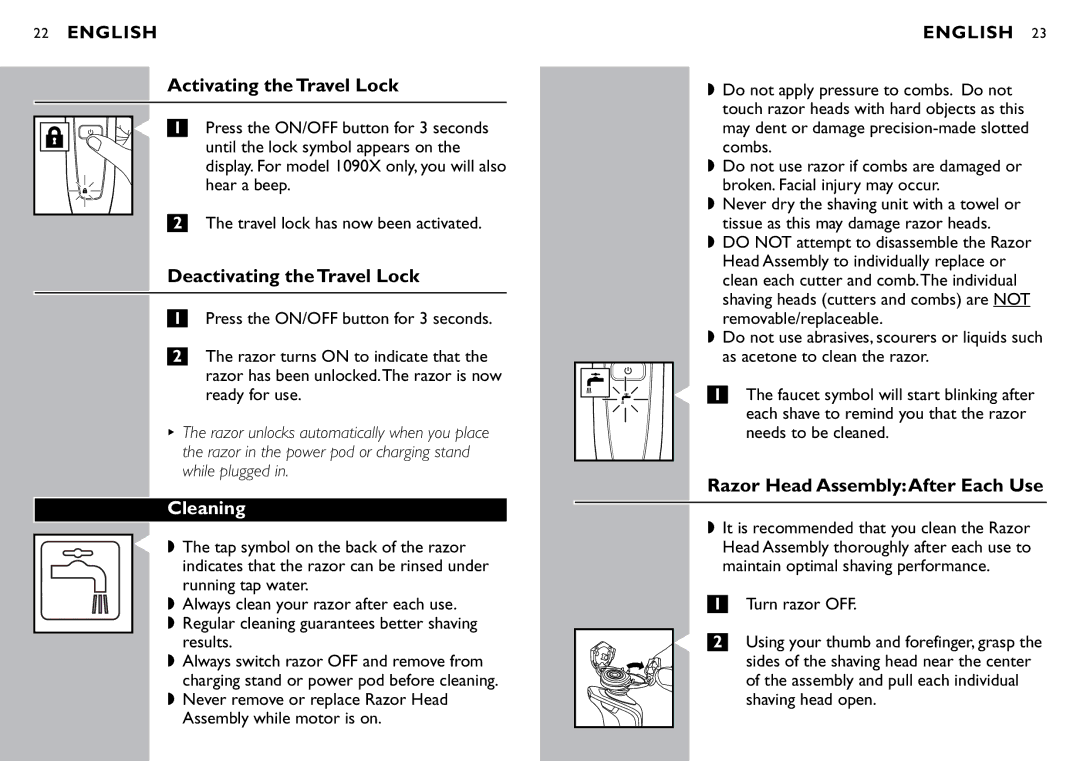
![]() C 1 Press the on/off button for 3 seconds until the lock symbol appears on the display. For model 1090X only, you will also hear a beep.
C 1 Press the on/off button for 3 seconds until the lock symbol appears on the display. For model 1090X only, you will also hear a beep.
2The travel lock has now been activated.
Deactivating the Travel Lock
1Press the ON/OFF button for 3 seconds.
2The razor turns ON to indicate that the razor has been unlocked.The razor is now ready for use.
BThe razor unlocks automatically when you place the razor in the power pod or charging stand while plugged in.
Cleaning
C◗ The tap symbol on the back of the razor indicates that the razor can be rinsed under running tap water.
◗Always clean your razor after each use.
◗Regular cleaning guarantees better shaving results.
◗Always switch razor OFF and remove from charging stand or power pod before cleaning.
◗Never remove or replace Razor Head Assembly while motor is on.
ENGLISH 23
◗Do not apply pressure to combs. Do not touch razor heads with hard objects as this may dent or damage
◗Do not use razor if combs are damaged or broken. Facial injury may occur.
◗Never dry the shaving unit with a towel or tissue as this may damage razor heads.
◗DO NOT attempt to disassemble the Razor Head Assembly to individually replace or clean each cutter and comb.The individual shaving heads (cutters and combs) are NOT removable/replaceable.
◗Do not use abrasives, scourers or liquids such as acetone to clean the razor.
|
|
| C |
| The faucet symbol will start blinking after | |
|
|
|
| |||
1 | ||||||
|
|
| ||||
|
|
|
|
| each shave to remind you that the razor | |
|
|
|
|
| needs to be cleaned. | |
|
|
|
|
|
|
Razor Head Assembly:After Each Use
◗ It is recommended that you clean the Razor Head Assembly thoroughly after each use to maintain optimal shaving performance.
1 Turn razor OFF.
C2 Using your thumb and forefinger, grasp the ![]() sides of the shaving head near the center
sides of the shaving head near the center
of the assembly and pull each individual shaving head open.
