6. Set Up
To Lower:
•Keep both adjusters (A) pressed and gently lower the projector.
•Use the Focus Ring and Zoom Ring to readjust the focus and size of the image.
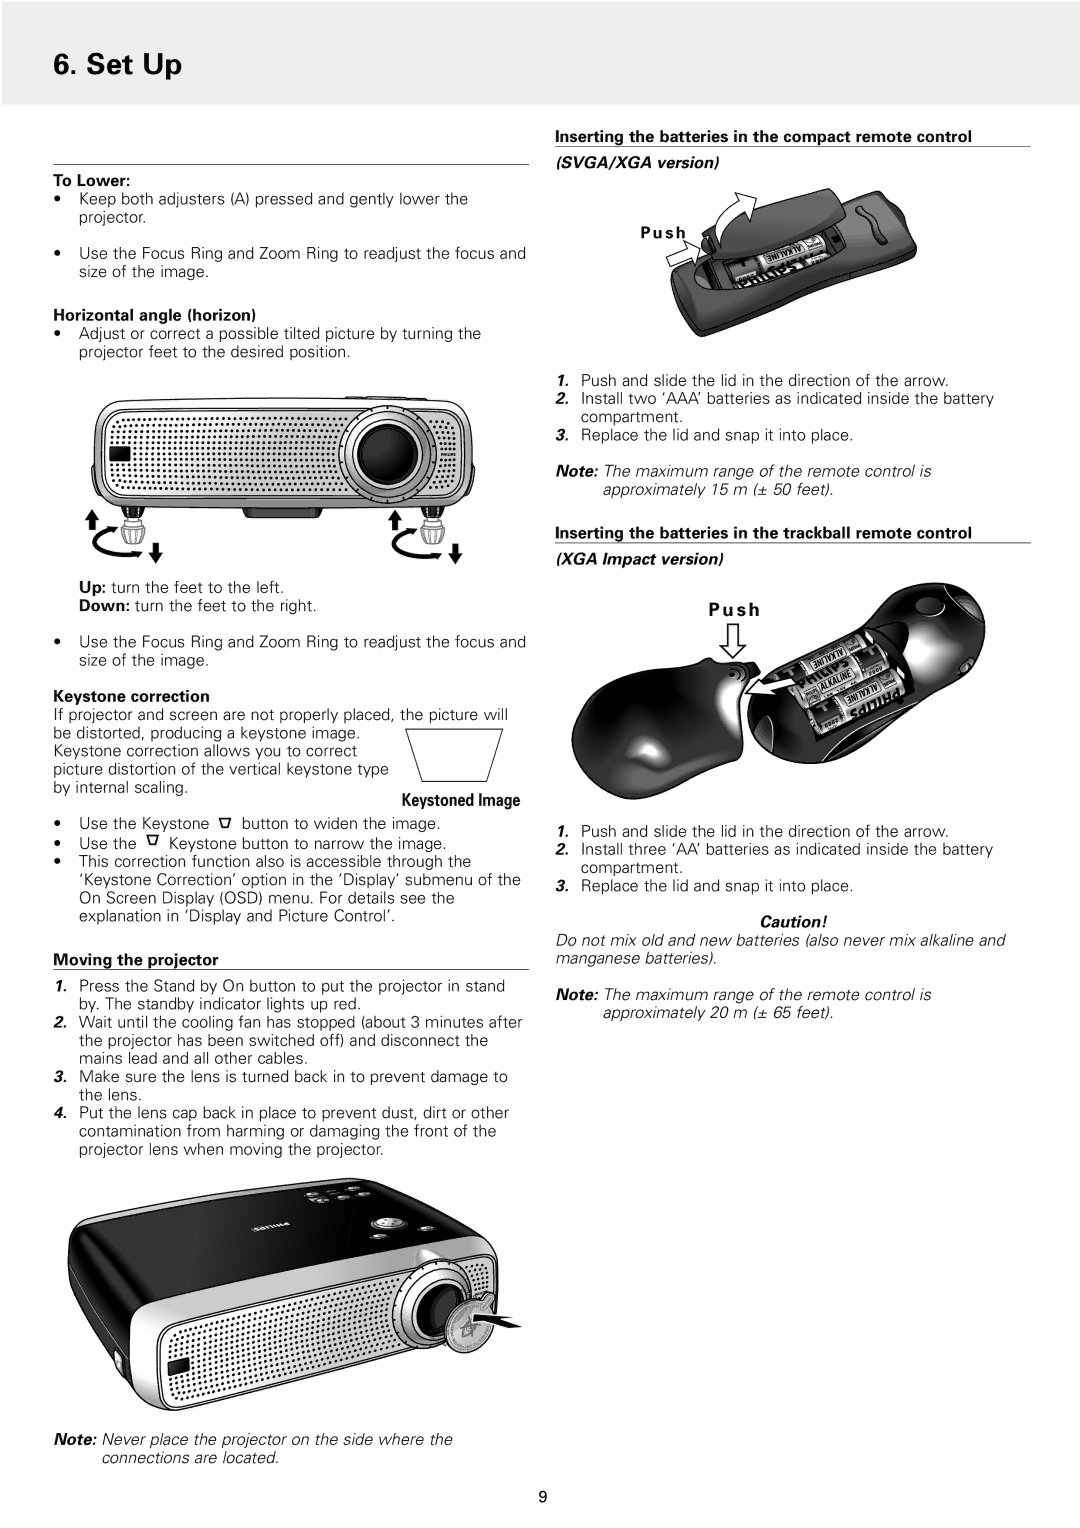
Horizontal angle (horizon)
•Adjust or correct a possible tilted picture by turning the projector feet to the desired position.
Up: turn the feet to the left.
Down: turn the feet to the right.
•Use the Focus Ring and Zoom Ring to readjust the focus and size of the image.
Keystone correction
If projector and screen are not properly placed, the picture will be distorted, producing a keystone image.
Keystone correction allows you to correct picture distortion of the vertical keystone type by internal scaling.
Keystoned Image
•Use the Keystone ![]() button to widen the image.
button to widen the image.
•Use the ![]() Keystone button to narrow the image.
Keystone button to narrow the image.
•This correction function also is accessible through the
‘Keystone Correction’ option in the ‘Display’ submenu of the On Screen Display (OSD) menu. For details see the explanation in ‘Display and Picture Control’.
Moving the projector
1.Press the Stand by On button to put the projector in stand by. The standby indicator lights up red.
2.Wait until the cooling fan has stopped (about 3 minutes after the projector has been switched off) and disconnect the mains lead and all other cables.
3.Make sure the lens is turned back in to prevent damage to the lens.
4.Put the lens cap back in place to prevent dust, dirt or other contamination from harming or damaging the front of the projector lens when moving the projector.
Note: Never place the projector on the side where the connections are located.
Inserting the batteries in the compact remote control (SVGA/XGA version)
P u s h
1.Push and slide the lid in the direction of the arrow.
2.Install two ‘AAA’ batteries as indicated inside the battery compartment.
3.Replace the lid and snap it into place.
Note: The maximum range of the remote control is approximately 15 m (± 50 feet).
Inserting the batteries in the trackball remote control
(XGA Impact version)
P u s h
1.Push and slide the lid in the direction of the arrow.
2.Install three ‘AA’ batteries as indicated inside the battery compartment.
3.Replace the lid and snap it into place.
Caution!
Do not mix old and new batteries (also never mix alkaline and manganese batteries).
Note: The maximum range of the remote control is approximately 20 m (± 65 feet).
9