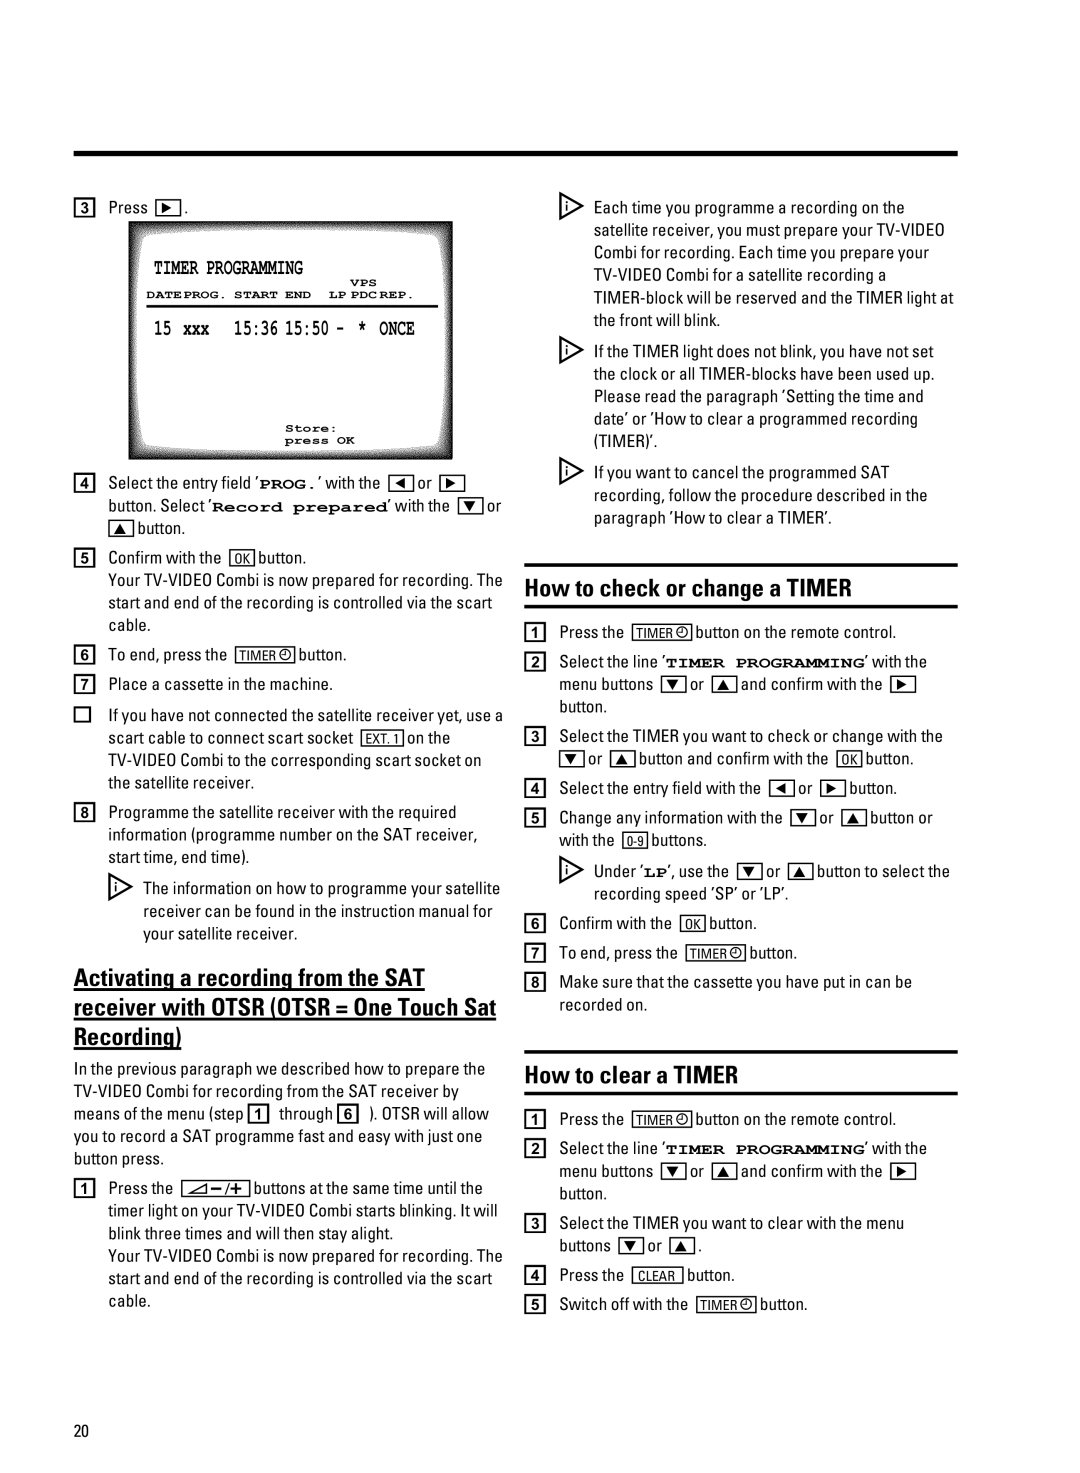
cPress ![]()
![]() .
.
TIMER PROGRAMMING
VPS
DATEPROG. START END LP PDC REP.
,,,,,,,,,,,,,,,,,,,,,,,,,,,,,,,,,
15 xxx 15:36 15:50 - * ONCE
Store: press OK
d Select the entry field ’PROG.’ with the | or |
button. Select ’Record prepared’ with the } or
zbutton.
eConfirm with the OK button.
Your
f To end, press the TIMER button.
gPlace a cassette in the machine.
If you have not connected the satellite receiver yet, use a
scart cable to connect scart socket ![]()
![]() on the
on the
hProgramme the satellite receiver with the required information (programme number on the SAT receiver, start time, end time).
The information on how to programme your satellite receiver can be found in the instruction manual for your satellite receiver.
Activating a recording from the SAT receiver with OTSR (OTSR = One Touch Sat Recording)
In the previous paragraph we described how to prepare the
a Press the |
| buttons at the same time until the |
timer light on your
Your
Each time you programme a recording on the satellite receiver, you must prepare your
If the TIMER light does not blink, you have not set the clock or all
If you want to cancel the programmed SAT recording, follow the procedure described in the paragraph ’How to clear a TIMER’.
How to check or change a TIMER
a Press the TIMER
bSelect the line ’TIMER PROGRAMMING’ with the
menu buttons } or z and confirm with the button.
cSelect the TIMER you want to check or change with the
}or z button and confirm with the OK button.
d Select the entry field with the |
|
|
| or |
|
| button. | ||||||||
e Change any information with the |
|
| or |
|
| button or | |||||||||
| } |
| z | ||||||||||||
with the |
| buttons. |
|
|
|
|
|
|
| ||||||
|
|
|
|
|
|
| |||||||||
Under ’LP’, use the |
| or |
|
|
| button to select the | |||||||||
} |
|
| z | ||||||||||||
recording speed ’SP’ or ’LP’. |
|
|
|
|
|
|
| ||||||||
f Confirm with the |
| button. |
|
|
|
|
|
|
| ||||||
OK |
|
|
|
|
|
|
| ||||||||
g To end, press the TIMER button.
hMake sure that the cassette you have put in can be recorded on.
How to clear a TIMER
a Press the TIMER
bSelect the line ’TIMER PROGRAMMING’ with the
menu buttons } or z and confirm with the button.
cSelect the TIMER you want to clear with the menu buttons } or z .
dPress the CLEAR button.
e Switch off with the TIMER button.
20